The Home Cook’s Guide to Mediterranean Socca: Mastering Chickpea Flour Flatbreads for Quick, Gluten-Free Meals
There is a distinct, almost primal satisfaction that comes from mastering a dish that relies on little more than three humble ingredients. In the world of professional kitchens, where complicated emulsions and multi-day stocks often steal the spotlight, the Mediterranean socca stands as a testament to the beauty of simplicity. Originating from the sun-drenched streets of Nice, France, this chickpea flour flatbread—known as farinata across the border in Italy—is the ultimate culinary chameleon. It is a street food staple that manages to be both rustic and refined, offering a nutty, savory profile that serves as the perfect canvas for everything from fresh garden herbs to decadent toppings. For the home cook, it is a revelation: an entirely gluten-free, high-protein, and naturally vegan meal that comes together with minimal effort and maximum reward.
When I talk to home cooks about their biggest barriers in the kitchen, time and ingredient intimidation are almost always at the top of the list. We often equate "authentic" cuisine with complex techniques or obscure specialty items that gather dust in the pantry after a single use. Socca flips that script entirely, requiring only chickpea flour (sometimes labeled as gram or besan flour), water, extra virgin olive oil, and a pinch of salt. The magic happens through chemistry and heat, as the batter transforms from a watery, unassuming liquid into a golden, crisp-edged pancake that is tender on the inside and irresistibly crunchy on the surface. By understanding the fundamentals of heat management and hydration, you can produce a bakery-quality flatbread right in your own standard oven.
At "Blame The Chef," my goal is to strip away the pretense of fine dining and replace it with the confidence of a seasoned pro. You do not need a wood-fired oven or decades of apprenticeship to master this dish; you only need a heavy skillet and a little bit of patience. Over the next two thousand words, we are going to dive deep into the nuances of chickpea flour, the science of the cast-iron sear, and how to customize your socca to suit any occasion. Whether you are looking for a quick weeknight dinner, a sophisticated appetizer for your next dinner party, or a nutritious meal that fits your dietary needs, you have come to the right place. Let us get to work and demystify this Mediterranean masterpiece once and for all.
The Foundation: Understanding Chickpea Flour
Why Chickpea Flour is a Pantry Powerhouse
The backbone of any great socca is, unsurprisingly, the chickpea flour. Unlike wheat flour, which relies on gluten proteins to provide structure and elasticity, chickpea flour is entirely starch and protein-based. This creates a completely different textural experience that leans into density and earthiness rather than fluffiness. It is incredibly nutrient-dense, boasting a high concentration of fiber and plant-based protein, making it an excellent choice for those looking to boost the nutritional profile of their everyday meals. Because it is naturally gluten-free, it is a safe and reliable option for those with celiac disease or gluten sensitivities, provided you ensure the flour you buy is processed in a dedicated facility.
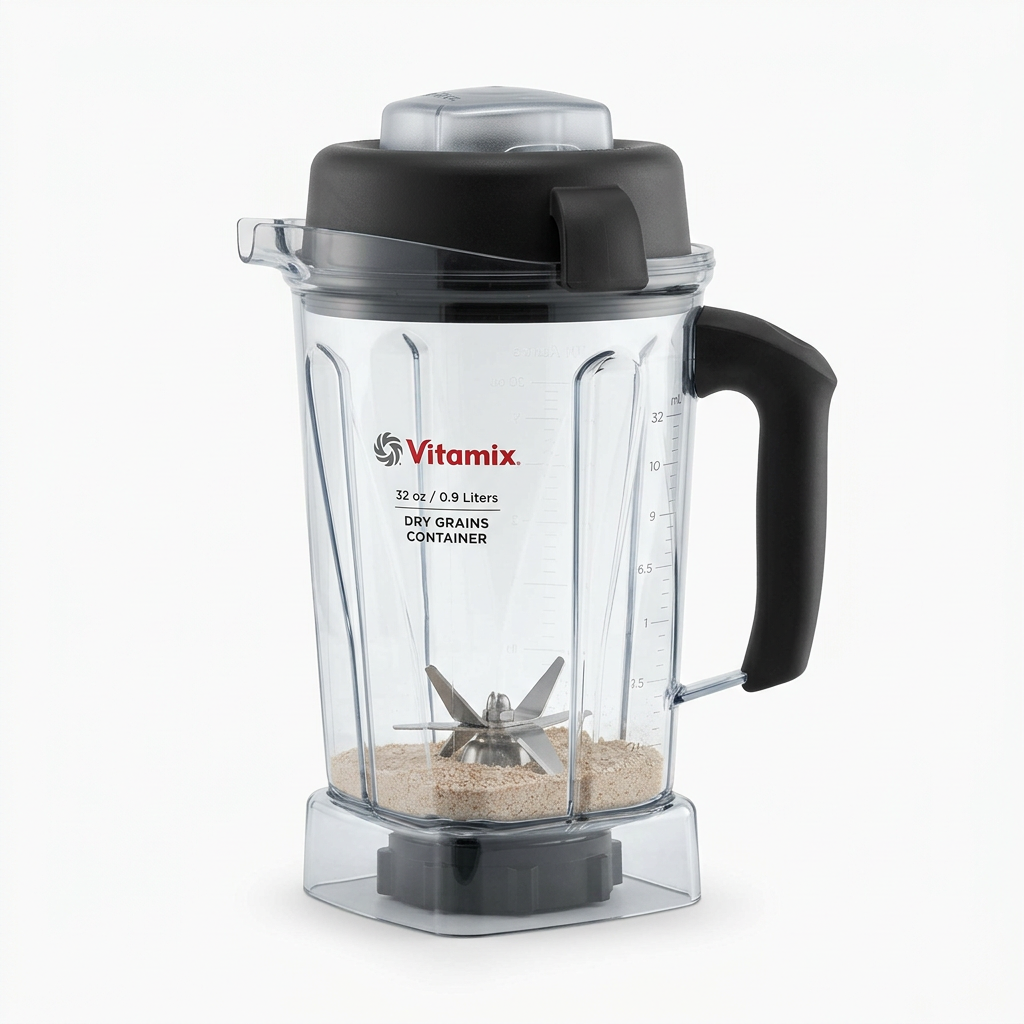
When purchasing your flour, you will notice that it is often sold as "besan" or "gram flour" in Indian markets, which is effectively the same product. The key to success here is the fineness of the grind. A finer grind results in a smoother, more uniform batter that bubbles and crisps beautifully. If your flour feels particularly coarse or grainy, do not be afraid to give it a quick pulse in a high-speed blender or sift it through a fine-mesh sieve to remove any large clumps. Storing your chickpea flour in an airtight container in a cool, dark place is essential; because of its fat content, it can go rancid if left exposed to air or heat for too long.
The Ratio Rule: Achieving the Perfect Batter
The secret to the perfect socca isn't in a secret spice blend; it is in the hydration ratio. The classic, foolproof ratio for a standard-sized skillet is one cup of chickpea flour to one cup of water, followed by a generous two tablespoons of olive oil. However, I always advise home cooks to start with a slightly thicker consistency and thin it out if necessary. The batter should have the consistency of heavy cream—not quite as thick as pancake batter, but definitely not as thin as skim milk. If the batter is too thin, the socca will take far too long to set, resulting in a soggy bottom; if it is too thick, you will end up with a dense, cake-like puck that lacks the signature crispness we crave.
The secret of the socca lies not in the complexity of the recipe, but in the respect you pay to the resting period. Patience is your most vital ingredient.
The importance of the resting period cannot be overstated. When you whisk the flour and water together, the starches in the chickpea flour need time to hydrate. If you use the batter immediately, the resulting flatbread will taste raw, slightly metallic, and prone to breaking. I strongly recommend allowing your batter to sit on the counter for at least thirty minutes, though two to four hours is optimal. This resting time allows the flour to fully absorb the liquid, resulting in a much silkier texture and a significantly better flavor development. If you are prepping for a busy week, you can even whisk the batter in the morning and store it in the refrigerator until dinner time.
The Physics of the Skillet: Heat and Surface Area
Mastering the Cast-Iron Technique
There is no substitute for a cast-iron skillet when making socca. While you might be tempted to use a non-stick pan, cast iron provides the thermal mass necessary to create that characteristic charred, blistered edge that makes a socca truly authentic. The pan needs to be preheated to a blistering temperature—we are talking about the highest setting on your oven, typically 450°F to 500°F. Placing the pan in the oven while it preheats is a non-negotiable step; you want the metal to be radiating heat from the very moment the batter touches the surface.
Before you pour the batter, you need to ensure the pan is sufficiently greased with a high-quality extra virgin olive oil. Don't be stingy here. You want a film of oil that coats the entire surface and even creeps up the sides of the pan. When you pour the batter into the screaming-hot skillet, it should immediately sizzle and start to set around the edges. This rapid initial cook is what seals the bottom and creates the golden-brown foundation. If you hear a soft "thud" instead of a sharp, aggressive hiss, your pan simply isn't hot enough, and you should take a moment to wait before adding the rest of your batter.
The Broiler Method: The Shortcut to Crispness
If you are in a rush and cannot wait for the bottom to brown slowly, the broiler method is your best friend. After pouring the batter into the preheated, oiled skillet, you can bake it for five minutes to set the structure. Then, move the rack to the top position and switch the oven to the broiler setting for the final two to three minutes of cooking. This provides an immediate blast of intense heat that will create those beautiful, charred, darkened bubbles on the surface that are the hallmark of a traditional street-food socca.
Keep a very close eye on the pan during this stage. Because the broiler generates direct, high-intensity heat, the margin between "perfectly charred" and "burnt to a crisp" is incredibly small—often just a matter of thirty seconds. I recommend staying right in front of the oven, perhaps with a glass of wine in hand, to monitor the progress. You are looking for a deep, golden-brown hue with occasional patches of dark mahogany. Once you see those color variations, pull the pan out immediately. The carry-over heat will continue to cook the center of the socca, so don't feel like it needs to be perfectly firm all the way through the moment it exits the oven.
Beyond the Basics: Flavor Infusions and Toppings
The Art of the Herb Fold
While a traditional socca is delicious with just salt and black pepper, adding fresh herbs into the batter can elevate it from a simple flatbread to a culinary event. Rosemary is the classic choice, but don't limit yourself. Finely chopped flat-leaf parsley, chives, or even a bit of fresh thyme can add a layer of complexity that plays beautifully with the nutty profile of the chickpea flour. When adding herbs, ensure they are finely minced so they don't impede the structural integrity of the flatbread.
Another secret, often utilized by street vendors in Nice, is adding a pinch of toasted cumin seeds or smoked paprika to the batter. These spices add a gentle, warming undertone that bridges the gap between the French Mediterranean and Middle Eastern influences. If you want to lean into a more savory, umami-rich experience, consider adding a tablespoon of nutritional yeast or even some finely grated parmesan cheese to the batter itself. These additions don't just change the flavor; they impact the texture, encouraging better browning and creating a slightly more robust, snackable flatbread.
Toppings That Transform
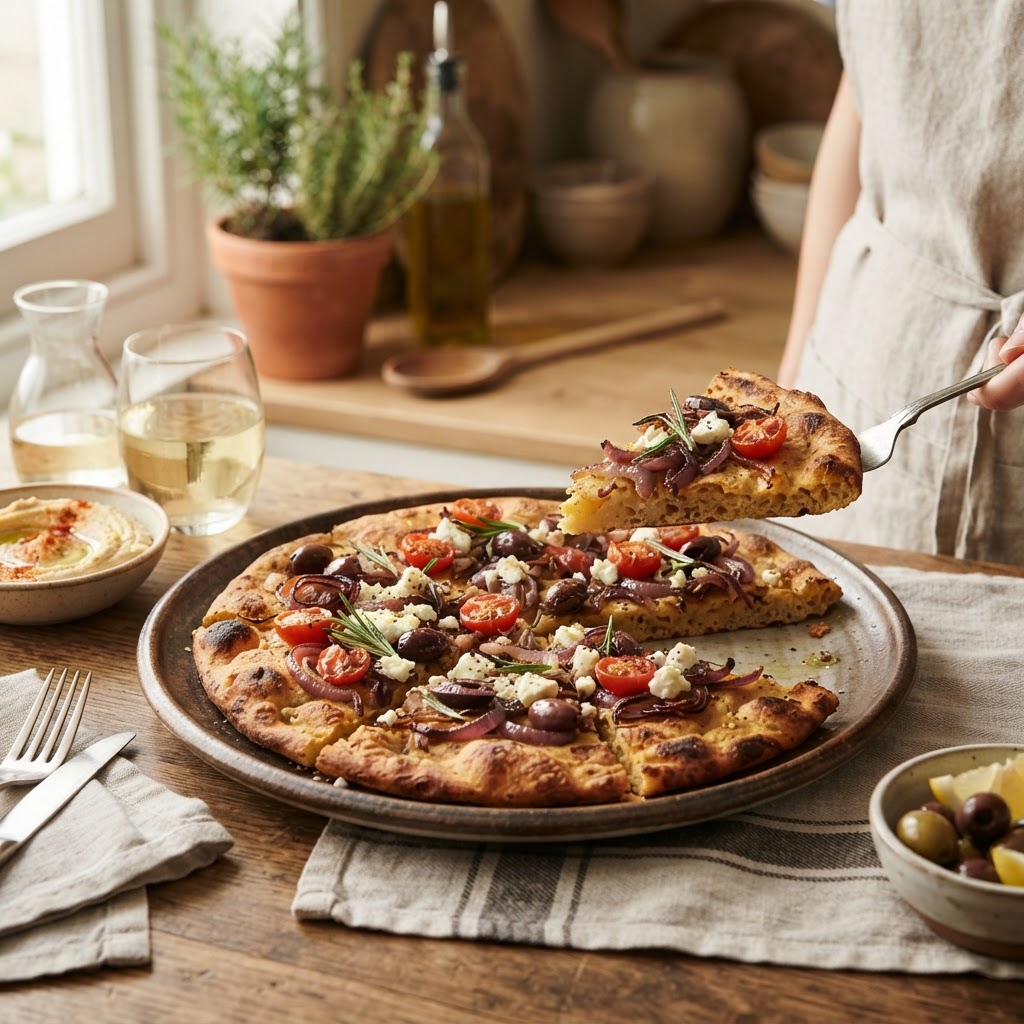
Once your socca is out of the oven and slightly cooled, the world of toppings is your oyster. Because socca is effectively a savory pancake, it performs exceptionally well with both cool, fresh toppings and warm, sautéed ones. I personally love a classic Mediterranean pairing: caramelized onions, kalamata olives, and a scattering of fresh arugula tossed in a lemon-tarragon vinaigrette. The contrast between the hot, crisp base and the cool, acidic greens is a masterclass in culinary balance.
The beauty of the socca is its versatility; it acts as a neutral canvas for the boldest flavors in your kitchen pantry.
For a heartier meal, consider topping your socca with roasted red peppers, marinated artichoke hearts, and a dollop of creamy goat cheese. If you are looking for a protein boost, add some thinly sliced prosciutto or even some roasted chickpeas on top for an added layer of texture. The key to successful toppings is to avoid making the surface too "wet." If you are adding ingredients that hold a lot of moisture, like sliced tomatoes or balsamic glaze, wait until the very last second before serving to add them. Otherwise, you risk the moisture soaking into the flatbread, which will ruin that perfectly crispy crust you worked so hard to achieve.
Troubleshooting Common Socca Setbacks
The "Soggy Center" Syndrome
If you find that your socca is crispy on the edges but mushy in the middle, you have likely encountered the most common issue in socca production: an improper pan temperature. When the skillet isn't hot enough, the batter settles into a thick layer rather than evaporating the moisture quickly enough to create that "custard-like" set. To fix this, increase your preheating time. I recommend letting the empty skillet sit in the oven for at least ten to fifteen minutes after the oven has reached its target temperature.
Another culprit for a soggy center is, surprisingly, an excess of oil. While we need oil to prevent sticking and to aid in the frying process, using too much creates a pool of hot fat that prevents the batter from adhering properly to the surface of the pan. Use a pastry brush or a paper towel to ensure the oil is evenly distributed in a thin layer, rather than pooling at the bottom. Think of it as seasoning a pan rather than frying a donut; you want the base to be well-lubricated, not swimming in fat.
When the Bread Sticks to the Pan
Nothing is more heartbreaking than spending twenty minutes prepping a beautiful batter only to have it weld itself to your favorite skillet. If your socca is sticking, there are two likely causes. First, your cast iron might not be properly seasoned. If your pan is relatively new or hasn't been used in a while, give it an extra swipe of high-smoke-point oil (like grapeseed or avocado oil) and heat it until it just begins to smoke before you begin your preheat cycle. This creates a non-stick layer that is essential for delicate batters.
The second cause is impatience. We often try to move the flatbread before it is ready. The chickpea flour needs to develop a crust that physically detaches from the iron. If you try to slide a spatula under the socca before the bottom has fully crisped, you are guaranteed to tear it. If you suspect it might be sticking, take a deep breath and give it another sixty seconds. You will notice that as the bottom browns, the edges will naturally pull away from the sides of the pan. This is your visual cue that the socca is ready to be moved.
Professional Chef Tips for the Home Kitchen
The Power of the Miseen Place
In a professional kitchen, we live by the rule of mise en place—everything in its place. For a recipe as fast as socca, this is essential. You want your whisk, your measuring cups, your oil, and your toppings pre-prepped before the oven even turns on. Because the cooking process is so rapid once the skillet comes out of the oven, you do not have time to be hunting for the salt or chopping parsley while the pan is losing its thermal energy.
Prepare your topping ingredients in small bowls and keep them on your counter. Ensure your cutting board is clean and ready. When the socca is in the oven, take that time to wipe down your workspace. By the time the flatbread is ready to come out, you should have nothing left to do but garnish and serve. This keeps the process meditative rather than frantic, which is exactly how cooking at home should feel.
Scaling Up for a Crowd
If you are hosting a dinner party and want to make socca for more than two people, do not try to make one giant batch in a massive pan. It won't work. The beauty of socca is in its thickness-to-surface-area ratio. Instead, use multiple smaller cast-iron skillets simultaneously. If you only have one skillet, don't worry—just make them in successive rounds.
The good news is that socca is surprisingly forgiving when it comes to temperature. Once you have made your first batch, the oven will be at the perfect temperature for the second. You can wrap the finished flatbreads in a clean kitchen towel to keep them warm while you work on the next ones. If they lose a bit of their crunch, a quick thirty-second blast under the broiler before serving will bring them right back to life. It’s a great way to handle entertaining without feeling like you are stuck behind the stove the entire night.
Nutritional Benefits and Dietary Versatility
High Protein for Active Lifestyles
Chickpea flour is not just a tasty alternative to wheat; it is a powerhouse of nutrition. It is high in complex carbohydrates that provide sustained energy, unlike refined white flours that lead to blood sugar spikes and crashes. For those who exercise or lead active lifestyles, the protein content in chickpea flour makes for an excellent post-workout meal. You can easily bump up the nutritional profile by serving your socca alongside a high-quality protein, like a poached egg or a side of seared white fish.
Furthermore, chickpea flour is rich in minerals such as magnesium, iron, and folate. These are essential nutrients that many of us are lacking in our standard Western diets. By making socca a staple in your home, you are not just enjoying a piece of French culinary heritage; you are actively contributing to a more well-rounded, nutrient-dense diet. It is rare that a dish as delicious as a crispy flatbread can be classified as a true "superfood" base, yet here we are.
Serving Suggestions for Every Meal
Socca is incredibly versatile when it comes to timing. As a breakfast item, it pairs beautifully with avocado, a drizzle of chili oil, and a runny egg. The nutty, earthy flavor of the chickpeas complements the richness of the yolk perfectly. For lunch, serve a slice of socca with a vibrant Mediterranean salad—think cucumbers, tomatoes, feta cheese, and olives. The combination of textures is what makes the meal memorable.
For dinner, you can treat the socca almost like a pizza crust. Spread a thin layer of basil pesto or a tapenade across the surface, add some sautéed mushrooms or roasted zucchini, and finish with a sprinkle of pine nuts. Because the base itself is so flavorful, you really don't need a heavy sauce or a mountain of cheese to make it satisfying. It is a light, elegant meal that leaves you feeling satisfied without that heavy, sluggish feeling that often follows a flour-heavy dinner.
Final Thoughts
Mastering the art of socca is one of the most rewarding journeys a home cook can undertake. It forces us to slow down, respect the simplicity of our ingredients, and appreciate the chemistry that turns a simple liquid into a golden, crispy, delicious centerpiece. You have learned about the importance of the hydration ratio, the necessity of the cast-iron heat, and the endless potential for topping experimentation. More importantly, you have gained the confidence to stop blaming the chef and start embracing the role of the creator in your own kitchen.
As you begin your journey with these flatbreads, remember that the first one might not be perfect. It might be a little too soft, or you might over-crisp the edges. That is perfectly okay. Cooking is a tactile skill, and the more you work with chickpea flour, the better you will understand the subtle cues that indicate when it is ready. Listen for the sizzle, watch for the bubbles, and trust your instincts. Soon enough, the smell of toasted chickpea flour and olive oil will become the signature scent of your kitchen, signaling that something delicious is just minutes away.
The beauty of "Blame The Chef" is knowing that we have all been beginners at one point. We have all burned the pan, dropped the salt, and misjudged the heat. But we kept going, and that is what makes the final result so sweet. Take this guide, grab your cast-iron skillet, and make your first batch of socca tonight. Whether you share it with friends or keep it all to yourself, you are participating in a tradition that spans generations. Happy cooking, and may your edges always be perfectly crispy.

Get the Next Recipe
Weekly recipes, techniques, and gear picks — straight to your inbox.
