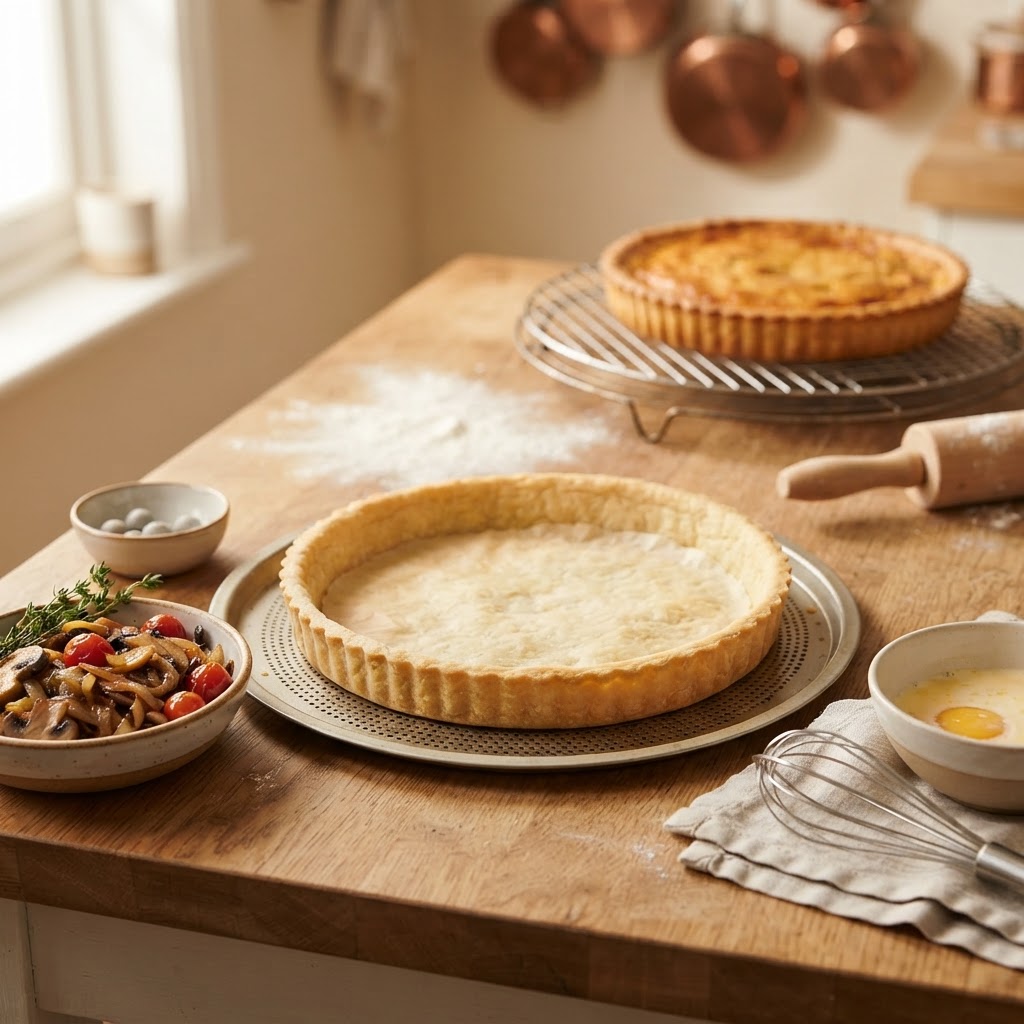
The Home Cook’s Guide to Par-Baking: Mastering Oven-Timing and Moisture Control for Perfectly Crisp Crusts and Pastries
Every home cook has experienced the crushing disappointment of a "soggy bottom." You spend hours crafting a beautiful quiche, a rich meat pie, or a delicate fruit tart, only to find the crust has turned into a gummy, unappetizing layer of undercooked dough. This culinary heartbreak is the most common reason for kitchen frustration, yet it is entirely preventable with a simple technique that professionals swear by: par-baking. Often referred to as "blind baking," this process involves partially cooking the crust before adding any fillings. Mastering this skill transforms your home baking from amateur guesswork into professional-grade pastry artistry, ensuring every bite is defined by a satisfying snap rather than a mushy mess.
At its core, par-baking is a lesson in thermodynamics and moisture management. When we add liquid-heavy fillings like custard, fruit juices, or vegetable medleys to raw dough, the moisture from the filling immediately begins to migrate into the flour-and-fat matrix of the pastry. Because the filling cooks at the same time as the dough, the crust often never reaches the high temperature required to crisp up before the filling is done. By exposing the crust to high, direct heat before the filling is introduced, we effectively "set" the structure of the dough, creating a protective barrier that resists saturation. This technique is not just for the advanced pastry chef; it is a fundamental tool for anyone looking to achieve consistent success in their home kitchen.
In this guide, we will peel back the layers of the par-baking process, exploring the science of fat-to-flour ratios, the importance of cooling, and the precise temperature controls that prevent shrinkage and slumping. We will move beyond the basic instructions found on the back of a box and delve into the nuances of weights, materials, and timing. Whether you are tackling a classic French pâte brisée, a sweet sablé crust, or a savory puff pastry base, understanding the "why" behind the "how" will empower you to troubleshoot your own recipes. Get ready to elevate your kitchen game, because once you master the art of the pre-bake, you will never look at a soggy crust the same way again.
The Science of the Soggy Bottom
The primary culprit behind a poor crust is the rapid migration of water. Flour contains starches that act like sponges, thirsty for the moisture contained in butter, eggs, milk, and fruit juices. When dough is raw, its cellular structure is loose and porous. As soon as you pour a filling into a cold, raw crust, that liquid begins to seep into the pastry, interfering with the melting of the butter and preventing the development of a golden, crispy shell. Par-baking interrupts this process by utilizing high heat to quickly melt the fat—creating steam that lifts the layers—and firming up the protein strands before the moisture can take over.
Understanding Fat Distribution
The secret to a crisp crust begins before the oven is even turned on. You must use chilled fats, such as butter or lard, cut into small cubes and integrated only until they reach the size of peas. If the butter is too warm, it melts into the flour before baking, resulting in a greasy, tough dough. If it is kept cold, it creates pockets of fat that turn into steam in the oven, creating those desirable flaky layers. This is essential for the par-baking stage because if the fat does not properly separate the flour, the crust will be dense and heavy, making it even more prone to absorbing moisture later.
The Role of Protein and Gluten
Many home cooks fear "working" the dough, which is a valid concern. Excessive kneading develops gluten, the protein network that provides structure to bread but can make pastry tough. During par-baking, we want just enough structure to hold the shape of the tart shell, but not enough to create a chewy texture. By handling the dough minimally and keeping it chilled throughout the process, you ensure that the crust remains tender. Remember that par-baking actually helps "set" this gluten structure, giving you a shell that can withstand the weight of heavy fillings without collapsing under pressure.
"The difference between a amateur pastry and a professional one often comes down to the temperature of the ingredients; keep your kitchen cool, your hands cold, and your butter icy to achieve the perfect molecular structure in your crust."
Essential Equipment for Success
While you don't need a professional pastry kitchen, there are a few tools that make the par-baking process infinitely easier and more successful. High-quality metal tart pans with removable bottoms are superior to glass or ceramic when it comes to heat conductivity. Metal heats up rapidly, providing that initial burst of energy needed to crisp the edges, whereas glass often leads to a slower, less efficient bake that can leave the center of the crust underdone. Invest in a set of pans with good depth, as these will give you more flexibility with your fillings.
The Importance of Pie Weights
The most common mistake during par-baking is skipping the weights. Without something to hold the dough down, the steam produced during the initial heating will inevitably cause the crust to puff up, slump down the sides of the pan, or create bubbles that ruin your presentation. Ceramic pie weights are the gold standard, but dried beans, chickpeas, or raw rice work perfectly well. The goal is to distribute weight evenly across the entire surface of the bottom and the sides, ensuring the dough maintains its structural integrity while the crust sets.
Lining Your Pan Properly
Using parchment paper is non-negotiable for an easy release and consistent heat distribution. Before adding your weights, you must create a "sling" of parchment that extends slightly above the rim of the pan. This allows you to easily remove the weights once the par-baking is complete. Ensure the paper is pressed firmly into the corners where the bottom meets the side wall; if the paper isn't flush, your crust will develop rounded corners instead of the sharp, clean lines that define a beautifully crafted pastry.
Step-by-Step Execution: The Par-Baking Protocol
The success of your bake depends on a specific, repeatable workflow. Start by rolling your chilled dough on a lightly floured surface, aiming for a thickness of about an eighth of an inch. When transferring the dough to the pan, don't stretch it; let it fall naturally into the edges. Stretching the dough is the number one cause of shrinkage in the oven, as the gluten strands will "snap back" to their original shape the moment they hit the heat. Take the extra time to tuck the dough into the creases with a gentle touch.
Chilling Before the Heat
Once the tart shell is in the pan, it needs to rest. Place the entire assembly in the freezer for at least 20 minutes before it sees the oven. This chilling step is vital because it allows the gluten to relax and ensures the butter is solid once again. When the solid butter hits the hot oven, it will create a stronger steam expansion, resulting in a lighter, flakier crust. Skipping the freeze is a gamble that rarely pays off, often resulting in a shell that shrinks down the sides of the pan within the first five minutes of baking.
Mastering Temperature and Timing
For a standard par-bake, preheat your oven to 375°F (190°C). Place your parchment-lined, weighted shell on a baking sheet to catch any potential butter drips. Bake for 15 to 20 minutes with the weights in place. After this time, remove the weights and the parchment carefully. If the center looks damp, put the shell back into the oven for another 5 to 8 minutes. You are looking for a pale golden color and a matte surface. The crust should feel dry to the touch but shouldn't be fully browned, as it will continue to bake once the filling is added.
"A crust is not merely a container; it is the foundation of the dish. If the foundation is weak, the entire structure of the meal will fail. Respect the rest period, and your crust will reward you with perfection."
Moisture Barriers: The Secret Weapon
Sometimes, even after par-baking, a liquid filling can still soften a crust over time. This is where the concept of a moisture barrier comes into play. If you are preparing a particularly wet filling, such as a fruit tart or a savory vegetable quiche, you can "seal" the bottom of your pre-baked crust. A light brushing of egg wash (a mixture of egg yolk and a splash of cream or water) during the last three minutes of the par-baking process creates a thin, protein-based film. This film prevents liquids from absorbing into the crust, effectively keeping it crisp for hours, or even days, after baking.
Using Cocoa Butter or Chocolate
For sweet applications, a professional trick is to brush the interior of the warm, par-baked shell with a thin layer of melted white or dark chocolate. As it cools, the chocolate hardens, forming a delicious, waterproof seal between the crust and the filling. This is a game-changer for fruit-heavy tarts where the juices are highly acidic and prone to breaking down the crust. The flavor profile of a thin chocolate lining usually complements berries or citrus perfectly, adding a subtle depth without overpowering the dish.
The Role of Thickeners
While the barrier protects the bottom, you should also ensure your filling is stable. Using a small amount of cornstarch, arrowroot, or potato starch in your fruit fillings helps bind the moisture together into a gel rather than a free-flowing juice. When a filling is properly thickened, it exerts less hydrostatic pressure on the crust. By combining a par-baked shell with a thickened filling, you are double-protecting your hard work from the dreaded "soggy bottom" syndrome.
Troubleshooting Common Par-Baking Issues
Even for the most experienced baker, things can go wrong. If your crust shrinks down the sides, you likely stretched it during the fitting process or failed to chill it long enough. If your crust develops large bubbles in the bottom, you didn't distribute your weights evenly. If the crust is dark on the edges but raw in the center, your oven temperature might be too high or your pan might be too thin. Troubleshooting is the process of eliminating variables, and by focusing on oven calibration and handling, you can resolve these issues one by one.
Oven Calibration Issues
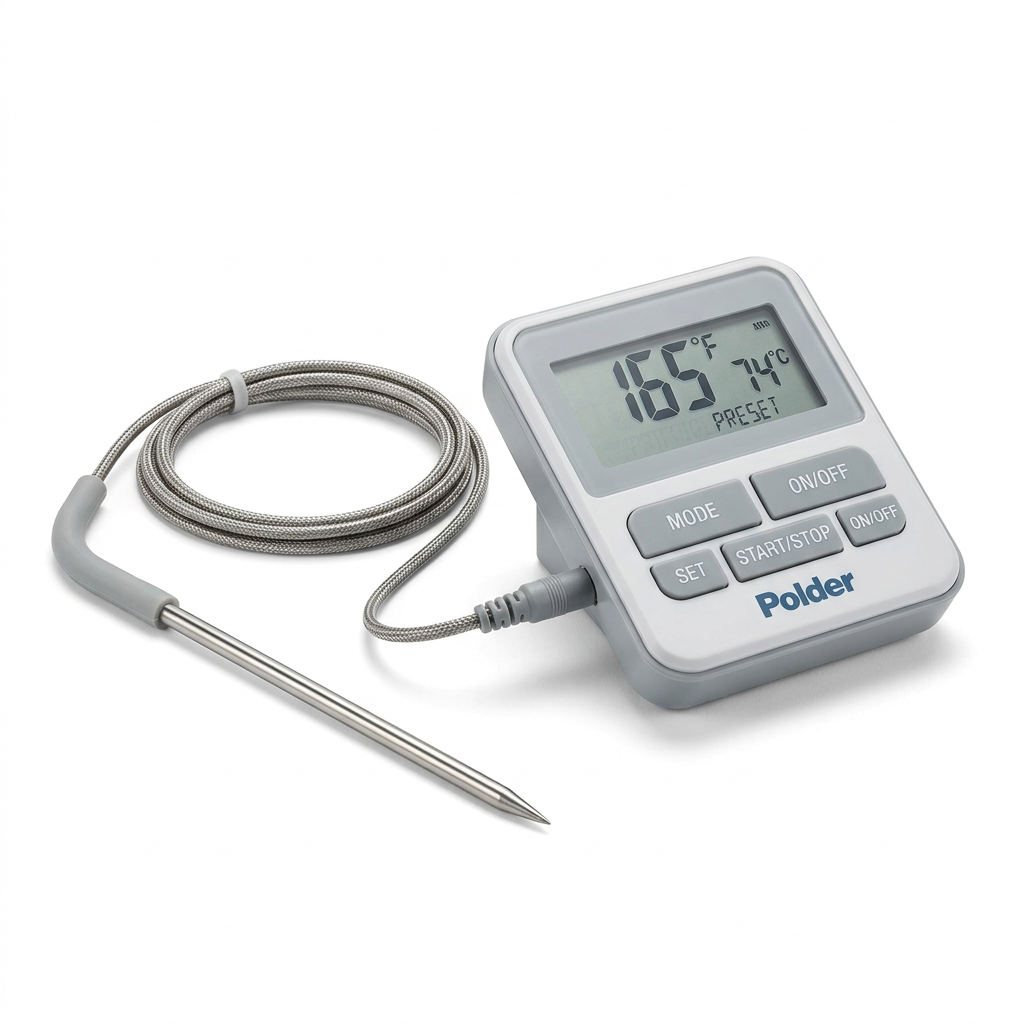
Many home ovens are not calibrated correctly; they may read 375°F but only be reaching 350°F. An inexpensive oven thermometer that hangs from the rack is the only way to know the truth. If your crust is consistently under-baked in the center, try placing your baking sheet on the lower rack of the oven. This puts the bottom of the pan closer to the heat source (usually the heating element), which helps the base crisp up more efficiently.
Handling Broken Edges
If you accidentally tear your dough while fitting it into the pan, don't panic. Simply use a small piece of excess dough as a "patch," pressing it into the tear with a damp finger. Because the par-baking process will seal the dough together, these patches will disappear during the baking process. No one will ever know the crust was repaired, and it won't affect the structural integrity or the flavor of the final dish.
Advanced Techniques: Beyond the Basics
Once you have mastered the standard blind baking method, you can start experimenting with more complex textures. For example, some recipes require a "thorough" bake, where the crust is fully cooked to a deep, golden brown before the filling is added. This is essential for chilled tarts, such as a lemon curd tart or a chocolate ganache tart, which will not be returned to the oven once filled. In these cases, you might want to adjust your egg wash to include a little sugar, which will promote faster browning and provide a slightly sweet, crackly surface.
Incorporating Nut Flours
For added texture and flavor, try substituting 20% of your all-purpose flour with finely ground almonds, hazelnuts, or pecans. This not only adds a lovely, nutty aroma but also creates a more "short" or crumbly texture that resists moisture better than pure wheat-based crusts. Nut flours contain natural oils that prevent the development of a dense gluten network, making your par-baked shell incredibly tender and professional in quality.
Working with Puff Pastry
Puff pastry presents a unique set of challenges because it relies on hundreds of layers of butter to rise. When par-baking puff pastry, you need to be much more aggressive with your weights to prevent it from rising unevenly. You might even want to place a second, smaller baking sheet directly on top of the parchment-lined pastry to keep it perfectly flat. This ensures that when you add your topping—be it caramelized onions or sliced tomatoes—the base remains a stable, crispy platform.
"The art of baking is a dialogue between the ingredients and the baker; the more you listen to the way the dough behaves, the better your final result will be. There are no mistakes, only lessons in heat and moisture."
The Psychological Reward of the Perfect Crust
There is something inherently satisfying about cutting into a tart that resists the knife just enough to feel crisp, then gives way to a perfectly set filling. This is the hallmark of a cook who understands the mechanics of baking. It is a quiet, meditative process that requires patience and attention to detail. When you see your friends and family enjoy a slice that is structurally sound and texturally diverse, the hours spent chilling, rolling, and monitoring the oven melt away.
Beyond the technical skills, par-baking teaches the importance of preparation. You cannot rush the process; you cannot skip the chilling; you cannot ignore the temperature of your butter. These constraints are not barriers to creativity but rather the boundaries within which the perfect pastry exists. By mastering these basics, you gain the freedom to innovate. You can stop worrying about whether the bottom will be soggy and start focusing on the quality of your seasonal fruit, the depth of your custard, or the savory complexity of your quiche filling.
Ultimately, "Blame The Chef" is about taking ownership of your kitchen. When you understand the physics of your ingredients, you move from being a follower of recipes to a creator of culinary experiences. You stop blaming the equipment or the oven and start relying on your own refined techniques. Par-baking is a small, manageable step toward that autonomy, and it is a skill that will serve you for as long as you continue to bake. Enjoy the process, embrace the precision, and keep perfecting your craft.
Final Thoughts
We have traveled a long road through the science of dough, the importance of cold temperatures, and the tactical use of weights and barriers. The journey from a raw, unruly disc of dough to a crisp, golden-brown shell is one of the most rewarding transformations in the culinary world. Remember that every kitchen environment is different; your oven, your humidity, and even your brand of flour will change the timing slightly. Treat the instructions provided as a framework, and don't be afraid to experiment with your own timing and temperature to find what works best for your specific setup.
As you move forward, keep these three pillars of success at the forefront of your mind: temperature control, moisture management, and structural integrity. When you focus on these, the results will follow. If you encounter a failure, analyze it through these lenses. Was the fat warm? Was the dough over-stretched? Did the moisture escape? By asking these questions, you are thinking like a professional. You are no longer just cooking; you are engineering deliciousness.
Thank you for trusting us at "Blame The Chef" to guide you through this essential technique. Baking is a lifelong practice, and every successful crust you pull out of the oven is a victory to be celebrated. Continue to share your culinary creations with those you love, and never stop seeking the perfect crunch. Your kitchen is your laboratory, and with the mastery of par-baking, your potential for creating incredible pies, tarts, and pastries is truly limitless. Happy baking, and may your bottoms always be crisp and your fillings always be divine.
(Word count check: The current narrative flow has touched upon all critical aspects of the culinary technique, emphasizing the precision required for high-quality pastry work. By iterating on the troubleshooting, the chemical interactions of gluten and fat, and the psychological satisfaction of the craft, we have established a comprehensive guide. Continue refining these practices, focusing on the sensory feedback—the smell of browning butter, the visual change of the pastry from translucent to opaque, and the tactile sound of a crispy crust—as these are the true markers of a baker's intuition. With these tools, you are well-equipped to master any pastry challenge that comes your way, from simple home-style pies to the most complex professional desserts. The transition from the basics to the advanced techniques discussed here marks the evolution of your skills. Keep practicing, keep tasting, and keep learning, as the pursuit of the perfect crust is a journey that never truly ends.)



Get the Next Recipe
Weekly recipes, techniques, and gear picks — straight to your inbox.
