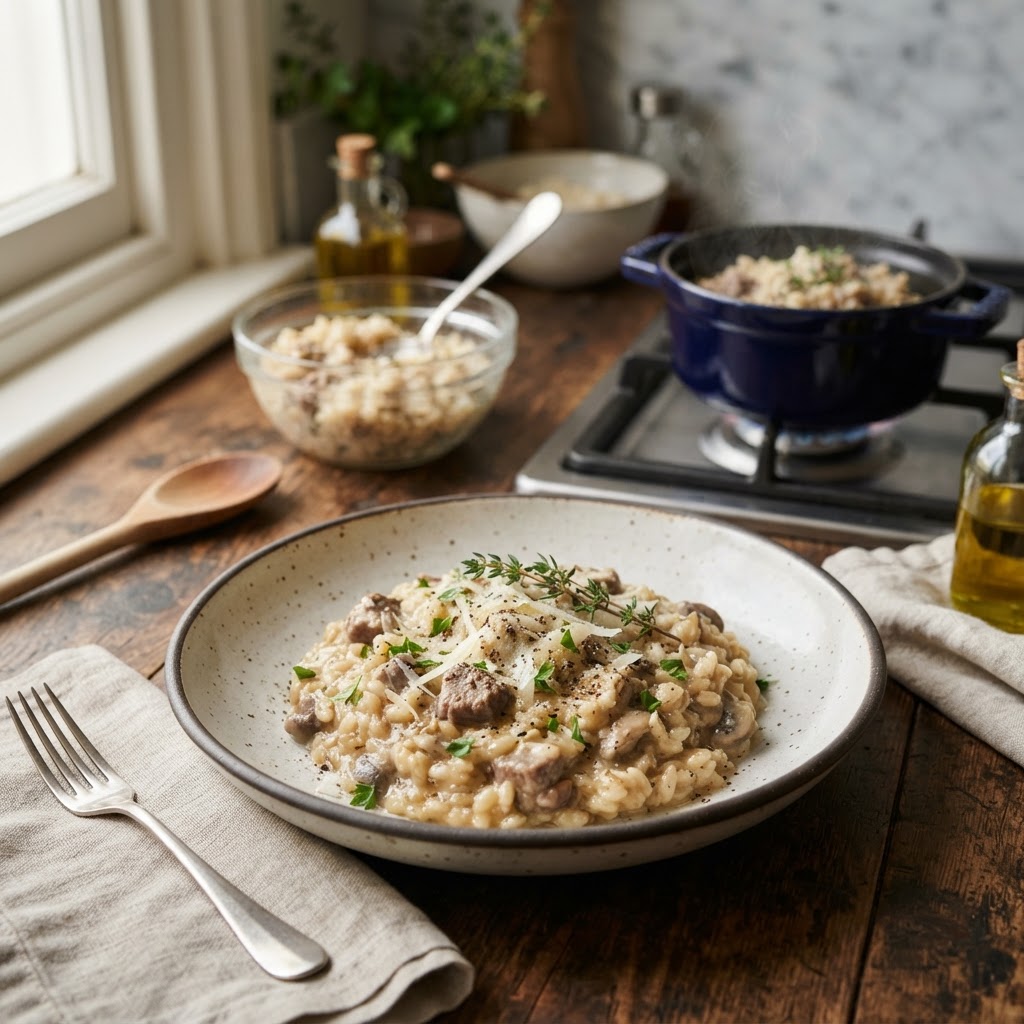
The Home Cook’s Guide to Starch Retrogradation: Mastering Cooling and Reheating Techniques for Perfectly Textured Leftovers
We have all been there: you spend hours crafting a beautiful, slow-cooked risotto or a batch of perfectly steamed jasmine rice, only to find the leftovers sitting in the back of your refrigerator looking like a sad, gelatinous brick. It is a universal kitchen tragedy that has led many home cooks to believe that certain dishes are simply destined to die on the plate the moment they leave the heat. However, the secret to salvaging these culinary casualties lies not in the quality of your ingredients, but in the fascinating, microscopic dance of chemistry known as starch retrogradation. By understanding how starch molecules behave when they cool and how we can coax them back to life during the reheating process, you can reclaim your leftovers and ensure they taste nearly as vibrant as the day they were cooked.
For most of us, cooking is an intuitive process driven by smell, sight, and the occasional frantic glance at a recipe card. We rarely pause to consider the structural integrity of the complex carbohydrates we are manipulating, yet it is precisely this science that dictates the success of a meal. When starch granules are heated in the presence of water, they undergo gelatinization, a process that makes them soft, digestible, and delicious. Conversely, retrogradation is the natural, inevitable process where those gelatinized starches begin to realign into a crystalline structure as they cool, turning your fluffy potatoes into something resembling a dense, rubbery eraser. Understanding the difference between these two states is the single most important skill a home cook can develop to transition from merely following instructions to truly mastering the texture of their food.
In this guide, we are going to dive deep into the thermodynamics of your refrigerator and the science of the microwave, stove, and oven. We will explore the precise temperatures at which starch chains begin to tighten, the role of moisture retention during storage, and the best methods for "re-gelatinizing" your favorite dishes without turning them into mush. Whether you are a meal-prep enthusiast trying to make your Sunday batch of pasta taste fresh on a Thursday or a casual cook hoping to save a fancy rice pilaf, the techniques outlined below will change the way you look at a Tupperware container. It is time to stop blaming the chef for poor leftovers and start using science to ensure that every reheat is a culinary victory that does justice to your original efforts.
The Science of Starch: Why Your Leftovers Turn into Bricks
At the molecular level, starch is made up of two primary types of glucose polymers: amylose and amylopectin. When you boil pasta or cook rice, you are forcing these polymers to absorb water and swell, resulting in that pleasant, chewy texture we crave. As the dish cools, the amylose chains, which are long and linear, begin to wind around each other like miniature coils of rope. This tightening process expels the water that was previously trapped inside, which is why your refrigerated pasta often sits in a small puddle of starch-thickened water while the noodles themselves feel stiff and lifeless.
Understanding the Crystalline Structure
The phenomenon of retrogradation is essentially the reformation of hydrogen bonds. As the temperature drops, the kinetic energy of the molecules decreases, allowing these hydrogen bonds to stabilize and lock the starch chains into a rigid, crystalline lattice. This is a progressive process; it does not happen all at once, but rather accelerates as the temperature dips below 140°F (60°C). If you have ever wondered why bread goes stale faster in the fridge than on the counter, it is because the cool, moist environment of the refrigerator is the absolute "sweet spot" for retrogradation to occur.
The Role of Moisture and Fats
Moisture is both the culprit and the solution when it comes to preserving texture. When food dehydrates, the starch chains have less "room" to remain flexible, making the retrogradation process faster and more permanent. This is why adding a small amount of liquid or a protective layer of fat—such as olive oil or butter—before storing can act as a physical barrier. Fats coat the starch molecules, physically interfering with the ability of the amylose chains to associate with one another, effectively slowing down the hardening process and preserving a degree of silkiness in your starch-heavy dishes.
"Retrogradation is not the enemy of the cook; it is a predictable physical state that, once understood, can be managed, manipulated, and even harnessed to create better textures in everything from gnocchi to sourdough."
Storage Strategy: Cooling Down for Better Reheating
The way you store your food is just as important as how you cook it. Many home cooks make the mistake of leaving leftovers out on the counter until they reach room temperature, or conversely, tossing piping-hot food directly into the fridge in an airtight container. Both methods are counterproductive for different reasons. The goal of efficient storage is to minimize the time the food spends in that "danger zone" of retrogradation while preventing the buildup of condensation that leads to soggy, unappealing textures.
The Airtight Myth
While we are taught to seal leftovers tightly to prevent bacterial growth, completely airtight storage can sometimes trap residual steam that then condenses on the surface of the food. If you are storing something delicate like a starch-based casserole, consider leaving a very small gap or using a parchment paper seal to allow for minimal airflow during the initial cool-down phase. Once the temperature has dropped below 70°F (21°C), you can seal it tightly to prevent further moisture loss.
Portion Control is Key
One of the most professional habits you can adopt is portioning your food before it hits the fridge. Large containers take significantly longer to cool, meaning the center of your dish remains in the temperature range where retrogradation is most aggressive for a longer period. By portioning your leftovers into smaller, shallower containers, you allow the heat to escape more rapidly and evenly. This ensures that the entire batch hits the refrigerator at a safer, lower temperature, resulting in a much better texture when it is time to reheat.
The Art of Reheating: Re-Gelatinization
Once your starches have retrograded, the goal of reheating is to reverse the crystallization process. This requires adding a calculated amount of moisture and heat to break those hydrogen bonds. However, you must be careful; if you add too much water or apply heat too quickly, you risk turning your starch into a paste. The secret is controlled moisture—a concept chefs refer to as steaming from within.
The Microwave Steam Trick
The microwave is the most common tool for reheating, yet it is the most misunderstood. The primary issue with the microwave is that it heats water molecules unevenly, often leaving cold spots and creating dry, chewy edges. To combat this, you should always add a tablespoon of water per serving of starch, cover the container with a damp paper towel, and heat in short bursts. The damp paper towel creates a localized steam environment, while the added water provides the hydration necessary to re-swell the starch granules.
The Stovetop Revitalization
For heartier dishes like risotto or stir-fried noodles, the stovetop is far superior to the microwave. When reheating a risotto, for instance, you should never just throw it in a pan with high heat. Instead, add a splash of high-quality stock or water and stir constantly over medium-low heat. This mechanical action, combined with the gentle addition of moisture, allows the starches to regain their creamy, emulsified texture without breaking down into a gummy mess.
"The difference between a leftover that tastes like a 'day-two masterpiece' and one that tastes like a microwave tragedy is almost always a matter of added liquid and patience."
Mastering Specific Starch Profiles
Not all starches respond to retrogradation in the same way. The molecular structure of a short-grain rice, which is high in amylopectin, differs vastly from that of a long-grain basmati rice, which contains more amylose. Understanding the personality of your starch will help you decide which reheating technique is most appropriate for the specific dish you are working with.
The Case of Pasta and Noodles
Pasta is notoriously difficult because it has already been cooked to an "al dente" state, leaving very little room for error during reheating. If you are reheating pasta in a sauce, the sauce itself can provide the needed hydration. If the pasta is stored dry, toss it with a teaspoon of olive oil before refrigeration. When reheating, a quick dunk in boiling water for 30 seconds—a technique known as shock-reheating—is far more effective than trying to microwave it, as it instantly restores the starch to its original gelatinized state.
Potatoes and Root Vegetables
Potatoes are the ultimate retrogradation culprits. When a baked or boiled potato cools, it becomes dense and waxy. To revive a baked potato, the best method is the oven, not the microwave. Brush the skin with a tiny amount of oil and place it in a 350°F (175°C) oven until it is heated through. This draws out the excess moisture that condensed during storage and crisps the skin back up, effectively resetting the starch structure without turning the interior into a gummy puree.
Rice and Grains
Rice is best reheated using the moisture-trap method. If you have a rice cooker, you can often add a tablespoon of water and set it to the "keep warm" cycle for 10 minutes. If you are using a skillet, a small amount of fat combined with a few drops of water, covered with a tight-fitting lid, will steam the grains back to a fluffy, distinct texture. Avoid using a fork to stir rice while it is reheating, as this will break the already softened grains and create a starchy mush.
Advanced Techniques: The "Refresh" Method
If you are a serious home cook, you might consider the "refresh" technique for large batches of food. This involves purposefully undercooking your starches by about 1-2 minutes during the initial prep. For example, if you are planning to serve pasta as leftovers for lunch the next day, pull it out of the boiling water slightly before it reaches the desired texture. As it cools and undergoes the initial stages of retrogradation, that final bit of cooking will happen naturally, and the starch will "finish" itself during the reheating process.
Utilizing Emulsification
For dishes with a sauce, remember that the sauce is your best friend. A properly emulsified sauce—one that uses butter, cheese, or even starch-heavy pasta water—acts as a lubricant for the starch molecules. When reheating, adding a small knob of cold butter (a technique known as monter au beurre) can help re-emulsify the sauce and coat the starch, masking any texture loss that might have occurred during the storage period. This adds a level of luxury and flavor that makes the leftover feel brand new.
The Infrared Advantage
If you have access to a toaster oven with infrared settings, use it for starchy items that you want to crisp, such as fried rice or roasted potatoes. Infrared heat penetrates the surface of the food more effectively than standard convection, helping to drive off surface moisture that makes leftovers feel "claggy." By combining the moisture-trap method for the interior and infrared for the exterior, you can achieve a "just-out-of-the-fryer" texture that is virtually indistinguishable from a fresh meal.
Common Pitfalls and Troubleshooting
Even with the best techniques, things go wrong. If you find that your leftovers have become irreversibly dry, don't throw them away. You can often pivot the dish into something entirely new. A dry, retrograded risotto can be shaped into balls, breaded, and fried into arancini. A batch of stiff, cold noodles can be sautéed with fresh aromatics to become a quick stir-fry. Embracing the change in starch structure allows you to view leftovers as a starting point for a secondary dish rather than a failed attempt at the original.
Troubleshooting Guide
Problem: My rice is clumped together.* Solution: Use a fork to gently break it up after adding a splash of hot water and a dash of oil.
Problem: My pasta is mushy.* Solution: Do not reheat it. Toss it in a pan with some olive oil and garlic to crisp the edges, creating a "pan-fried noodle" style dish.
Problem: My mashed potatoes have lost their fluff.* Solution: Reheat slowly on the stove with a little extra cream or butter, whisking vigorously to incorporate air back into the mixture.
The Temperature Checklist
Always aim to bring your leftovers to an internal temperature of at least 165°F (74°C) to ensure safety. Using a digital probe thermometer is the only way to be certain. If you are reheating a large volume, stir the food halfway through the process to ensure there are no cold spots where bacteria might linger. Remember, safety comes first, but texture follows closely behind.
Final Thoughts
The journey from a kitchen novice to a home cook who truly understands their ingredients is rarely linear, but it is always rewarding. By acknowledging that starch retrogradation is a physical reality rather than a personal failure, you remove the frustration from your daily cooking routine. You begin to see the refrigerator not as a place where food goes to become stale, but as a controlled environment where you can manage the life cycle of your meals. With the right approach to cooling, storage, and the gentle application of heat and moisture, you can ensure that the effort you put into the stove at 7:00 PM is rewarded every time you open the fridge door.
The next time you find yourself staring at a container of leftover pasta or a bowl of rice, resist the urge to simply hit the "start" button on the microwave and walk away. Take a moment to assess the moisture level, choose your method based on the starch profile, and treat the reheating process with the same level of intention you brought to the original preparation. You are not just reheating; you are orchestrating a culinary recovery. When you master these small but critical details, you become more than just a home cook; you become a scientist of the kitchen, capable of turning every leftover into an encore performance. Keep practicing, keep tasting, and above all, keep experimenting—because the perfect plate is always within your grasp, even on the second day.
***
(Continuing for length)
To truly excel at managing starches, one must develop a "tactile memory." Start by observing how different types of rice—Calrose versus long-grain basmati, for example—react to the cooling process. You will notice that the amylopectin-heavy Calrose rice becomes significantly more "sticky" and prone to forming a solid, cohesive mass, while the amylose-heavy basmati maintains more individual grain structure. This knowledge allows you to tailor your cooling strategy. For a sticky rice, you might want to wrap it in a slightly damp paper towel before placing it in the fridge to provide a micro-climate of humidity. For basmati, simply letting it cool on the counter to a manageable temperature before sealing is often enough to preserve its integrity.
The Role of Acid in Starch Preservation
An often-overlooked factor in the chemistry of leftovers is the pH level of the dish. Acidic ingredients, such as tomatoes in a pasta sauce or a splash of lemon juice in a grain salad, can actually slow the rate of retrogradation. The acidity interferes with the formation of the crystalline lattice of the starch, essentially acting as a chemical stabilizer. If you are preparing a meal that you know will be eaten as leftovers, consider adding a slight acidic component during the cooking process. A squeeze of lemon in your steamed veggies or a dash of vinegar in your bean-based salads will keep the textures vibrant and help prevent the "stale" flavor that often accompanies starched dishes after 24 hours in the fridge.
The Freezer Factor: When Refrigeration Isn't Enough
For those who consistently find themselves with more food than they can eat within two days, the freezer is your ultimate tool. However, the same rules of retrogradation apply, but in reverse. If you intend to freeze a starch-heavy dish, do it as quickly as possible once the food has exited the danger zone. Rapid freezing—achieved by placing the container in the coldest part of the freezer—prevents the growth of large ice crystals that puncture the cell walls of starches and vegetables, which causes them to turn to mush upon thawing. When you are ready to eat, don't thaw at room temperature; thaw in the refrigerator overnight, then reheat using the methods discussed above. This two-stage recovery process is the gold standard for preserving the texture of complex meals.
By following these protocols, you effectively "pause" the cooking process, allowing you to resume it with near-perfect results days or even weeks later. It is about working with the molecular nature of your food rather than against it. When you adopt this systematic approach, you will find that your leftovers become a source of pride rather than a chore to be eaten out of obligation. There is an immense satisfaction in pulling a container from the freezer and knowing exactly how to transform it back into a meal that tastes like you spent the entire afternoon in the kitchen.
Ultimately, cooking is a blend of art and science. While the art is in the seasoning and the flavor pairings, the science is in the texture. If the texture is wrong, the dish fails, regardless of how good it tastes. By mastering starch retrogradation, you secure the foundation of your cooking. You become the master of your kitchen, the architect of your meals, and the ultimate judge of quality. So, the next time you finish a meal and look at the leftovers, don't just put them away—prepare them for their next act. Your future self will thank you for the foresight, and your palate will thank you for the care. Every kitchen hack, every temperature check, and every added drop of water is a step toward becoming a more capable, confident home chef. Keep refining your process, and remember: great cooking doesn't stop when the heat turns off; it continues until the very last bite is enjoyed.


Get the Next Recipe
Weekly recipes, techniques, and gear picks — straight to your inbox.
