The Precision of Pastry: A Home Cook’s Guide to Mastering Flour-to-Fat Ratios for Flaky Crusts
The journey toward the perfect, shatteringly crisp pastry is often paved with disappointment, sunken quiches, and dough that resembles damp cardboard rather than a delicate, buttery delight. Many home cooks approach pie dough with a sense of trepidation, viewing it as a temperamental beast that requires secret alchemy to tame. In reality, pastry is a game of physics and chemistry, governed strictly by the interaction between fat, flour, and temperature. By understanding these fundamental variables, you can transform your kitchen into a professional pâtisserie where the results are as consistent as they are delicious. We are going to strip away the myths surrounding crust-making and focus on the cold, hard science that separates a mediocre crust from one that earns standing ovations at every holiday table.
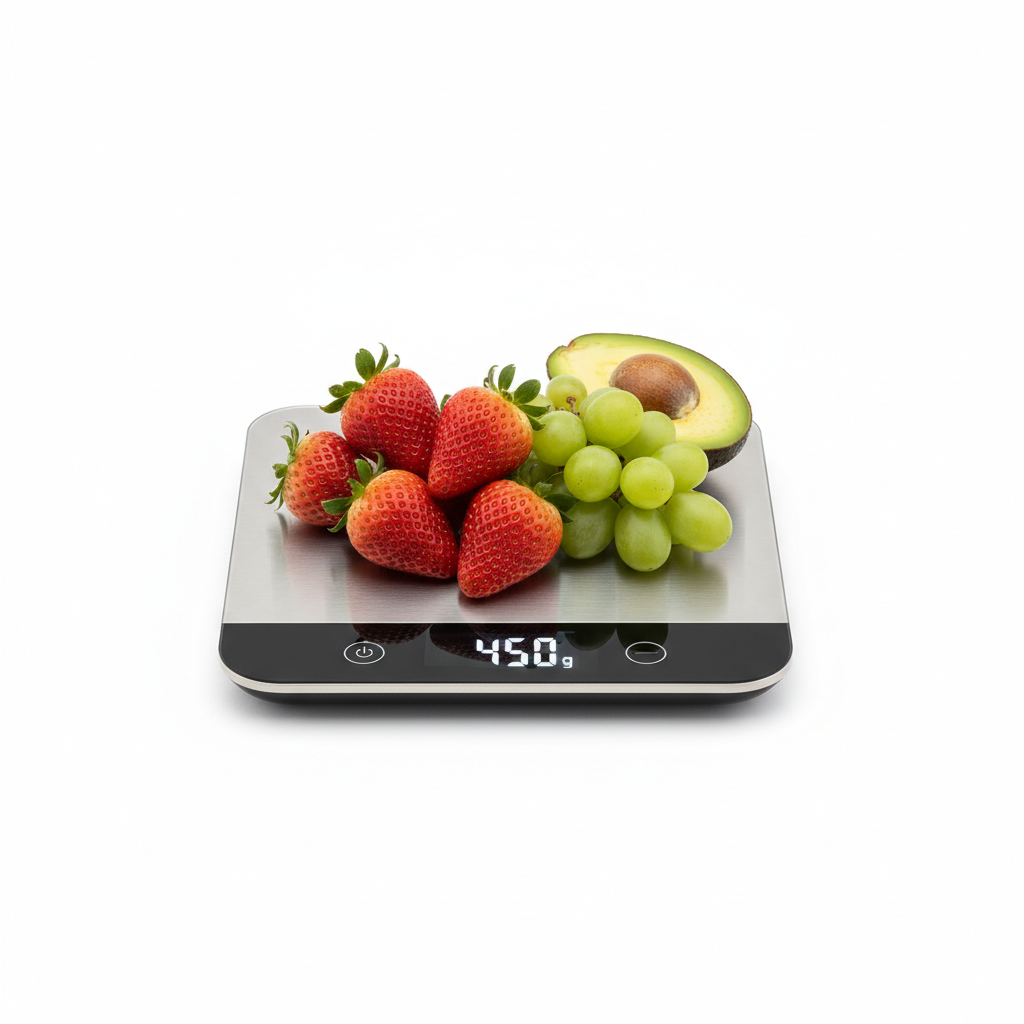
The secret to mastering pastry lies in the flour-to-fat ratio, a concept that serves as the blueprint for every successful dough. While professional recipes can become incredibly complex, the home cook should think of pastry in terms of percentages and structural integrity. Too much flour creates a heavy, bready texture that is difficult to roll out and even harder to swallow, while an excess of fat leads to a greasy, crumbling mess that refuses to hold its shape during the bake. Finding that elusive "sweet spot" is less about luck and more about precision, requiring a digital scale rather than antiquated measuring cups that yield inconsistent results every single time you use them.
As we delve into this guide, I want you to discard the notion that pastry is "too difficult" for the average home cook to master on a Tuesday night. With the right techniques—specifically the fraisage method and strict temperature control—you will find that a beautiful crust is well within your grasp. We will examine the molecular structure of gluten, the importance of hydration, and the art of the blind bake, ensuring that you never have to apologize for a soggy bottom again. Prepare to embrace the precision of the trade, because once you understand the mechanics of pastry, you will never look at a store-bought pie crust the same way again.
The Chemistry of the Crust
At its core, pie dough is a simple emulsion of fat, flour, and liquid, but the way these ingredients interact creates the structural scaffolding of the crust. The flour provides the protein—specifically gluten—that gives the crust its structure, while the fat serves as a barrier, preventing those proteins from forming long, elastic strands that would make the dough tough. If you overwork the dough, you are essentially encouraging gluten development, which is the enemy of a tender pastry. The goal is to coat the flour particles in fat just enough to limit hydration, resulting in a short, flaky texture rather than a chewy one.
Understanding Flour Proteins
Not all flour is created equal, and for pastry, the protein content is your primary concern. All-purpose flour generally contains between 9% and 11% protein, which is ideal for a sturdy yet tender crust. If you use a high-protein bread flour, you will inevitably end up with a tougher, more resilient crust that lacks that melt-in-the-mouth sensation we crave. I always recommend using a high-quality, unbleached all-purpose flour for the most consistent results in your home kitchen.
The Role of Fat
Fat is the most critical component when it comes to the "flaky" factor of your pastry. Whether you prefer unsalted butter, lard, or a combination of the two, the fat must remain cold throughout the entire mixing process. As the dough bakes, these solid chunks of fat melt, leaving behind small pockets of steam that push the layers of flour apart. This separation is what creates the distinct, paper-thin layers that characterize a professional-grade pastry. If your fat melts before it hits the oven, you lose those beautiful layers entirely.
The secret to the ultimate flaky crust isn't a secret at all—it's temperature. If your butter is soft, your pastry is doomed. Keep it cold, work quickly, and trust the physics of the bake.
Selecting Your Ingredients for Success
Selecting your ingredients is the first step toward mastery, and it requires a discerning eye. While it might be tempting to grab whatever is on sale at the local grocery store, the quality of your butter will be reflected in the final flavor profile of your crust. I always advocate for European-style butter, which typically has a higher butterfat percentage—usually around 82% to 85%—compared to standard American grocery store brands. This extra fat content means less water, which leads to a crispier, more flavorful crust.
Choosing the Right Fat
While unsalted butter is the gold standard for flavor, many pastry chefs swear by a blend of butter and rendered leaf lard. The lard creates an incredibly tender, almost porcelain-like crust, while the butter provides that rich, nutty flavor that we all expect from a high-end dessert. If you are a beginner, stick to high-quality unsalted butter to get a feel for how it handles, but don't be afraid to experiment once you have gained confidence in your technique.
Liquid Requirements
The hydration of your dough—typically ice-cold water or occasionally vodka—is the final piece of the puzzle. Adding just enough liquid to bring the dough together is the mark of an experienced baker. Using cold water is non-negotiable because it keeps the fat from softening during the mixing stage. Some bakers add a splash of apple cider vinegar or lemon juice; the acidity helps inhibit further gluten development, resulting in a crust that is even more tender and easy to handle.
The Mixing Method: Precision in Action
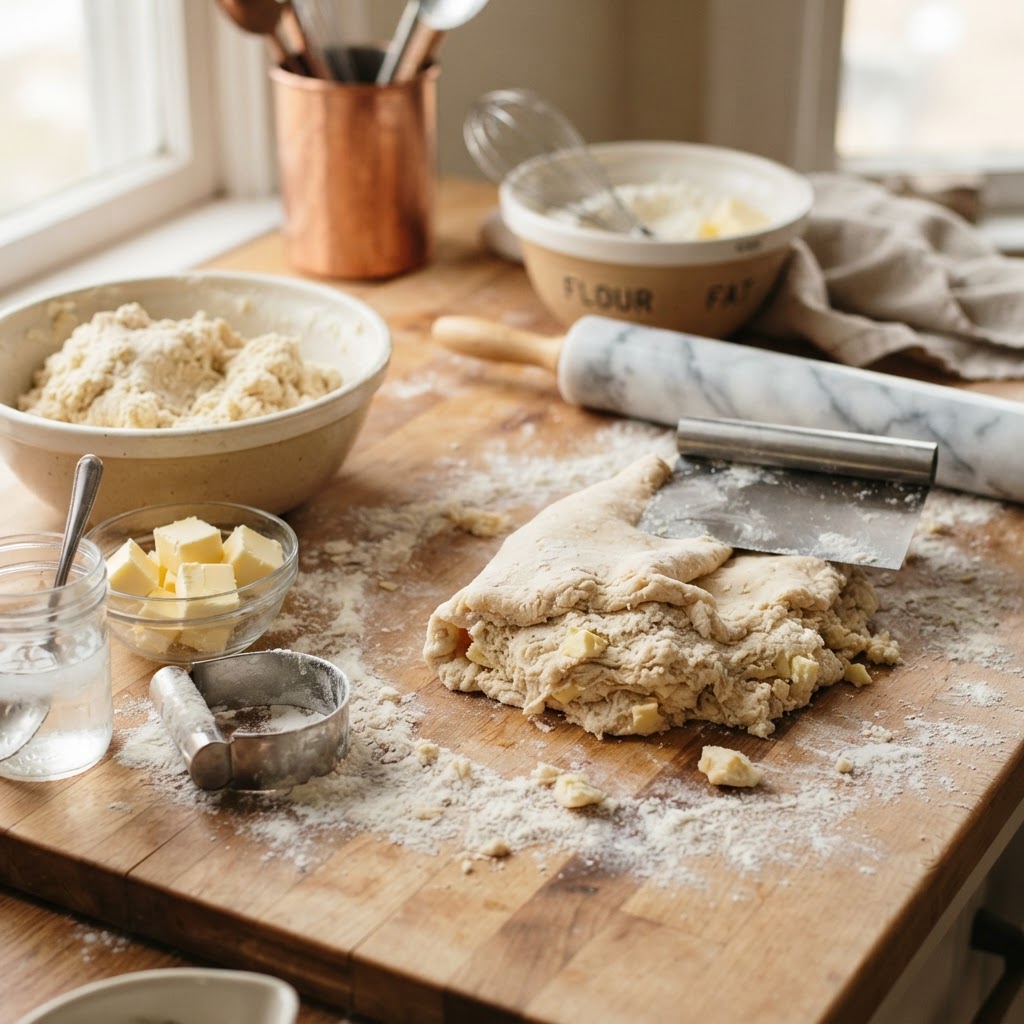
Once your ingredients are assembled, the mixing process begins. There are several ways to incorporate the fat into the flour, but the manual cut-in method remains the best for the home cook. Using a pastry blender or your own fingertips, you want to break the butter down into pea-sized pieces. These larger, visible shards are exactly what you want; they provide the architectural support for the steam pockets that define a perfect crust.
The Fraisage Technique
Once the fat is incorporated, you must bring the dough together without overworking it. This is where the fraisage method comes in. By using the heel of your hand to smear the dough across the countertop, you create long, thin layers of butter between the flour, which translates to massive, flaky sheets in the finished product. It is a professional technique that looks intimidating but is actually quite simple to master with a little bit of practice.
Avoiding Overworking
The most common mistake home cooks make is over-mixing the dough once the water is added. The moment the dough begins to come together into a shaggy mass, stop. Do not knead it like bread. You are looking for a cohesive ball that holds its shape, not a smooth, elastic sphere. If you find yourself tempted to add more water, take a deep breath and give the dough another thirty seconds of gentle pressing; it will usually hydrate itself as it rests.
The Importance of the Chill
Patience is a virtue in the world of pastry, and nothing tests that virtue like the resting period. After the dough is mixed and gathered into a disk, it must be wrapped in plastic and chilled for at least one to two hours—or even overnight. During this time, the flour fully hydrates, the gluten strands relax, and the fat firm up once again. If you attempt to roll out dough that has not been properly chilled, it will be sticky, prone to tearing, and will likely shrink significantly in the oven.
Proper Wrapping
Ensure that your disk of dough is tightly wrapped in high-quality plastic wrap to prevent it from absorbing any odors from your refrigerator. I often flatten the dough into a disk shape before chilling, which makes it significantly easier to roll out into a circle later on. If the dough has been resting for more than a few hours, you may need to let it sit at room temperature for five to ten minutes before rolling to ensure it doesn't crack under the pressure of your rolling pin.
Pastry is not a race; it is a slow, methodical dance between temperature and texture. If you rush the chill, you are sacrificing the structure of your crust before the oven is even turned on.
The Second Chill
After you have rolled your dough and placed it into your pie tin or tart ring, you should chill it again. This second chill is crucial for preventing the dreaded "slump," where the edges of the crust melt and slide down the sides of the pan during the first few minutes of baking. A quick fifteen-minute stint in the freezer before the crust hits the heat helps set the fat structure one last time, ensuring a sharp, professional-looking edge.
Rolling and Shaping Techniques
Rolling out pastry is often where home cooks encounter the most frustration, but with the right tools, it becomes entirely manageable. Start with a lightly floured surface—too much flour will incorporate into the dough and dry it out, while too little will cause sticking. Use a heavy, wooden rolling pin, and apply even pressure from the center outward. Rotate the dough a quarter turn after every few rolls to ensure an even thickness and prevent the crust from sticking to the counter.
Managing Dough Temperature
If you feel the dough getting soft or sticky while rolling, stop immediately. Transfer the dough back onto a baking sheet and slide it into the fridge or freezer for five minutes. It is much better to take your time and keep the fat solid than to fight with a warm, gooey mess that will lead to a tough crust. Professional bakers are not necessarily faster than you; they are simply more disciplined about their temperature management.
Troubleshooting Cracks
If your dough develops small cracks while rolling, don't panic. This is a common occurrence, even in professional kitchens. Simply patch the cracks by pressing small bits of leftover dough into the gap and smoothing it out with your thumb. Because we have used a high-fat content, the dough is incredibly forgiving and will bake together seamlessly as the butter melts and the layers expand in the heat.
The Art of the Blind Bake
Blind baking, or par-baking, is the technique of baking the crust before adding the filling. This is essential for fruit pies or custard-based tarts where a soggy bottom is the biggest threat. To do this, line your chilled dough with parchment paper and fill it with pie weights, dried beans, or even raw rice. This provides the necessary counter-pressure to keep the dough from puffing up while allowing the sides to set firmly in place.
Precision Timing
Start your blind bake at a higher temperature, such as 400°F (200°C), for the first ten minutes to set the structure of the pastry. Then, remove the weights and continue baking at a lower temperature, around 350°F (175°C), until the crust is a light golden brown. This dual-temperature approach ensures the pastry is cooked through without burning the delicate edges. Always allow the crust to cool completely before adding any fillings to ensure the integrity of the pastry remains intact.
Egg Washes and Finishes
For a professional finish, never skip the egg wash. A simple mixture of one egg yolk and a tablespoon of heavy cream brushed lightly over the crust before baking will provide a deep, mahogany shine that makes the final product look like it came straight out of a French bistro. You can also sprinkle a pinch of coarse sugar on top for added texture and a slight sweetness that balances the savory butter notes of the crust.
Final Thoughts
Mastering the precision of pastry is a process that unfolds over time, rewarding your patience and attention to detail with unparalleled results. By viewing the process through the lens of physics—balancing that delicate ratio of flour to fat and respecting the critical role of temperature—you elevate your baking from mere recipe-following to a true culinary craft. Remember that every "failed" crust is simply a lesson in how your oven, your ingredients, and your specific environment interact.
Do not be discouraged by a crust that shrinks or a bottom that isn't quite as crisp as you'd like. Even the most seasoned pastry chefs have days where the butter melts too fast or the humidity in the air plays havoc with the flour. The key is to keep practicing and to keep your ingredients cold. The more you work with your hands, the more you will learn to "feel" when the dough is properly hydrated and when it is ready to be moved from the counter to the pan.
As you continue your culinary journey at "Blame The Chef," remember that the crust is the foundation of the entire dessert. When the foundation is strong, light, and flaky, your fillings have the perfect stage on which to shine. Take your time, weigh your ingredients with precision, and enjoy the process. There is no greater satisfaction than pulling a golden-brown, perfectly constructed pastry from the oven, knowing that you achieved it not by magic, but through the mastery of technique and the respect for the ingredients at hand. Now, go forth and bake with confidence, knowing that you have the tools to create professional-grade results in your own home kitchen.


Get the Next Recipe
Weekly recipes, techniques, and gear picks — straight to your inbox.
