The Science Behind Perfect Caramelization
Caramelization is one of the most magical transformations in cooking, where simple sugars undergo a chemical change to create complex flavors and a beautiful golden color. The science behind this process is accessible to anyone willing to experiment in the kitchen. By understanding the principles of caramelization, you can enhance the flavor profile of a variety of dishes, from savory ground meats to sweet desserts. Whether you are a novice home cook or a seasoned chef, mastering caramelization opens up a world of culinary possibilities.
When sugar is heated, it begins to decompose and create a broth of delicious flavors and aromas. The color ranges from a soft golden hue to a deep, burnt mahogany, each stage offering distinct taste notes. Caramelization involves the breakdown of sugars, particularly sucrose, into simpler molecules. This transformation highlights the importance of temperature control, timing, and the right ingredients, making it a crucial technique to grasp for anyone serious about cooking. Through careful observation and patience, you can become adept at achieving the right degree of caramelization for your needs.
In this exploration of the science behind caramelization, we will delve into the key factors that influence this process, from sugar types to temperature guides. We will discuss how to achieve perfectly caramelized vegetables, the nuances between caramelizing sugar and other ingredients, and tips from professional chefs to help you navigate this culinary art. With practice and understanding, you'll be prepared to take your dishes to an extraordinary level, enhancing not just flavors but also textures and appearances that elevate your cooking.
Understanding Caramelization
Caramelization is a complex chemical reaction that occurs when sugars are heated. At its core, this process involves the breakdown of sugar molecules into smaller compounds, resulting in a rich variety of flavors and aromas. While caramelization predominantly involves sucrose, it is essential to note that fructose and glucose can also caramelize, albeit at different temperatures. The Maillard reaction, often confused with caramelization, is another important process in cooking that occurs with the reaction of amino acids and reducing sugars.
The Stages of Caramelization
The caramelization process can be divided into several distinct stages, each offering unique flavors and colors:
"Mastering the stages of caramelization can turn your dishes from mundane to extraordinary, providing a depth of flavor that's hard to achieve otherwise."
Understanding where each of these steps falls on the temperature scale is crucial. It allows you to achieve the exact taste and color you desire without crossing the line into bitterness. An instant-read thermometer can be invaluable for maintaining control as you work through these stages.
The Role of Temperature in Caramelization
Temperature control is the backbone of achieving perfect caramelization. As mentioned earlier, different sugars caramelize at varying rates, and monitoring the heat closely is essential. Not only should you be aware of the optimal temperatures, but understanding your equipment is just as important.
Using a Candy Thermometer
A candy thermometer is an essential tool in the kitchen for sugar work. To ensure successful caramelization, here’s how to use it effectively:
Gas vs. Electric Heat
The choice of heat source can also impact results:
"Remember that the key to perfect caramel is patience. Rushing is the fastest way to go from delicious caramel to burnt sugar."
Ingredients for Caramelization
While sugar is the principal ingredient for caramelization, various other ingredients can complement and enhance the flavor profile. Understanding which sugars yield the best results is essential for the home cook.
Types of Sugar
Each type of sugar brings unique flavors and characteristics:
Enhancing Flavor
Adding a few choice ingredients during caramelization can elevate the dish:
Techniques for Successful Caramelization
While understanding the science and ingredients is essential, the actual techniques applied during caramelization determine your success in the kitchen. Here are some methods to consider:
Stirring vs. No Stirring
The question of whether to stir your sugar while it caramelizes is frequent among cooks. Here’s a breakdown of each approach:
Using an Acid
A drizzle of lemon juice or vinegar can help facilitate caramelization as the acidity prevents crystallization. This technique is especially helpful when using brown sugar or honey.
Applying Heat Gradually
Applying heat gradually ensures that all sugar crystals dissolve without burning. Consider starting at moderate heat and adjusting as necessary. Precision is pivotal; even a moment too long past the golden stage can result in unintentionally bitter caramel.
"Caramelization is part art and part science; understanding both will empower your culinary endeavors."
Caramelizing Different Ingredients
Caramelization is not limited to sugars alone. Various foods can be beautifully caramelized, including vegetables, fruits, and proteins. Here’s a closer look at each category.
Caramelizing Vegetables
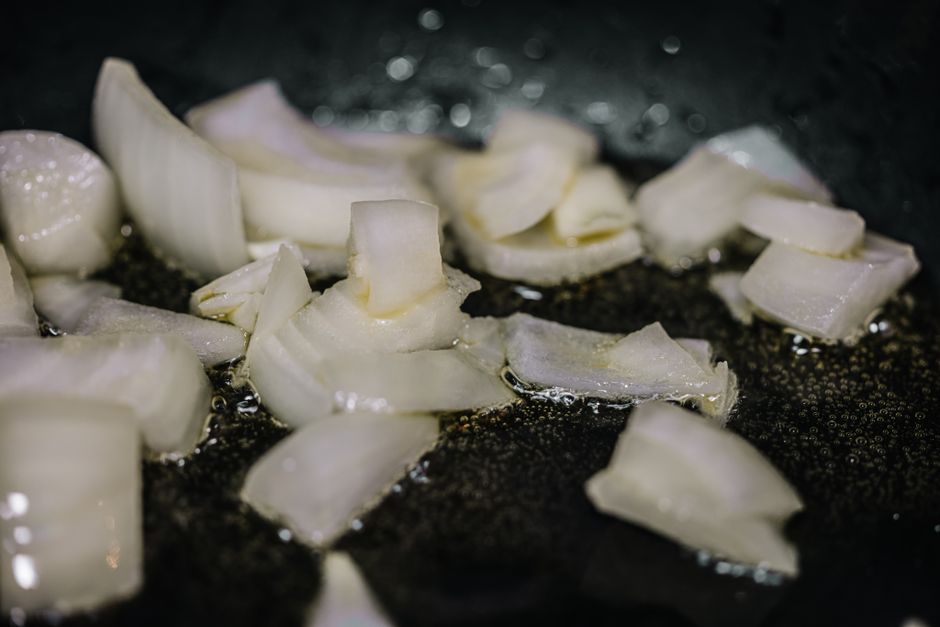
Caramelizing vegetables, such as onions or carrots, enhances their natural sweetness and adds depth to dishes. The basics typically involve:
Caramelizing Fruits
Fruits like apples, pears, and bananas also lend themselves well to caramelization. The principles remain similar, with a focus on thickness and moisture content.
Caramelizing Proteins
Proteins, such as meats and fish, also benefit from caramelization—think of the Maillard reaction that forms a savory crust.
Troubleshooting Common Caramelization Issues
Even the best cooks face challenges while attempting caramelization. Here are some common problems and how to address them.
Sugar Crystallization
If your caramel crystallizes, this often results from stirring too much or introducing impurities. To remedy:
Burning Sugar
Burnt sugar has a distinct charred flavor, often leading to disastrous results. If this happens:
Uneven Caramelization
Uneven caramelization can occur due to poorly cut ingredients or inadequate heat distribution. To fix this:
Culinary Applications for Caramelization
Understanding how to master caramelization allows you to explore an array of culinary applications. Here are some playful and delicious ways to incorporate caramelization into your cooking.
Savory Dishes
Sweet Applications
"Embrace caramelization as a transformative step in your cooking; it elevates flavors and adds character, turning an average dish into something spectacular."
Conclusion
The journey through the science of caramelization showcases its essential role in culinary arts. Armed with knowledge about temperatures, ingredients, and methods, the home cook can elevate their dishes and achieve restaurant-quality flavors.
Mastering this technique requires patience, practice, and a willingness to experiment. Remember, caramelization transforms not only the taste but also the appearance of your food, making it visually appealing and inviting. With every dish refined by this technique, you become not only a better cook but a more confident one as well.
So next time you stand over a stove coaxing sugar into beautiful golden hues or nurturing vegetables to sweet perfection, know that you are engaging in an age-old culinary tradition. Every successful caramelization is a triumphant moment in the kitchen—one that elevates every meal you serve. Happy cooking!


Get the Next Recipe
Weekly recipes, techniques, and gear picks — straight to your inbox.
