The Science Behind Perfect Caramelization: Chemistry in Your Kitchen
There is a moment in the kitchen that separates the casual home cook from the true student of gastronomy, and it almost always happens at the stove. It is that precise, golden-amber threshold where a humble ingredient undergoes a metamorphosis that defies simple explanation. We often throw around the term "caramelization" as if it were a synonym for simply browning food, but to treat it as such is to ignore the complex, beautiful chemistry occurring in your skillet. When you understand the science of what is happening on a molecular level, you stop relying on luck and start relying on technique. You become the master of the flame rather than a victim of the inevitable burnt edges.
The process of caramelization is often confused with the Maillard Reaction, though they are distant, distinct cousins in the culinary world. While the Maillard reaction involves the interaction of amino acids and reducing sugars under heat—creating those savory, nutty, and roasted notes we crave in a seared steak or toasted bread—caramelization is strictly the pyrolysis of sugar. It is the thermal decomposition of carbohydrates, a sequence of dehydration, isomerization, and polymerization that transforms bland sucrose into a complex landscape of over four thousand distinct flavor compounds. This is why a perfectly caramelized onion tastes like velvet candy, while an undercooked one remains sharp, sulfurous, and biting.
As a home cook, your goal is to harness this volatile transition to elevate every dish you produce, from the humble root vegetable to the most decadent dessert sauce. This is not about rushing the process; it is about patience, temperature control, and understanding the structural transformation of sugar molecules. Throughout this deep dive, we will peel back the layers of the sugar-to-heat relationship, providing you with the tools to command your kitchen with scientific precision. By the time you finish reading, you will look at a hot pan not as a source of stress, but as a laboratory for creating profound culinary depth that will leave your guests wondering exactly how you achieved such mastery.
The Chemistry of Sweetness: What Really Happens?
At its core, caramelization is the process by which sugar molecules are broken down by heat. When you introduce heat to pure sucrose, the energy is sufficient to overcome the chemical bonds holding the molecule together. As the temperature climbs past 320 degrees Fahrenheit (160 degrees Celsius), the sugar begins to melt. However, true caramelization requires a higher thermal threshold, typically starting at 338 degrees Fahrenheit (170 degrees Celsius) for sucrose. The moisture evaporates, and the molecules begin to restructure themselves into new, complex chains.
The Stages of Transformation
The result is a spectrum of flavor that ranges from subtle, honey-like sweetness to a robust, bitter, and nutty finish. This is why professional pastry chefs talk about the "stage" of caramel; a lighter amber provides fruitier notes, while a dark, mahogany-colored caramel offers bitterness that cuts through the richness of heavy cream or butter. Achieving this requires constant vigilance, as the window between "perfectly caramelized" and "acrid, burnt carbon" is mere seconds.
"Caramelization is a balancing act between the preservation of sweetness and the introduction of controlled bitterness. It is the art of knowing when to stop the heat before the chemical bonds turn into charcoal."
Mastering the Maillard Reaction: The Protein Connection
While we focus heavily on sugar, it is impossible to ignore the Maillard reaction when discussing browning. If you are caramelizing vegetables, you are likely triggering both the sugar-based caramelization and the protein-based Maillard reaction simultaneously. The Maillard Reaction involves the reaction of reducing sugars with amino acids, which are the building blocks of proteins. This is what creates the savory, umami-rich depth in roasted carrots, seared scallops, or even the crust on a loaf of sourdough bread.
Key Factors for Browning
Surface Moisture*: Water boils at 212 degrees Fahrenheit (100 degrees Celsius). As long as water is evaporating from the surface of your food, the temperature cannot rise significantly above that point. This prevents caramelization. To get a deep, dark brown, you must dry the surface of your food thoroughly before it touches the pan.
pH Levels*: A slightly alkaline environment accelerates the Maillard reaction. This is why many chefs add a tiny pinch of baking soda to onions or tomato sauces—it raises the pH and encourages the reaction to occur more quickly and intensely.
Temperature Range*: While sugar starts caramelizing at 338 degrees Fahrenheit, the Maillard reaction kicks off closer to 285 degrees Fahrenheit (140 degrees Celsius). Keeping your pan in this sweet spot—between 285 and 350 degrees Fahrenheit—is the secret to professional results.
By managing the moisture content and the pH of your ingredients, you essentially create an ideal environment for these chemical reactions to flourish. If you toss your vegetables into a crowded pan, you are steaming them, not browning them. Always work in batches to ensure that the heat remains high and the moisture escapes efficiently, allowing the surfaces of your ingredients to achieve that coveted golden-brown hue.
Temperature Control: The Chef’s Best Friend
The biggest mistake home cooks make is the "on/off" approach to heat. They start with a high flame to get things moving, then panic when the edges look dark and turn the heat down to low, essentially letting the food sit in a tepid, oily pool. Professional temperature management requires a steady, consistent heat source. Think of your stove as a dial, not a switch. You want to bring your pan to the target temperature and keep it there, adjusting slightly as the food releases its own sugars and moisture.
The Anatomy of the Pan
Stainless Steel: Ideal for caramelization because it allows for the formation of fond*—the browned bits of sugar and protein that stick to the bottom of the pan. This fond is pure, concentrated flavor that can be deglazed with wine, stock, or vinegar to create an instant pan sauce.
Cast Iron*: Excellent for heat retention. Once it gets hot, it stays hot. This is critical for searing steaks or roasting vegetables where you don't want the temperature to plummet when cold items are added.
Non-Stick*: Often the enemy of caramelization. Because non-stick surfaces are designed to prevent food from sticking, they also prevent the formation of that crucial fond. If you want a deep brown crust, leave the non-stick skillet in the cupboard.
"A pan that doesn't hold a crust is like a painter who doesn't use color. The fond left on the bottom of a stainless steel pan is the foundation of every great sauce I have ever served in my career."
Always remember that the fat you use—whether it is butter, oil, or ghee—also has a smoke point. Butter, while delicious, contains milk solids that burn at a lower temperature than oil. If you want the flavor of butter but need the high heat required for serious browning, use a mixture of oil and butter, or opt for clarified butter (ghee), which has had the milk solids removed.
The Secret Life of Onions: A Case Study in Patience
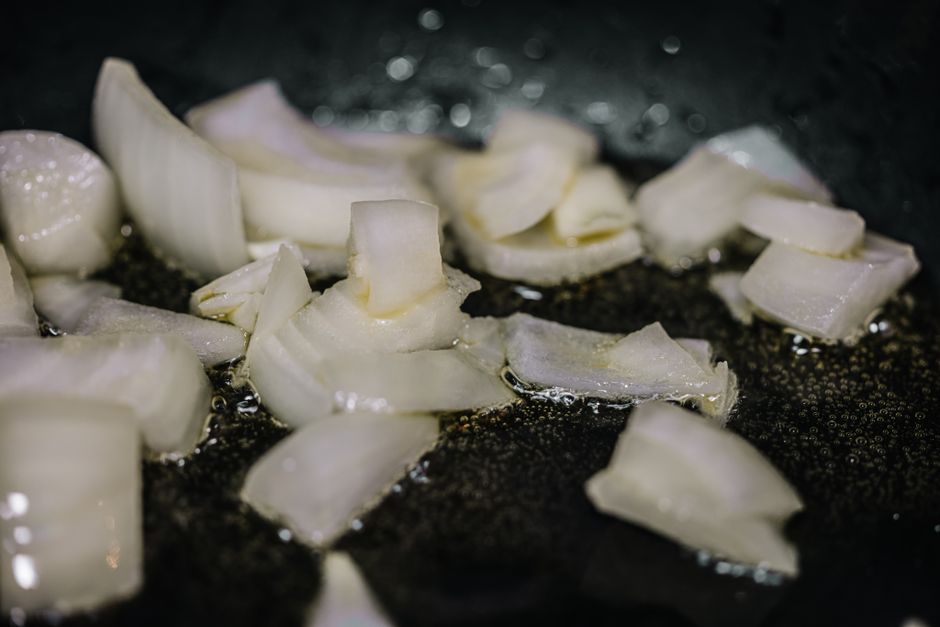
If there is one ingredient that acts as the litmus test for a cook’s understanding of caramelization, it is the onion. Most people think they have "caramelized" onions because they have cooked them for ten minutes until they are soft and tan. In reality, truly caramelized onions require upwards of forty-five minutes to an hour of gentle, consistent heat. During this time, the onion’s structural fibers break down, and the natural sugars are liberated and converted into deep, complex compounds.
The Slow-Cook Method
This cycle—browning, sticking, and deglazing—is the secret to the perfect jam-like texture. By the end of the hour, your onions should be a deep, rich mahogany. They will be significantly smaller in volume, but the flavor density will be unparalleled. This is the difference between a garnish and an ingredient that can anchor an entire meal.
Sugar, Fat, and Science: The Confectioner’s Approach
When we shift from savory vegetables to sweets, the chemistry of caramelization becomes even more critical. In pastry, we are often working with pure sucrose, which is far more sensitive to heat than the fibrous structures found in vegetables. Dry caramelization is the process of melting sugar without any water, which yields a deeper, more bitter flavor, while wet caramelization involves adding water to the sugar to help it melt more evenly and prevent burning.
The Three Rules of Sugar Handling
Avoid Agitation*: Once your sugar has started to dissolve into the water, resist the urge to stir it with a metal spoon. Stirring can cause the sugar to crystallize back into a grainy solid. If you need to move it around, gently swirl the pan by the handle.
Use a Pastry Brush*: Keep a bowl of cold water and a pastry brush nearby. If you see sugar crystals forming on the sides of your pot, brush them down with a wet brush. These stray crystals can trigger a chain reaction that ruins the entire batch of caramel.
Know Your Color*: Use your eyes and your nose. As the caramel nears the desired state, the aroma will change from "sweet" to "toasted." When it hits that deep, rich honey-brown, pull it off the heat immediately. The residual heat in the pot will continue to darken the sugar even after you move it to a cold surface.
Adding fat in the form of heavy cream or butter at the very end of the process is how you create caramel sauce. The fat interferes with the sugar crystals, keeping the texture smooth and velvety rather than brittle and glass-like. This is the fundamental difference between a burnt sugar candy and a decadent salted caramel sauce drizzled over ice cream.
The Importance of Deglazing: Extracting Every Ounce of Flavor
Deglazing is the culinary act of recovering the soul of your food. After you have successfully caramelized onions, seared a pork chop, or roasted a tray of root vegetables, you will inevitably have a layer of dark, flavorful residue on the bottom of your pan. This is not "burnt" in the sense of being ruined; it is the concentrated byproduct of your hard work. By adding a liquid—wine, stock, vinegar, or even juice—you dissolve these caramelized sugars and proteins, turning them into a sauce that ties the dish together.
The Deglazing Workflow
This technique transforms a simple pan-seared protein into a restaurant-quality dish. The acid in your deglazing liquid (like white wine or balsamic vinegar) provides a necessary sharp contrast to the deep, heavy sweetness of the caramelized fond. It brings balance to the palate, cutting through the richness and making the entire dish feel lighter and more sophisticated.
Beyond the Stove: Advanced Techniques
Once you have mastered the basics of caramelization, you can begin to experiment with more advanced techniques that utilize heat in unique ways. For example, have you ever considered the impact of torching? Using a culinary blowtorch allows for pinpoint caramelization. This is the secret to a perfect crème brûlée, where you need the surface to turn into a thin, glassy layer of brittle caramel without heating the delicate custard underneath. It is a lesson in extreme, localized thermal application.
Mastering the Torch
Distance*: Keep the flame about three inches away from the surface. Do not bring it too close, or you will end up with bitter, carbonized sugar.
Motion*: Keep the torch moving constantly. Think of it like spray painting; you want an even, thin coat of heat rather than a single, dark spot.
Timing*: If you are caramelizing a meringue or a sugar-crusted dessert, wait until just before serving. Caramel is hygroscopic, meaning it absorbs moisture from the air. If you torch your sugar too early, it will become sticky and lose that satisfying "crack" within minutes.
Another advanced technique is oven-roasting for caramelization. By tossing vegetables in a small amount of oil and roasting them at a high temperature (425 degrees Fahrenheit or 220 degrees Celsius) in a single layer, you can achieve a level of uniform caramelization that is difficult to replicate on the stovetop. The key here is airflow and surface area. If the vegetables are crowded, they will steam; if they are spaced out, they will roast and brown, creating the sweet, complex edges that make oven-roasted vegetables a staple side dish.
Conclusion
Understanding the science behind caramelization changes your identity in the kitchen. You are no longer just following a recipe; you are manipulating chemistry to achieve specific, delicious results. You recognize that the brown color you see in the pan is not just a visual indicator of "doneness," but a molecular map of flavor. Whether you are sweating onions for an hour, searing a steak to perfection, or crafting a delicate sugar sauce for dessert, you are now equipped with the knowledge to control the process.
Remember, the path to mastery is paved with failures. You will burn your onions once or twice. You will likely crystalize your sugar. That is part of the process. Every time you push an ingredient to the edge of its chemical stability, you learn a little more about the limits of heat and the potential of flavor. Use these techniques as a framework, but always keep your senses engaged. Listen to the sound of the sizzle, smell the subtle shift in the air, and watch the color change before your eyes.
The kitchen is your laboratory, and these techniques are your experiments. Do not be afraid to lean into the heat, but always respect the chemistry. When you do, the results will be nothing short of extraordinary. The next time you find yourself at the stove, take a breath, lower the heat, and watch the magic happen. You are not just cooking; you are performing an act of transformation. Happy cooking, and may your fond always be rich, your onions always be sweet, and your caramel always be perfect. The science is on your side, so trust the process and embrace the heat. You are the chef, and the kitchen is yours to command.


Get the Next Recipe
Weekly recipes, techniques, and gear picks — straight to your inbox.
