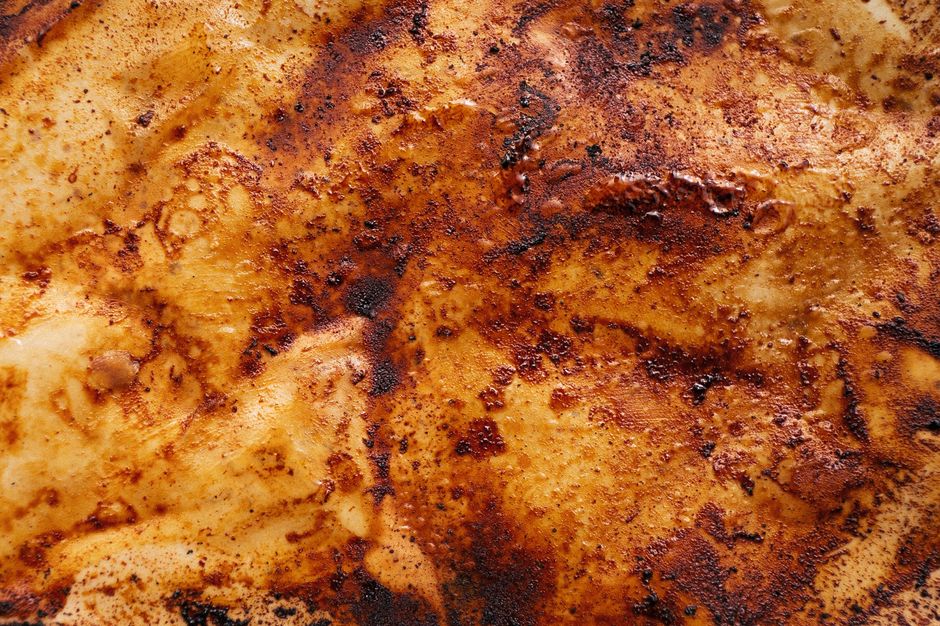
The Science Behind Perfect Caramelization: How Heat Transforms Sugar
Caramelization is one of the most enchanting processes in cooking, transforming simple sugars into a complex, rich flavor that can elevate any dish. As sugar heats to a critical temperature, it undergoes a series of chemical changes that create a symphony of flavors and colors. This culinary alchemy not only brings depth to desserts and savory dishes alike, but it also showcases the beauty of science in the kitchen. Whether you're caramelizing onions for a sumptuous French onion soup or creating a dazzling caramel sauce for your next dessert, understanding the science behind caramelization will undoubtedly improve your culinary prowess.
In the realms of home cooking, caramelization can seem daunting. However, once you grasp the underlying principles, you will find that the technique is both achievable and rewarding. It starts with knowing the specific temperatures at which different sugars caramelize, and the importance of moisture content during the cooking process. With a few essential tools and a proper understanding of the steps involved, anyone can master the art of perfect caramelization, turning everyday ingredients into mouthwatering creations.
This deep dive into the science of caramelization will unravel the mysteries behind this crucial cooking technique. We will explore the chemistry at play when sugar heats, the various methods you can use to achieve superb results, the types of sugars suited for caramelization, and tips for troubleshooting common issues. So, whether you’re looking to enhance your baking skills or improve your savory dishes, let’s embark on an exploration of heat's transformative power on sugar.
The Chemistry of Caramelization
Caramelization occurs when sugars are heated to a temperature range of approximately 320°F to 350°F (160°C to 180°C). It is a complex sequence of reactions, primarily breaking the sugar molecules down into simpler compounds, which then recombine into new compounds that are responsible for the distinct color and flavor of caramel. This process does not only depend on temperature; it also requires the right level of moisture, acidity, and cooking time. Essentially, caramelization is the result of both thermal decomposition and rearrangement reactions of sugar molecules, leading to the characteristic browning effect that can be so visually appealing and flavor enhancing.
As sugar warms to its melting point (around 320°F or 160°C), it transitions from a solid to a liquid state, and as it reaches the caramelization phase above this point, it begins to produce a toasty, nutty flavor. Sugars can caramelize in different ways depending on their structure—monosaccharides like glucose and fructose can caramelize at lower temperatures compared to disaccharides like sucrose. This is particularly important to note when choosing the sugars for a recipe.
Key Stages of Caramelization
The caramelization process can generally be divided into three main stages:
The ability to control these stages is crucial for achieving the desired outcome, either for a direct caramel sauce or for flavors that will feature in your overall dish.
Types of Sugars and Their Properties
When it comes to caramelization, not all sugars are created equal. Different sugars yield varying results, both in flavor and texture. Understanding the characteristics of different sugars will help elevate your caramelization game.
Common Sugars for Caramelization
While brown sugar offers an interesting option due to its additional moisture, it is important to consider the implications it has on the texture and flavor profile of the final product.
How to Choose the Right Sugar
Choosing the right sugar largely depends on the desired outcome:
Techniques for Caramelization
There are various methods to achieve caramelization in the kitchen. Each technique offers a different experience and outcome, catering to personal preferences and specific recipe requirements.
Stovetop Caramelization
This is the most common method for home cooks. It involves cooking sugar in a saucepan over medium heat. Here’s a step-by-step guide to stovetop caramelization:
#### Tips for Success:
Oven Caramelization
Caramelizing in the oven can produce stunning results, especially when working with roasted vegetables or fruits.
The oven method is particularly useful for larger quantities and ensures an even distribution of heat that might be harder to achieve on the stovetop.
Troubleshooting Common Caramelization Issues
Even the most experienced cooks occasionally encounter hiccups while caramelizing sugar. Here’s a guide to common problems and how to solve them.
Issue: Sugar Crystal Formation
When sugar crystals form, it can ruin your caramel. This typically happens due to stirring too early or using wet utensils.
Issue: Burnt Caramel
Burnt sugar gives off an unpleasant flavor and can ruin a dish. This often happens when temperature control is lost.
Issue: Grainy Texture
Sometimes caramel can take on a grainy texture, especially if too much moisture was added or if it was overheated.
Issue: Too Soft or Too Hard
The desired texture for caramel can vary depending on what you're making, whether it be a sauce or a hard candy.
With a little diligence and practice, these troubleshooting tips will keep you on the right path to mastering caramelization.
Innovative Uses of Caramelization
Caramelization isn’t just for desserts. Its versatility allows it to play a fundamental role in both sweet and savory dishes. Incorporating caramelized ingredients can dramatically elevate your dishes.
Caramelized Onions
One of the most common applications of caramelization in savory cooking is with onions. The process enhances the natural sweetness of onions, giving depth to soups, stews, and sauces.
The result is a sweet, deep-colored addition that can make a simple dish sing.
Caramelized Fruits
Fruits like apples, pears, and bananas caramelize beautifully and can be used in desserts or as toppings. The process is largely similar to that of onions, but with added cinnamon or vanilla for flavor.
Caramelizing Proteins
Vegetables and fruits are not the only ingredients that benefit from caramelization; proteins like chicken or fish can also gain incredible flavor when treated with the same technique.
The process ensures that proteins develop a delicious crust while sealing in moisture, creating a satisfying dish your guests will love.
Conclusion
Understanding the science behind caramelization empowers home cooks to make informed choices about their cooking techniques and ingredient selections. Mastering the temperature, timing, and sugar types enables an individual to transform ordinary ingredients into culinary masterpieces. Whether caramelizing onions to intensify savory flavors or creating rich sauces and desserts, the ability to caramelize effectively opens up a world of flavor that celebrates the art of cooking.
As you embark on your journey of caramelization, remember to remain patient and curious. True skill and confidence in the kitchen develop through practice and experimentation. By applying the techniques and troubleshooting tips outlined in this comprehensive guide, you’ll find that caramelization is not just a cooking method but a gateway to creating sublime flavors and magnificent dishes. So grab your ingredients and allow the heat to bring out the best in your cooking—don’t just blame the chef for what goes wrong; take charge and elevate every dish you create.

Get the Next Recipe
Weekly recipes, techniques, and gear picks — straight to your inbox.
