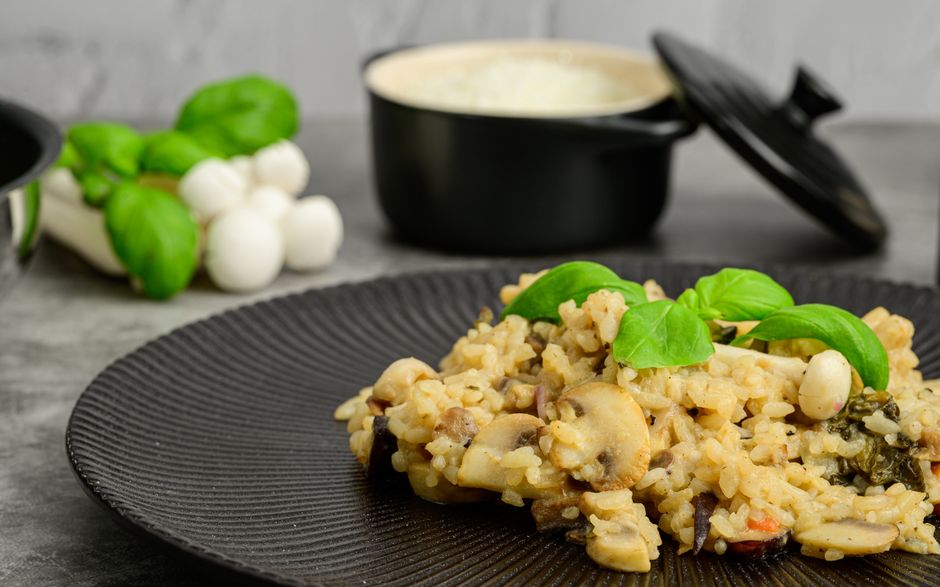
The Science Behind Perfect Risotto: Temperature, Timing, and Technique
Risotto is revered in the culinary world for its creamy texture and luxurious flavor profile, yet many home cooks dread the thought of preparing it. This fear often stems from the perception that risotto is a complex dish requiring a depth of knowledge and an impeccable execution of technique. However, the art of crafting perfect risotto can be dissected into manageable components: temperature, timing, and technique. By understanding these elements, anyone can master this dish, transforming it from a restaurant staple into a delightful home-cooked meal.
At its core, risotto is a simple dish rooted in the use of Arborio rice, which contains high levels of amylopectin, a type of starch. This starch is what gives risotto its characteristic creamy texture when cooked properly. Contrary to what some might believe, risotto does not need to be stirred constantly; however, timing and temperature play crucial roles in crafting that silky finish. The relationship between the heat applied and the time the rice is allowed to cook is an intricate dance, and by understanding this, you can create a risotto that rivals those served in the finest restaurants.
In this exploration of risotto, we will delve into the essential components of the recipe, including ingredient selection, the criticality of maintaining the ideal temperature, and the precise timings required for optimal results. From the broth's role to the finishing touches of cheese and butter, we'll cover everything you need to know. Prepare to elevate your cooking skills and impress friends and family with an exquisitely made risotto that is flavorful, creamy, and truly unforgettable.
Understanding the Ingredients
The Rice: The Heart of Risotto
When it comes to making risotto, rice selection is paramount. While there are various types of rice available, not all of them are suitable for this dish. The two most common varieties used are Arborio and Carnaroli, both known for their high starch content, which imparts that luscious creaminess that risotto is famed for.
Choosing the right rice is crucial because other rice types, particularly long grain varieties, will not achieve the desired creaminess and texture.
Other Component Ingredients
Besides rice, a proper risotto demands several key ingredients:
Pro Tips on Ingredient Ratios
To ensure a consistently excellent risotto, adhere to these ingredient ratios:
By understanding the role each ingredient plays, you'll have a versatile canvas to work from, allowing for variations that suit your taste or incorporate seasonal produce.
Mastering the Technique
The Sautéing Process
The foundational technique in risotto making begins with sautéing the aromatics. Start by heating your fat (olive oil or butter) in a heavy-bottomed saucepan over medium heat.
“The sauté is crucial for the foundational flavor of risotto; take your time here to prevent burning.”
Toasting the Rice
Toasting the rice is a vital step often overlooked by home cooks but essential for achieving a nutty flavor. Once your onions are lightly golden and translucent:
During this stage, the grains are coated in the oil and will begin to absorb flavors from the aromatics. This process is where that flavorful foundation truly builds.
Deglazing with Wine
After toasting, it's time to introduce the acidity that will balance the richness of the risotto.
The deglazing process not only adds depth but also gives a slight tang that brightens the dish.
“**Perfect timing while adding liquid is crucial; allow each addition to absorb before moving on.**”
Gradual Broth Addition
The heart of making risotto lies in how you add the broth. It should be done gradually to allow the starches in the rice to release. Here's how:
This process should be repeated until the rice reaches an al dente texture, which usually takes around 18-20 minutes. You'll know the risotto is ready when the grains are cooked through but still have a slight bite to them.
Monitoring Temperature and Texture
Maintaining the right temperature during the cooking process is vital.
As you stir, notice the sauce's consistency. It should be creamy and luscious, not soupy or dry. This is achieved by the careful balance of adding broth gradually and allowing time for absorption.
The Finishing Touches
Incorporating Cheese and Butter
Once your risotto has reached its peak, it’s time to finish it off with cheese and butter, which will elevate its creaminess and flavor profile.
Note: Taste your risotto before serving—this is the moment to adjust seasonings with salt and freshly cracked pepper as needed.
Adding Fresh Herbs and Acidity
Adding fresh herbs such as parsley, chives, or thyme can elevate the dish not only through flavor but also through a visual appeal that brightens the creamy concoction. This should be done right before serving:
Optional Additions
Get creative! Risotto is a versatile dish, and it can be dressed up in numerous ways according to seasonal ingredients or dietary preferences.
Troubleshooting Common Issues
Even the best chefs can encounter hurdles while making risotto. Here are some common problems and tips to troubleshoot:
Overly Dry Risotto
If your risotto appears too dry, it usually means that not enough broth was added at the proper time.
A Gritty Texture
If your rice isn't tender or feels gritty, it may indicate that it hasn't cooked long enough.
Clumpy Risotto
This can happen if the rice is handled too roughly or cooked at a high temperature.
Serving Your Risotto
Presentation Matters
The way you serve your risotto can elevate the dining experience.
Pairing Wine
To enhance your dining experience, consider pairing your dish with a complementary wine.
Final Thoughts
Mastering risotto at home can seem daunting, but with a bit of knowledge and practice, it becomes a remarkable and rewarding culinary endeavor. By demystifying the elements of temperature, timing, and technique, not only will you create creamy, delicious results, but you'll also gain confidence in a technique that is foundational in Italian cuisine.
Take the time to appreciate the process: the gentle stirring, the gradual absorption of broth, and the final tweaks of flavors. This tactile experience connects you to the dish and those who will enjoy it.
Now that you are armed with all the essential information, step into your kitchen and start crafting your perfect risotto. Remember, cooking is an art that welcomes exploration; don’t hesitate to experiment with flavors and find your own unique style. Your journey to creating perfect risotto starts now, and you can always place any culinary mishaps squarely on the chef—who, in this case, is you!
As you continue to refine your skills, remember this quote that perfectly encapsulates the essence of culinary learning:
"Every great chef was once a beginner in the kitchen."
By embracing this journey, you'll not only delight in the fruits of your labor but also cultivate a passion that enhances your culinary repertoire for years to come. Enjoy your adventures in risotto-making, and may each pot bring you closer to perfection!



Get the Next Recipe
Weekly recipes, techniques, and gear picks — straight to your inbox.
