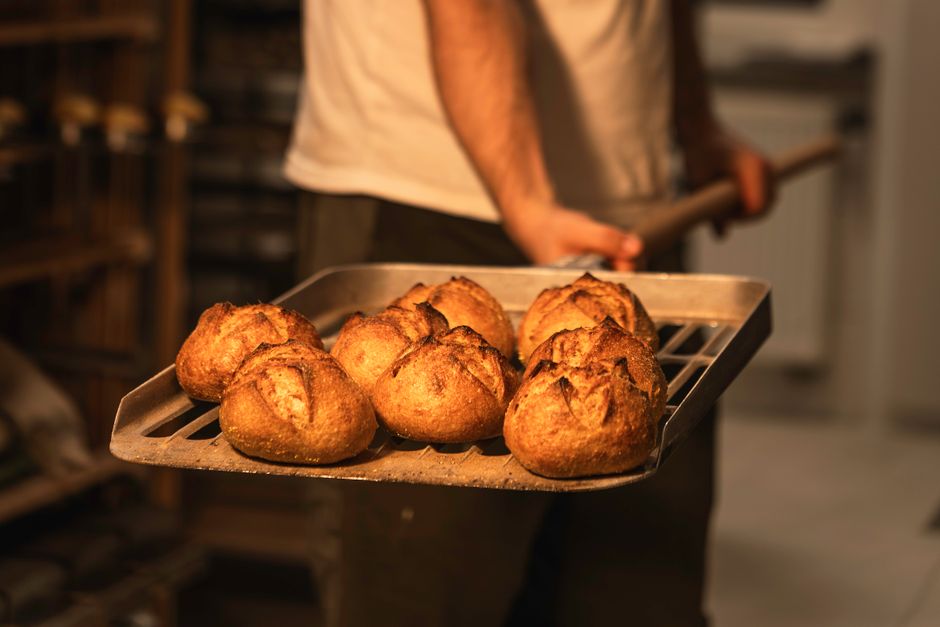
The Science of Bread Baking: Why Temperature and Timing Matter
The art of bread baking is often celebrated as both a science and a craft. Many home bakers find themselves enamored by the allure of homemade bread, with its crisp crust and soft, airy interior. Yet, temperature and timing are the true unsung heroes of this process, profoundly affecting the end product. Mastering these elements not only aids in achieving the perfect loaf but also unlocks a deeper understanding of the underlying chemical reactions occurring within the dough.
When we talk about bread, we delve into a world governed by yeast, temperature fluctuations, and precise timings. Baking bread is more than just mixing flour and water; it's a dance of ingredients where each component plays a critical role in creating flavor, texture, and structure. Whether you’re a novice baker or someone with a bit more experience, understanding this science can bridge the gap between a good loaf and an extraordinary one.
Think of a yeast-powered fermentation process as a carefully orchestrated performance where every actor must shine in their role. Here, temperature acts as the director, regulating yeast activity and fermenting times, while timing is akin to the script, dictating when each action should occur. Getting either aspect wrong can result in a loaf that has collapsed or a crust that is too dense. In this blog post, we will explore how these factors interact to influence your bread baking success, providing insight into achieving the perfect loaf.
The Role of Yeast in Bread Making
Yeast is a microscopic fungus that plays an essential role in bread making by facilitating fermentation. When yeast consumes sugars present in the dough, it produces carbon dioxide and alcohol, which cause the dough to rise. The specific type of yeast used, the conditions under which it ferments, and the temperature at which it operates can impact the texture and flavor of the bread profoundly.
Types of Yeast
There are several types of yeast used in bread-making, each with distinct characteristics:
The choice of yeast not only affects the rise of the bread but also influences its flavor. For instance, sourdough bread often benefits from a slow fermentation process that allows the development of complex flavors.
Temperature’s Impact on Yeast Activity
The temperature at which yeast operates is critical. Yeast is a living organism that thrives at specific temperatures, generally between 75°F and 95°F (24°C - 35°C). Here’s how temperature affects yeast:
It’s essential to create an environment where yeast can flourish. You can achieve this by:
"The yeast is the heart of the dough; treat it with love and care, and it will reward you with incredible bread." – Master Baker
Timing and Fermentation
Timing plays a pivotal role once the yeast is introduced to the dough. The fermentation stage allows for the production of flavors and the development of gluten, which contributes to the bread's structure.
Mastering both timing and temperature in fermentation ensures that the yeast has adequate time to work while preventing it from becoming sluggish or overheating.
The Importance of Hydration in Bread Dough
Hydration, or the ratio of water to flour, is another critical factor in bread making that interacts with both yeast and timing. The amount of water used in the dough affects not only the bread's texture but also its flavor development during fermentation.
Hydration Levels
Different types of bread require different hydration levels:
How Hydration Affects Fermentation
With more water in the dough, there’s an enhanced rate of enzyme activity and, subsequently, higher gluten development. This can lead to several outcomes:
Adjusting Hydration
When altering hydration levels, consider the following:
"Water is the unsung hero of bread-making; get the balance right, and it unlocks flavors and textures you never thought possible." – Culinary Expert
Gluten Development: Timing and Technique
Gluten, a protein found in wheat, is crucial for giving bread its structure. Gluten development affects the texture and elasticity, ultimately determining the final outcome of your bread. Proper gluten development is essential for capturing the gases produced during fermentation, which provides the bread’s rise.
The Kneading Process
Kneading dough is a technique that helps develop gluten. There are various methods to knead, including:
Timing of Kneading
The duration of kneading impacts gluten formation. Under-kneading will result in dough lacking structure and strength, while over-kneaded dough can become tough.
Timing and Rising
Once gluten is adequately developed, proper timing in rising becomes important.
Mastering the kneading and proofing phases allows for the maximization of your dough's potential and ensures optimal structure and texture in the final product.
The Baking Temperature: Getting It Just Right
Once your dough has risen and is ready to enter the oven, the baking temperature is critical in achieving the perfect crust and crumb. Here’s where understanding temperature becomes paramount.
Conventional vs. Steam Baking
The method of baking impacts not only the crust development but also how much the bread rises in the initial moments of baking, known as oven spring.
Cooling Process
Once your bread is baked, the cooling process is equally important.
"Patience is key in baking; always allow your bread to cool before indulging in that first slice." – Bread Enthusiast
Enhancing Flavor: The Role of Salt and Additives
Flavor is a crucial component of bread that can often be overlooked. Salt not only enhances flavor but also strengthens gluten and regulates yeast activity.
The Importance of Salt
Salt should be added to dough in the correct proportions, usually between 1.5% to 2% of the flour weight.
Other Flavor Enhancers
Various additives can improve flavor profiles:
Timing of Additives
When to add these enhancements matters. For example, incorporating fat later in the mixing process allows for better gluten development before introducing softer ingredients.
Conclusion
Baking bread at home can be both rewarding and educational. By understanding the science of bread baking, particularly the vital roles that temperature and timing play, bakers can elevate their skills and achieve that coveted perfect loaf.
Emphasizing these elements—yeast activation, fermentation timing, hydration levels, gluten development, baking temperatures, and flavor enhancers—will help improve not only the quality of your bread but also your confidence in the kitchen.
As you embark on your bread-baking journey, remember: patience, practice, and an appreciation for the science behind baking will lead to greater success and satisfaction in your efforts. With each loaf, you’re not merely following a recipe; you are partaking in a timeless tradition that blends art and science, each rise fueled by temperature and timing, resulting in freshly baked bliss.
Embrace the process, learn from each bake, and soon you will find that the loaves you create are not just bread—they are expressions of your culinary passion and commitment to the craft. Happy baking!




Get the Next Recipe
Weekly recipes, techniques, and gear picks — straight to your inbox.
