The Science of Caramelization: Creating Deep Flavors
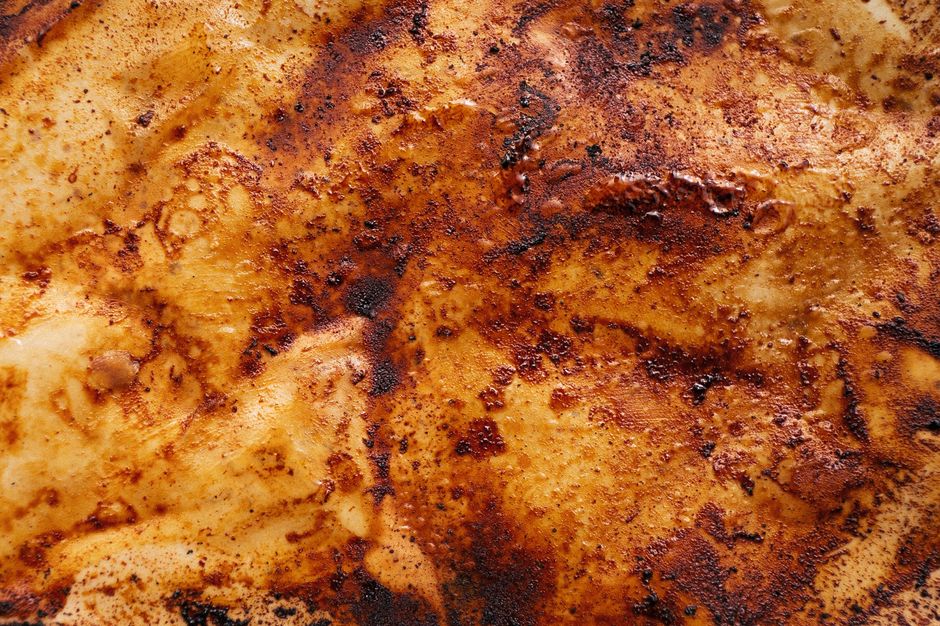
The art of cooking is steeped in a harmonious blend of technique and chemistry, and one of the most enchanting transformations in the culinary world comes from caramelization. This process, often overlooked by home cooks who focus more on ingredients than technique, holds key secrets to enhancing flavors and adding depth to your dishes. Caramelization turns simple sugar into a complex flavor tapestry, unlocking rich, sweet notes and a spectrum of colors—ranging from pale gold to deep mahogany, each reflecting different levels of intensity. Understanding exactly what happens during this process can elevate your cooking from mundane to extraordinary.
At its core, caramelization is the thermal decomposition of sugars, leading to the development of an array of flavors and aromas that are essential in various culinary applications. When sugars are heated, they undergo a series of chemical reactions that lead to intricate flavor profiles; these can elevate both sweet and savory dishes. Temperature and time play crucial roles in this transformation—too little heat results in underdeveloped flavors, while excessive heat can lead to burnt bitterness. This article will delve into the science behind caramelization, explore the techniques required to achieve this nuanced cooking method, and share tips, tricks, and recipes to make caramelization a staple in your culinary repertoire.
Moreover, caramelization is not just a one-dimensional process; it can be applied to a wide variety of ingredients, including fruits, vegetables, proteins, and even some grains. This versatility means that the possibilities to experiment with flavors are virtually endless. Whether you're sautéing onions for your famous French onion soup or toasting nuts for a delectable salad, understanding caramelization allows for an elevation in both flavor complexity and textural richness. Grab your favorite pan and let's embark on this flavorful journey together.
The Chemistry Behind Caramelization
To appreciate caramelization fully, it’s essential to grasp the science that underlies this transformative process. Caramelization occurs at temperatures typically ranging from 320°F (160°C) to 350°F (180°C). At these temperatures, the complex sugar molecules break down into simpler components, a process that releases moisture and prompts the sugars to undergo a series of chemical reactions.
The Maillard Reaction vs. Caramelization
While caramelization is often discussed in the same breath as the Maillard reaction, they are distinct processes. The Maillard reaction occurs between amino acids and reducing sugars when foods are cooked at higher temperatures, typically above 285°F (140°C). It’s responsible for the browning of meat and the crust on baked bread, imparting savory flavors, while caramelization specifically involves sugar and leads to sweeter notes.
Understanding the differences between these two processes is vital for cooks aiming to master flavor development in their dishes. Here’s a breakdown:
- Temperature: Starts at 320°F (160°C)
- Key Ingredient: Sugars
- Flavor Profile: Sweet and nutty
- Temperature: Begins around 285°F (140°C)
- Key Ingredients: Amino acids and sugars
- Flavor Profile: Savory, complex, and often umami-rich
The Stages of Caramelization
Caramelization is not a singular event but rather a series of stages:
Being aware of these stages will help you control the outcome and flavor profile of the caramelization process, allowing for adjustments based on the specific needs of your dish.
Tools and Techniques for Perfect Caramelization
Equipping yourself with the right tools and employing the proper techniques can make a significant difference in your ability to caramelize effectively. Here are some essentials and tips you should consider for successful caramelization.
Essential Tools
Techniques for Successful Caramelization
Step-By-Step Guide to Caramelizing Onions
Caramelized onions are a fantastic introduction to the art of caramelization. Follow these steps for a stellar result:
- 2 large onions (yellow or sweet)
- 2 tablespoons butter or olive oil
- 1 teaspoon salt
- 1 tablespoon of balsamic vinegar (optional, for color and flavor)
- Slice the onions into thin wedges or half-moons for even cooking.
- In a heavy-bottomed pan, heat the butter or oil over medium heat.
- Add the onions and salt, stirring to coat.
- Reduce the heat to medium-low and cook slowly, stirring occasionally.
- After 30 minutes, the sugars will start to release, and you will see the first stage of caramelization.
- Continue cooking for another 30 to 60 minutes until a deep brown color is achieved.
- If desired, add balsamic vinegar towards the end, scraping any stuck bits on the pan to incorporate those flavors.
This method yields sweet, rich, and complex flavors, perfect for enhancing soups, stews, or serving as a topping for meats and vegetables.
Caramelizing Fruits and Vegetables
While many think of caramelization primarily in terms of sugar and sweets, vegetables and fruits can also be deeply enhanced through the same process. Caramelizing brings out their natural sugars and creates a lovely depth of flavor, making them a perfect accompaniment to various dishes.
Caramelizing Fruits
Caramelizing fruits, like pears and apples, can add a decadent dimension to desserts or salads.
- Apples
- Pears
- Bananas
- Peaches
- Heat a non-stick or heavy-bottomed skillet over medium heat and add a tablespoon of butter.
- Once melted, add sliced fruits, a pinch of salt, and optionally some sugar or honey for added sweetness.
- Cook until tender and golden brown, usually around 5 to 10 minutes.
Caramelizing Vegetables
Caramelized vegetables, like carrots or Brussels sprouts, create a rich, sweet contrast to savory dishes.
- Carrots
- Bell peppers
- Brussels sprouts
- Sweet potatoes
- Cut your vegetables into uniform pieces for even cooking.
- Follow the same steps as for fruits, ensuring to add enough fat (like olive oil or butter) to facilitate the caramelization.
- For a savory touch, consider adding herbs or spices as they begin to caramelize.
"The beauty of caramelization lies in its ability to transform the ordinary into the extraordinary, creating a cascade of flavors that delights the palate."
Caramelization in Meat Cooking
Caramelization isn’t limited to sweets; it also plays a crucial role in cooking meats. Achieving that tantalizing caramelized crust on meats not only adds visual appeal but also enhances flavor through the Maillard reaction and caramelization of natural sugars.
Techniques for Caramelizing Meat
- Pat the meat dry with paper towels, ensuring a better sear.
- Season generously with salt and pepper; this not only adds flavor but also promotes browning.
- Preheat your skillet—cast iron is an ideal choice—over high heat until it’s very hot.
- Add a small amount of oil with a high smoke point, such as canola or grapeseed oil.
- Sear the meat without moving it for 2 to 4 minutes, allowing the surface to caramelize before flipping.
- Monitor closely to avoid burning. For thicker cuts, lower the heat after initial searing and cover to cook through.
This method would yield beautifully caramelized crusts on the meat, amplifying flavors significantly.
Glazes and Sauces
Adding glazes or sauces can complement caramelized meats beautifully. For instance, a balsamic glaze or a teriyaki sauce can enhance the flavor profile, adding layers of complexity.
- Combine balsamic vinegar and honey in a saucepan.
- Simmer over medium heat until reduced by half, then drizzle over caramelized meat for an umami boost.
- A mix of soy sauce, sugar, and ginger can enrich grilled meats.
Pairing these with caramelized ingredients can create a restaurant-style dish in the comfort of your own kitchen.
Tips for Avoiding Common Mistakes
Even seasoned cooks can stumble when caramelizing. Here are some common pitfalls and tips to help you avoid them:
"Great cooking is about precision and patience—embrace the moments when each ingredient requires your undivided attention."
Exploring Recipes with Caramelization
Now that you’re armed with knowledge about the science and techniques of caramelization, here’s how you can incorporate it into your cooking with actual recipes.
Caramelized Onion and Goat Cheese Tart
This tart combines the sweet depth of caramelized onions with tangy goat cheese, making it an ideal appetizer.
Ingredients:
Steps:
Grilled Caramelized Pineapple
For a sweet touch to finish your meal, grilled caramelized pineapple is simple yet effective.
Ingredients:
Steps:
Conclusion
Mastering the science of caramelization opens up a world of flavor potential in your cooking. From enriching the sweetness of onions to deepening the umami of meats, caramelization plays a pivotal role in flavor development that transforms ordinary meals into culinary masterpieces. The techniques you’ve learned in this article will not only bolster your confidence in the kitchen but also enhance your appreciation for the alchemy of cooking.
By harnessing the power of temperature and technique, you can explore the depths of flavor in fruits, vegetables, and proteins. Whether you’re looking to caramelize fruits for a dessert, bring sweetness to savory dishes, or achieve perfectly browned meats, understanding the nuances of caramelization can enrich your culinary journeys.
Stay curious, experiment, and, most importantly, enjoy the textures and layers of flavors created through this magical process. Bon appétit!


Get the Next Recipe
Weekly recipes, techniques, and gear picks — straight to your inbox.
