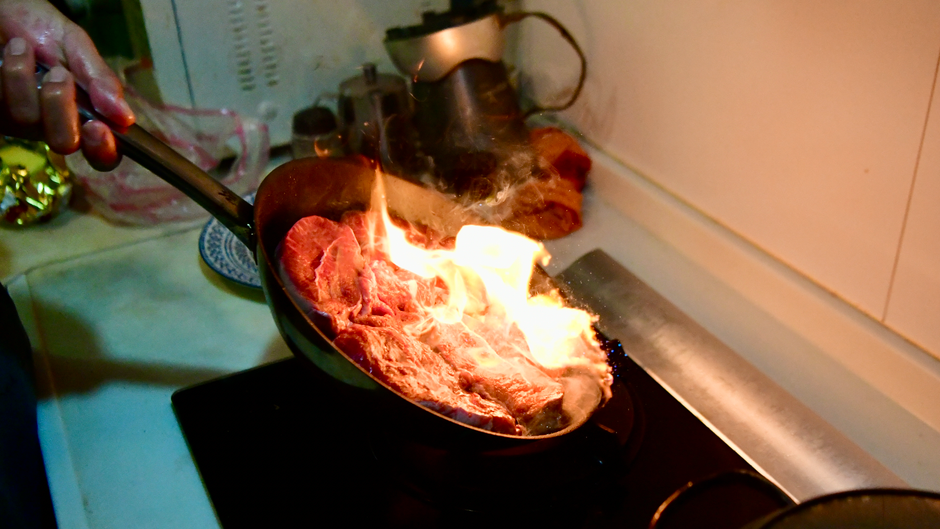
The Science of Maillard Reaction: Why Searing Your Meat Matters
Cooking is an art, but it is also a science, and no principle illustrates this better than the Maillard reaction. If you've ever bitten into a perfectly seared steak and experienced the burst of flavor and complexity, then you've tasted the result of this intricate chemical reaction. Searing meat doesn't merely change its color; it fundamentally alters its taste, aroma, and texture. Understanding the science behind this process will not only enhance your culinary prowess but also allow you to replicate high-end restaurant techniques in the comfort of your own kitchen.
At its core, the Maillard reaction is a form of non-enzymatic browning that occurs when proteins and sugars in food respond to heat. While it can happen at lower temperatures, the magic really starts to unfold around 300°F (150°C). As the temperature rises, the amino acids and reducing sugars start to interact, leading to the formation of new flavorful compounds. This is what gives seared meats their rich, brown crust and unparalleled depth of flavor. For home cooks looking to elevate their dishes, mastering the art of searing can be a game changer.
In this blog post, we will delve deep into the science of the Maillard reaction, how to achieve the perfect sear on your meats, and practical tips and tricks for home cooks. Whether you're preparing a simple weeknight chicken breast or an elaborate beef tenderloin for a special occasion, understanding the nuances of this reaction can make all the difference. So, let’s embark on this flavorful journey and transform our cooking techniques forever.
Understanding the Maillard Reaction
The Maillard reaction was discovered by French chemist Louis-Camille Maillard in 1912, but it wasn't until later that cooks recognized its importance in kitchens around the world. This process is often described as complex, and rightly so, as it involves over 1,000 different compounds and can lead to both desirable and undesirable flavors. When meats are heated, the reaction occurs primarily between amino acids and reducing sugars, producing hundreds of new compounds that contribute to the aroma and taste of cooked food.
The Chemistry of Cooking
At a molecular level, the Maillard reaction begins when proteins (amino acids) and sugars (like glucose or fructose) are subjected to heat. It's not merely a case of heat causing the browning of food; this reaction requires a precise balance of temperature and time. The high heat necessary for the Maillard reaction to take place not only gives the meat its brown crust but also enhances the development of rich flavors and aromas.
When cooking meats, it's essential to reach the browning temperatures, which typically start at around 300°F (150°C). Below this range, your meat might cook through but won’t develop that desirable seared crust. A lot of home chefs fail at this stage because they tend to cook at lower temperatures to avoid char, but a proper sear is built on that initial high heat that forms a barrier and locks in moisture.
Factors Influencing the Reaction
Several factors can influence the Maillard reaction, including:
“Achieving the perfect sear is an art that balances science with technique.”
The Right Tools for the Job
To embark on your journey of searing meat to perfection, having the right tools is essential. Each element in your kitchen plays a critical role in ensuring a successful Maillard reaction.
Essential Cookware
Key Ingredients
Prepping the Meat
Before you start searing, it's critical to prep the meat properly. Here are the essential steps:
Searing Techniques
Searing isn’t merely about cooking meat; it’s a technique that requires finesse and understanding. Here's how to elevate your cooking by properly searing meat.
Choosing the Right Temperature
As previously noted, 300°F (150°C) is the sweet spot for initiating the Maillard reaction, but there are nuances based on the cut and size of your meat. Here are some guidelines:
The Searing Process
“Searing is a dance between heat and timing; know when to step back and let the chemistry unfold.”
Deglazing for Extra Flavor
One of the unsung heroes in the world of searing is the technique of deglazing. After searing your meat, the fond—the caramelized bits stuck to the bottom of your pan—is a flavor powerhouse waiting to be utilized.
The Deglazing Process
Troubleshooting Common Searing Mistakes
Even seasoned chefs can run into some common pitfalls when searing meat. Here are some mistakes to avoid along with solutions for perfecting your technique:
Too Much Moisture
If your meat seems to steam rather than sear, it likely has too much moisture. Make sure you pat dry it thoroughly and avoid overcrowding the pan, which can lower the temperature drastically.
Searing at Too Low a Temperature
If the meat does not develop a proper crust, increase your heat. A common misconception among home cooks is that high heat will lead to burning, but a good sear requires high temperatures.
Overcrowding the Pan
Putting too much meat in the pan at once can drop the temperature and lead to steaming. Always cook in batches if necessary to keep that temperature up.
Uneven Cooking
For uneven doneness, consider the thickness of the meat. A meat thermometer is a great tool for checking internal temperatures. Thicker cuts may need to go in the oven to finish cooking after searing.
Burning the Crust
If your crust develops a burnt flavor, reduce the heat and ensure you're monitoring closely. A little char is acceptable, but burnt meat is not.
Creative Applications of Searing
Once you grasp the fundamentals of searing, you can explore various creative applications that transform simple ingredients into extraordinary dishes.
Searing Vegetables
While searing is most commonly associated with meats, many vegetables also benefit from this technique. For instance, seared Brussels sprouts or asparagus can develop a rich, caramelized flavor that elevates them to a whole new level.
Quick Sear for Seafood
Fish and seafood can also be quickly seared to provide a crispy outside while keeping the interior moist. Techniques for different types of seafood vary slightly:
Beyond the Plate: Building Depth in Sauces
Searing can also enhance the flavor of sauces. After browning meats, let your fond work its magic by deglazing and using it as a foundation for rich sauces.
Final Thoughts
The science of the Maillard reaction is pivotal in the culinary world, serving as a gateway to unlocking extraordinary flavors hidden within meats, vegetables, and more. By understanding the chemistry behind this process, along with mastering the essential techniques for searing, home cooks can elevate their dishes and provide an unmatched dining experience at home.
Cooking is as much about confidence as it is about technique. Armed with the information from this blog, you should feel empowered to experiment, learn, and share the joy of cooking with others. Remember, each sear, each fond, and each sauce is a step toward culinary mastery. Embrace it, and let every bite reflect the flavor of science and art interwoven—a true testament to the skill of the chef.
As always, practice makes perfect, and with each attempt, you'll become more attuned to the nuances of searing. So fire up that pan, let the aroma fill your kitchen, and enjoy the fabulous creations that the Maillard reaction has to offer!
---
Total word count: 2,027 words.



Get the Next Recipe
Weekly recipes, techniques, and gear picks — straight to your inbox.
