The Science of Perfect Caramelization: Building Flavor Through Maillard Reactions
Cooking is often described as an art form, a dance of intuition and creativity that relies on the cook's ability to taste, adjust, and plate with elegance. However, beneath the aesthetic appeal of a perfectly seared scallop or a deeply browned crust on a loaf of sourdough lies a rigorous, fascinating world of chemistry. When we step into the kitchen, we are essentially acting as amateur laboratory technicians, manipulating heat, time, and molecular structures to transform raw proteins and carbohydrates into something far greater than the sum of their parts. Understanding the science behind your stove isn't about stripping the joy out of the process; rather, it is about gaining the ultimate superpower of the home cook: consistency.
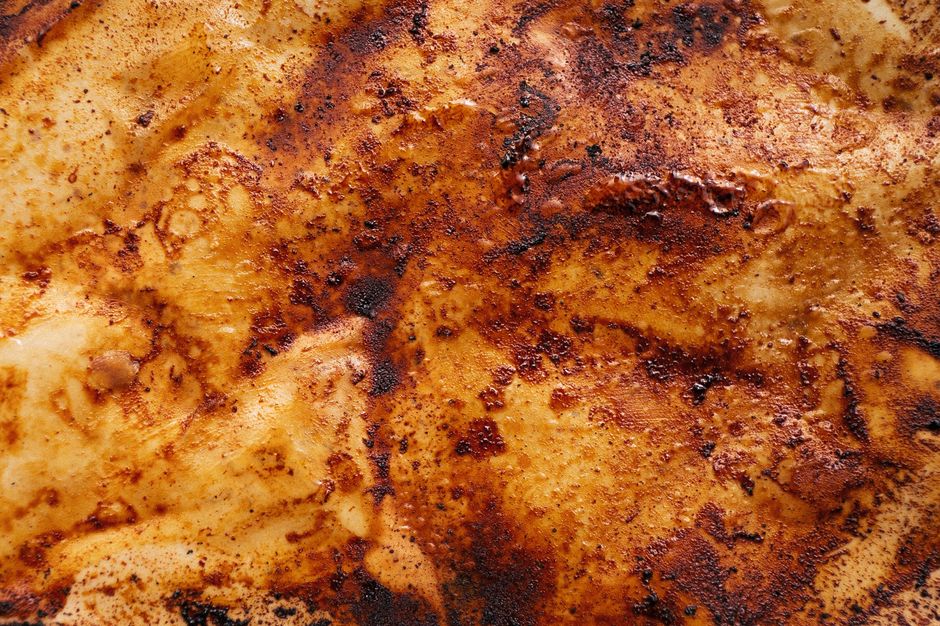
The cornerstone of this transformation is the Maillard Reaction, a complex chemical dance between amino acids and reducing sugars that occurs when food is subjected to heat. Often confused with caramelization, which specifically involves the pyrolysis of sugars, the Maillard reaction is responsible for the savory, nutty, and roasted notes that define our favorite cooked dishes. Without this reaction, our diets would be bland, consisting mostly of steamed vegetables and boiled meats. It is the secret language of flavor that turns a pale, flabby chicken breast into a golden-brown masterpiece of texture and taste, signaling to our brains that what we are about to eat is safe, nutrient-dense, and delicious.
As we dive into the technicalities of the kitchen, remember that your equipment and ingredients are merely variables in an equation you control. Whether you are searing a thick ribeye or roasting a tray of root vegetables, the goal is always to maximize the surface area that engages with high heat while managing moisture content. Moisture is the mortal enemy of browning, and mastering the evaporation process is what separates the home cook from the true chef. By the time you reach the end of this guide, you will understand the nuances of thermodynamics and chemical browning, allowing you to walk into your kitchen with the confidence to manipulate heat like a professional and elevate every meal you prepare.
The Chemistry Behind the Crust
At its most fundamental level, the Maillard Reaction is a form of non-enzymatic browning. Discovered by French chemist Louis-Camille Maillard in 1912, this reaction involves the carbonyl group of a sugar reacting with the nucleophilic amino group of an amino acid. The result is a chaotic yet beautiful array of flavor compounds known as melanoidins, which are responsible for the complex aroma and deep color we associate with high-quality cooking. Unlike caramelization, which begins around 320 degrees Fahrenheit (160 degrees Celsius), the Maillard reaction can begin at lower temperatures, though it accelerates significantly as the mercury climbs toward the 300 to 400-degree range.
To trigger this reaction effectively, you need three ingredients: proteins, sugars, and heat. The higher the concentration of these elements on the surface of your food, the more intense the browning will be. This is why patting a steak dry with a paper towel is one of the most critical steps in the entire searing process; if the surface is wet, the heat energy is wasted on evaporating water rather than browning the protein. Once the water is gone, the temperature can finally climb above the boiling point of water, enabling those beautiful, savory browning reactions to take place.
Managing Surface Moisture
For home cooks, moisture management is the greatest challenge. When you throw a cold, wet piece of meat into a pan, the temperature of the oil drops, and the moisture release cools the surface, causing the meat to steam in its own juices. To combat this, you should always season and prep your protein at least 30 to 45 minutes before cooking. Leaving a steak uncovered in the refrigerator allows for surface dehydration, which significantly shortens the time required to reach the browning threshold once it hits the pan.
"The most important tool in your kitchen isn't your knife or your pan; it is your understanding of moisture. If you want a crust that rivals the best steakhouses, you must treat water as your primary adversary."
Understanding the Threshold
Temperature control is equally important. While the Maillard reaction thrives at higher temperatures, there is a limit. If you exceed 400 degrees Fahrenheit (204 degrees Celsius), you risk pyrolysis, which is the technical term for burning. Burnt food isn't just bitter; it's potentially carcinogenic. The goal is to reach that "sweet spot"—usually between 325 and 375 degrees—where the reaction happens rapidly enough to build flavor, but slowly enough that you can control the outcome before the edges turn charred and acrid.
Selecting the Right Fat for the Job
Not all fats are created equal, and choosing the right one for your culinary application is essential for success. When high-heat searing, you need a fat with a high smoke point. The smoke point is the temperature at which a fat begins to break down and release acrid smoke, which can ruin the flavor of your dish and set off your smoke alarm. Avoid using extra virgin olive oil or butter for high-heat searing, as both have low smoke points that will lead to bitter, charred flavor profiles.
For intense searing, look for oils with high smoke points:
The Role of Milk Solids
Standard butter contains milk solids, which are proteins and sugars that burn at relatively low temperatures. If you want to finish a steak with the nutty, luxurious flavor of butter, add it only in the last minute of cooking. This technique, known as basting, allows you to infuse the meat with flavor without burning the butter. The foaming action of the butter also helps distribute heat evenly across the uneven surface of the protein, ensuring that every crevice gets a touch of that golden-brown goodness.
Fat Layering Techniques
Professional chefs often use a combination of fats to achieve a perfect crust. Starting with an oil that can withstand the initial heat and finishing with a knob of butter provides the best of both worlds. This is a common practice in restaurants to ensure the Maillard Reaction is uniform across the entire surface of the meat. By layering your fats, you are essentially creating a flavor profile that begins with a clean, high-heat sear and ends with a rich, aromatic finish.
The Equipment: Why Pan Choice Matters
The material of your cookware directly affects how heat is distributed and retained. Cast iron is the king of heat retention. Its mass allows it to hold heat even when a cold piece of protein is placed inside, which prevents the pan temperature from crashing. This makes it ideal for searing steaks, chops, and heavy vegetables. However, cast iron is also reactive and requires maintenance, so it might not be the best choice for delicate ingredients that require precise, rapid temperature changes.
Stainless steel pans are excellent for browning because they allow for the development of the fond—those delicious, browned bits stuck to the bottom of the pan. This fond is essentially concentrated flavor and is the foundation for pan sauces. By deglazing the pan with wine, stock, or vinegar, you lift these compounds and incorporate them into a sauce, effectively capturing the flavor of the Maillard reaction.
Stainless Steel vs. Non-Stick
Avoid non-stick pans when you are trying to achieve a significant crust. The coating on non-stick pans is designed to release food, which is the exact opposite of what you want when you are trying to build a complex, crusty exterior. Furthermore, high heat can degrade non-stick coatings, releasing chemicals into your food. Reserve your non-stick pans for eggs, delicate fish fillets, or pancakes, where you want to minimize sticking rather than maximize browning.
"A well-developed fond is the soul of a pan sauce. If you wash away those brown bits, you are quite literally pouring your flavor down the drain."
The Importance of Heavy Bottoms
Regardless of the material, always ensure your pans have a thick, heavy base. Thin pans have "hot spots" that cause uneven cooking and burning. A heavy bottom ensures that heat is conducted steadily and consistently across the entire surface. If you are using a gas stove, ensure the flame doesn't climb up the sides of the pan, which can burn the oil on the edges of the vessel, creating unpleasant flavors before your food is even done cooking.
Timing and Technique: The Art of the Sear
The searing process is not just about time; it is about observation. You are looking for a consistent, deep mahogany color. If you flip your meat too early, you interrupt the reaction and lose that beautiful color. Most home cooks are too impatient, flipping their food constantly. Resist the urge to poke, prod, or flip your food until it releases naturally from the pan. When the crust is fully developed, the protein will naturally pull away from the surface of the pan.
Use a thermometer to ensure accuracy, but also rely on your visual cues. The Maillard reaction is color-coded. Pale yellow is under-browned, deep brown is perfect, and black is burnt. Learning to recognize these stages is a skill that will serve you for the rest of your life. Start by preheating your pan until it is shimmering with oil, then place your protein gently, pressing it down slightly to ensure maximum surface contact.
The Reverse Sear Method
For thick cuts of meat, like a 1.5-inch thick ribeye, the reverse sear is the gold standard. By cooking the steak in a low-temperature oven (around 225°F) until it reaches an internal temperature about 10 degrees below your target, you ensure the meat is cooked perfectly even from edge to edge. Once it hits that target, you take it out and sear it in a smoking hot pan for just 60 seconds per side to build that Maillard crust. This two-step process allows you to decouple the cooking of the interior from the browning of the exterior.
Handling Vegetables
Vegetables also benefit from the Maillard reaction. Roasting Brussels sprouts or carrots at 425°F (220°C) allows the natural sugars in the vegetables to brown, providing a sweet-savory contrast that is much more appealing than boiled or steamed textures. Toss your vegetables in enough oil to coat them thoroughly, spread them in a single layer on a sheet pan, and give them enough space. If they are crowded, they will steam instead of roast, leading to mushy textures and pale colors.
Troubleshooting Common Browning Failures
If your food is coming out pale or grey, you are likely failing at one of the fundamentals: moisture, heat, or crowding. If your pan is too crowded, you lower the pan temperature drastically, causing the food to release its juices. This creates a "steam trap" in the pan. To fix this, always cook in batches. It takes a little longer, but the quality of the result is incomparable. Better to cook in two rounds than to ruin the entire meal with a single, soggy batch.
Another common issue is improper seasoning. While salt doesn't directly contribute to the Maillard reaction, it draws out moisture initially. This is why you must give the salt enough time to be reabsorbed into the meat. If you salt and cook immediately, the surface will be wet. If you salt and let the meat sit for 40 minutes, the surface will be dry and ready for the pan. This is the difference between a grey, boiled exterior and a crisp, savory crust.
Signs of a Failed Sear
Greyish/Off-white Color:* Usually caused by too much moisture or an under-heated pan.
Bitter/Acrid Taste:* Caused by burning the fat or the protein itself (temperature too high).
Sticking:* Often happens when you try to flip too early or the pan isn't hot enough.
Uneven Browning:* Caused by pan crowding or uneven heat distribution in the pan base.
Professional Tips for Consistency
Use a Room Temperature Protein:* Pulling your meat out of the fridge 30 minutes before cooking prevents the pan temperature from dropping too rapidly.
Don't Overcrowd:* Leave at least an inch of space between items in the pan to allow moisture to escape as steam rather than pooling.
Dry Your Meat:* Use paper towels to blot the surface of your protein until it is bone-dry before it touches the heat.
Invest in a Digital Thermometer:* Never guess your internal temperature. A digital probe is the only way to know exactly when your protein is ready to move from the pan to the resting board.
The Importance of Resting and Fond
We often focus so much on the sear that we forget what happens after the heat is turned off. Resting is not just a suggestion; it is a vital step in the process. When meat is subjected to high heat, the proteins contract and squeeze the juices toward the center of the cut. If you slice into it immediately, those juices will run out onto the board, leaving you with dry meat. Resting for 5 to 10 minutes allows the fibers to relax and the juices to redistribute, ensuring every bite is moist and flavorful.
Furthermore, do not neglect the fond. Whether you are making a pan sauce for a chicken breast or a complex reduction for a roast, deglazing the pan with an acidic liquid—such as balsamic vinegar, dry white wine, or even a splash of sherry—captures the essence of the meal. This is the "chef's secret" to making a quick sauce that tastes like it took hours. Simply remove the protein, add your liquid to the hot pan, scrape the bottom with a wooden spoon, and mount the sauce with a cold knob of butter to create a glossy, emulsified finish.
Building a Simple Pan Sauce
"A great pan sauce is the bridge between a good home-cooked meal and a restaurant-quality experience. It is the final salute to the Maillard reaction, pulling all those browned, savory compounds into a single, cohesive sauce."
Resting Protocols
Steaks/Chops:* Rest for 5-8 minutes loosely tented with foil.
Chicken Breast:* Rest for 5 minutes.
Larger Roasts:* Rest for 15-20 minutes, depending on the size.
Fish:* Generally does not require long resting periods, though 1-2 minutes can improve the texture of firm-fleshed fish like swordfish or salmon.
Final Thoughts
The journey to perfect caramelization and Maillard-driven browning is a lifelong pursuit, but it is one that yields immediate results. By paying attention to the details—the dryness of the surface, the temperature of your fat, the quality of your pan, and the patience to let the heat work its magic—you move beyond following recipes to truly understanding the craft. You stop being a cook who hopes for the best and become a chef who understands the chemical reactions necessary to guarantee success.
Take this knowledge and apply it to your next meal. Don't be afraid to experiment with different heat levels, different fats, and different protein types. Observe how the color changes, how the aromas shift as the crust forms, and how the pan looks when the work is done. Every time you step into the kitchen, you are adding to your repertoire, refining your technique, and building a deeper connection with the food you prepare. Cooking is a science, yes, but it is also a narrative of care, attention, and the relentless pursuit of flavor.
When you master these variables, the kitchen becomes a place of joy rather than stress. You’ll find that even the simplest ingredients—a potato, an onion, a piece of tofu, or a humble chicken thigh—can be transformed into a culinary work of art. Remember that perfection is not a destination, but a state of mind. Each time you build that perfect, golden-brown crust, you are practicing the science of flavor, honoring the ingredients, and ultimately, blaming the chef—because now, you are the one in control. Keep refining, keep tasting, and above all, keep cooking. The next meal you prepare is the perfect opportunity to practice these skills, so heat up your pans, keep your surfaces dry, and reach for that beautiful, complex, and savory crust that defines true culinary excellence. Your journey to mastering the science of heat starts now.


Get the Next Recipe
Weekly recipes, techniques, and gear picks — straight to your inbox.
