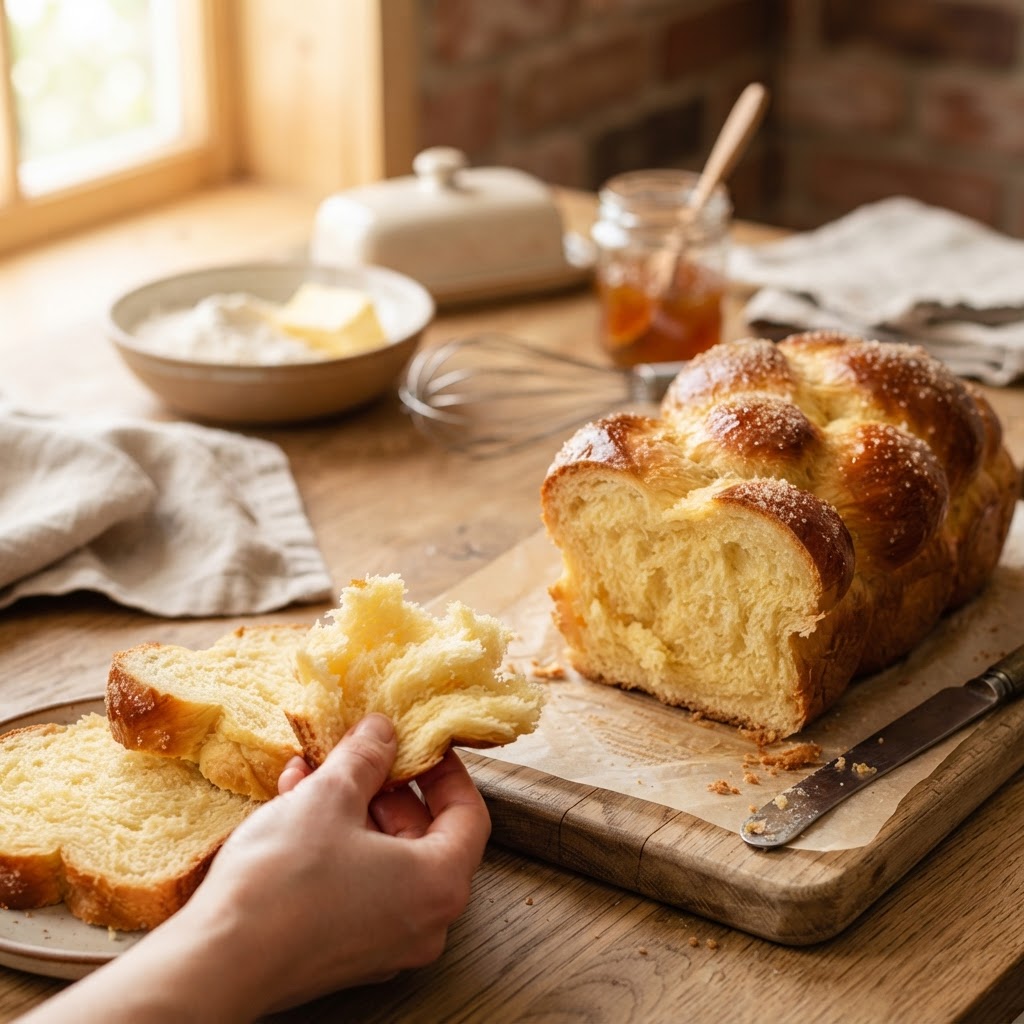
The Secret to Bakery-Style Brioche: Mastering Enriched Dough for Pillowy-Soft Bread
There's something almost magical about walking into a bakery and being greeted by the scent of fresh brioche — that buttery, slightly sweet aroma that promises a tender crumb and a golden crust so delicate it shatters at the slightest touch. For years, I assumed this level of luxury was the exclusive domain of professional bakers with climate-controlled proofing rooms and commercial mixers the size of small cars. I was wrong. After countless trials, failures, and a few genuinely spectacular bricks of inedible dough, I can tell you with absolute confidence that bakery-style brioche is within reach of any patient home cook willing to understand what enriched dough actually is.
The secret isn't a single ingredient or some closely guarded technique passed down through generations of French bakers — though the French have certainly perfected it. The secret lies in understanding the relationship between flour, fat, and hydration, and learning how to coax gluten into developing strength while simultaneously burdening it with enough butter to make a cardiologist nervous. Brioche is a study in contradictions: it's bread, but it behaves like pastry; it's rich, yet it should feel light; it's simple in ingredients, but demanding in execution.
In this guide, I'm going to walk you through everything I've learned about making brioche at home that rivals anything you'll find in a Parisian boulangerie or a high-end American bakery. We'll cover ingredient selection, mixing technique, the critical temperature thresholds, proofing strategies, shaping methods, and the baking itself. By the end, you'll understand not just what to do, but why you're doing it — and that understanding is what separates someone who follows a recipe from someone who can bake with intention.
Understanding Enriched Dough
To master brioche, you first need to understand what makes it different from a standard loaf of bread. Most bread is what we call lean dough — flour, water, yeast, and salt, nothing more. Enriched dough adds fat, sugar, and often dairy to that base, creating a softer, richer, more tender final product. Brioche sits at the extreme end of the enriched spectrum, with butter content that can range from 20% to an astonishing 85% of the flour's weight in some traditional recipes.
The fat in enriched dough does something specific and important: it coats the gluten strands, inhibiting their ability to form tight networks. This sounds like a problem, but it's actually the whole point. A slightly weaker gluten structure means a finer, more tender crumb. Sugar feeds the yeast but also tenderizes by competing with flour for water. Eggs add fat, protein, and moisture, contributing to both structure and richness. When you understand that each enrichment ingredient plays multiple roles, you start to see why the ratios matter so much.
The magic of brioche isn't in complexity — it's in balance. Too much butter too early and you'll never develop gluten. Too little and you might as well be making sandwich bread.
The challenge with enriched dough is that these additions — especially fat — make yeast's job harder. Yeast needs water to function, and fat literally coats the yeast cells, slowing fermentation. Sugar, in concentrations above about 10% of flour weight, becomes osmotically stressful to yeast. This is why brioche recipes often use more yeast than lean dough recipes, and why patience becomes your most important ingredient. A brioche that's rushed will be dense and greasy; one that's given time will be ethereal.
The Brioche Spectrum
Not all brioche is created equal, and knowing where on the spectrum you want to land helps you choose the right approach. Pain au beurre or "poor man's brioche" typically contains around 20-30% butter (baker's percentage, meaning 20-30g butter per 100g flour). This produces a light, slightly sweet bread that's excellent for toast or sandwiches. Brioche riche, the classic Saturday brioche of French tradition, runs 50-70% butter and yields the famously pillowy, almost cake-like texture most people associate with the word "brioche." Beyond that, you enter the realm of brioche-like pastries such as Kouign-amann.
For your first few attempts, I strongly recommend starting around 40-50% butter. This gives you the richness and texture of true brioche without pushing into the technical challenges of very high butter content. Once you're comfortable, you can push higher, but there's no shame in a "moderate" brioche — many of the best bakery brioches I've had were closer to 40% than 70%.
Ingredients That Matter
You can't make great brioche with mediocre ingredients, and the flour you choose matters more than almost anything else. Use a high-protein bread flour with around 12-13% protein content. King Arthur Bread Flour is an excellent choice in the US; in the UK, look for strong white flour. All-purpose flour will work in a pinch, particularly if it's a higher-protein brand like King Arthur, but you'll struggle to develop enough gluten to support the heavy butter load. Cake flour is right out — the protein is too low, and your brioche will collapse into a greasy puddle.
Butter is your second critical ingredient, and here quality is paramount. Use European-style butter with at least 82% fat content if you can find it. Kerrygold, Plugra, or any cultured European butter will give you superior flavor and better texture. Standard American butter runs around 80% fat, with the extra 2% being water — and that water interferes with texture and encourages the butter to "break" during incorporation. Whatever you do, use unsalted butter so you can control the salt level precisely.
Eggs should be large (about 50g each out of shell) and fresh. The egg yolks contribute fat and emulsification, while the whites add water and protein. Some brioche recipes call for yolks only, which produces a more golden, tender, richer result — but at the cost of structure and moisture. For a balanced brioche, whole eggs are the standard. Use room temperature eggs; cold eggs will seize the butter and ruin your dough.
The Core Recipe
Here's a reliable base formula using baker's percentages, where everything is measured relative to the flour weight:
This gives you a classic brioche riche with excellent flavor and texture. The milk is optional — many traditional recipes use only eggs for liquid — but I find a small amount of milk helps the dough come together and improves keeping quality. If you prefer a more traditional approach, replace the milk with an additional egg (about 50g).
Mixing: Where Brioche Is Made or Lost
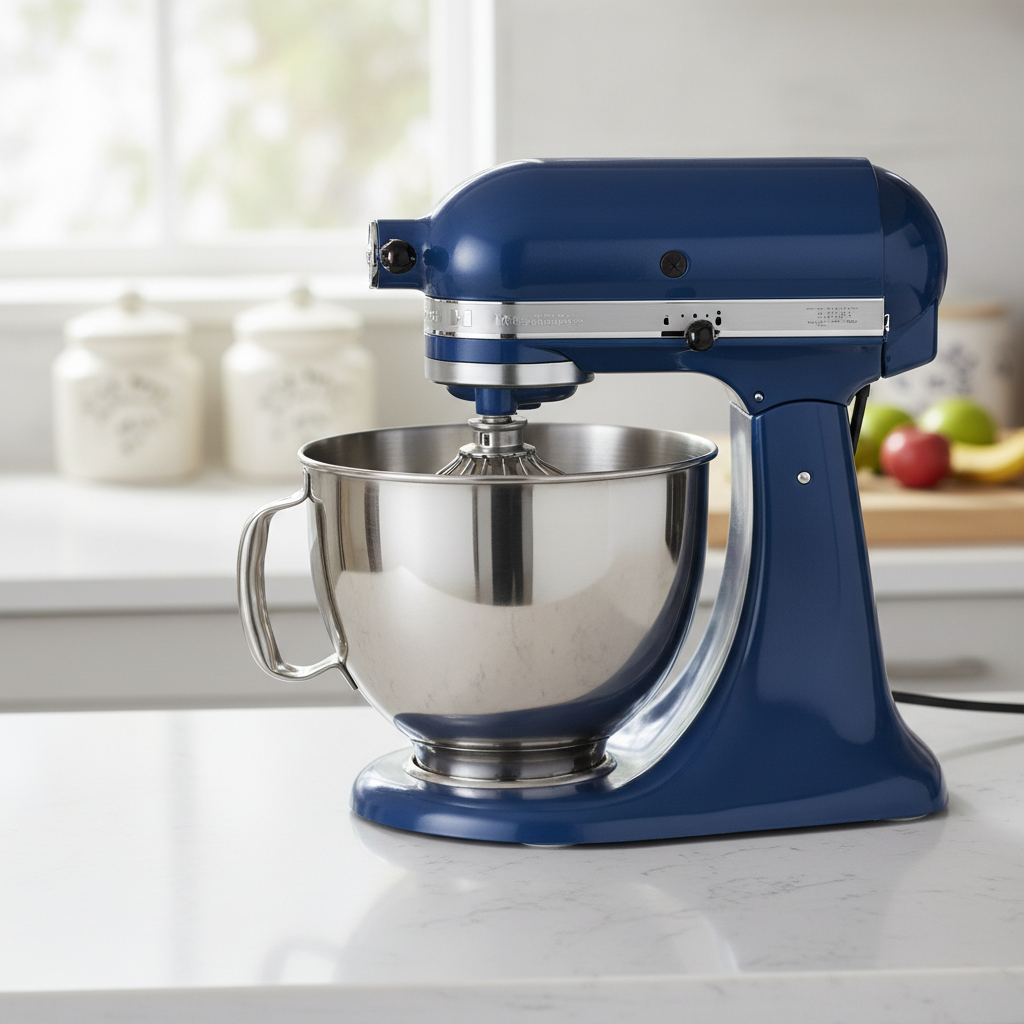
If there's a single technique that determines whether your brioche succeeds or fails, it's the mixing process. Brioche requires extensive mixing to develop the gluten, but it also requires the butter to be incorporated without breaking the dough or melting into a greasy mess. This is why most professional brioche recipes call for a stand mixer — doing it by hand is possible but physically demanding and time-consuming.
Start by combining the flour, sugar, salt, and yeast in the bowl of a stand mixer fitted with the dough hook. If you're using instant yeast, you can add it directly; if using active dry, proof it first in a small amount of the lukewarm milk with a pinch of sugar until foamy, about 5-10 minutes. Add the eggs and milk to the dry ingredients and mix on low speed until the dough comes together into a shaggy mass. This usually takes 30-60 seconds.
Now comes the critical phase: developing the gluten before adding butter. Increase the mixer speed to medium (setting 4 on a KitchenAid) and knead for 8-10 minutes. The dough should transform from a sticky, ragged mess into something smoother and more elastic, though it will still be quite sticky — that's normal. You're looking for the dough to pull away from the sides of the bowl somewhat and show signs of extensibility when you stretch a small piece. If you add butter before this stage, the fat will inhibit gluten development and you'll never recover.
Never add butter to brioche dough before the gluten is developed. The fat coats the protein strands and prevents them from forming the network you need to support all that richness.
Once the gluten is developed, it's time to add the butter. This is where many home bakers go wrong. The butter must be soft but not melting — think the consistency of mayonnaise or softened cream cheese. If it's cold, it won't incorporate smoothly and you'll get lumps. If it's melted or greasy, it will flood the dough and create an oily disaster. Cut the butter into tablespoon-sized pieces and add them one at a time with the mixer running on low. Wait until each piece is almost fully incorporated before adding the next. This process takes 5-8 minutes total.
The Windowpane Test
After all the butter is incorporated, increase speed to medium again and mix for another 5-7 minutes. The dough should become incredibly smooth, shiny, and elastic — almost like a very thick batter that's starting to hold its shape. To test readiness, perform the windowpane test: pinch off a small piece of dough and gently stretch it between your fingers. It should stretch thin enough to let light through without tearing. If it tears easily, mix for another 2-3 minutes and test again. A properly developed brioche dough will pass this test beautifully, despite the high fat content.
Fermentation and Temperature Control
Temperature is the single most underrated factor in brioche success. The ideal dough temperature coming off the mixer is 75-78°F (24-26°C). If your dough is warmer than 82°F (28°C), the butter will begin to melt and leak out during fermentation, destroying the texture. If it's cooler than 70°F (21°C), fermentation will be sluggish and the flavor development will suffer. Use a probe thermometer to check the dough temperature after mixing — this is non-negotiable for consistent results.
The first fermentation, or bulk fermentation, should happen at room temperature (ideally around 72-75°F / 22-24°C) for 1.5 to 2 hours. During this time, the dough should visibly expand, perhaps doubling in volume, though brioche is a slow riser due to the inhibiting effects of fat and sugar. Don't be alarmed if it seems sluggish — that's the nature of enriched dough. After the initial room-temperature rise, the dough must be refrigerated for a cold retardation of at least 8 hours, ideally 12-24 hours.
The cold retardation serves multiple critical purposes. First, it firms up the butter, which stabilizes the dough and makes it much easier to shape. Second, it slows fermentation dramatically, allowing flavor compounds to develop through enzymatic activity and lactic acid bacteria. This is where the complex, slightly tangy, deeply buttery flavor of great brioche comes from — not from the ingredients alone, but from time. Third, it fits the bread-making schedule into a normal life: you can mix the dough one day and bake it the next.
Handling the Cold Dough
When you take the dough out of the refrigerator, it will be very firm — almost like cold clay. This is exactly what you want. Let it rest at room temperature for 15-30 minutes before shaping, just long enough to become pliable but still cool. If the dough warms too much, the butter will soften and the dough will become difficult to shape, greasy, and prone to tearing. Work efficiently, and if your kitchen is warm, return the dough to the fridge between shaping steps.
Shaping Brioche
Shaping is where brioche becomes visually distinctive, and there are several classic forms worth mastering. The most iconic is the brioche à tête, with a large base and a small "head" perched on top, traditionally baked in a fluted round mold. For beginners, I recommend starting with a simple brioche nanterre — a rectangular loaf baked in a standard loaf pan, made by placing balls of dough side by side in two rows. This shape is forgiving, beautiful when sliced, and perfect for toast or French toast.
For a nanterre-style loaf, divide your cold dough into 8 equal pieces (about 100g each for a standard 9×5-inch loaf pan). Shape each piece into a tight ball: flatten the piece slightly, fold the edges into the center, then cup your hand around it and roll on the counter to create surface tension. Arrange the balls in two rows of four in a parchment-lined loaf pan. Cover loosely with oiled plastic wrap and let proof until the balls have expanded and merged, filling the pan about 80-90% full.
Shaping brioche is easier with cold hands and cold dough. If your kitchen is warm, rinse your hands in cold water periodically and work quickly.
For brioche à tête, the technique is more involved. Take a larger piece of dough (about 300g for a standard 4-inch brioche mold) and shape it into a ball. Place it in the mold. Then take a smaller piece (about 70g) and shape it into a ball with a long "neck." Use your thumb to press a deep indentation into the larger ball, then seat the smaller ball into this indentation, pressing down firmly so it's well-anchored. The head should sit slightly off-center, tilted to one side — this is the classic profile.
Proofing Patience
The final proof is where many bakers — including professionals — lose their brioche. After shaping, the dough needs to proof until it's puffy, light, and nearly doubled. At 75-80°F (24-27°C), this typically takes 2-3 hours. At cooler temperatures, it can take 4-5 hours. Do not rush this step. Under-proofed brioche will be dense and have a tight, gummy crumb. Over-proofed brioche will collapse in the oven and have a coarse, irregular texture.
The best way to test readiness is the finger dent test: gently press a finger into the side of the dough about 1/2 inch deep. If the dough springs back immediately, it needs more time. If it springs back slowly and leaves a slight indentation, it's ready. If the indentation doesn't fill in at all, you've gone too far — bake immediately and hope for the best. Err on the side of slightly under-proofed rather than over-proofed, as oven spring will compensate somewhat.
Baking and Finishing
While the dough is in its final proof, preheat your oven to 375°F (190°C) for a conventional oven or 350°F (175°C) for convection. Position a rack in the middle of the oven. Have an egg wash ready: one whole egg beaten with a tablespoon of milk or water and a pinch of salt. The salt helps break down the egg proteins for a smoother wash and better shine.
Just before baking, apply the egg wash gently with a soft pastry brush. Be careful not to let the wash pool around the base of the dough, as it will glue the dough to the pan and prevent even rising. For an extra-glossy finish, apply one coat, let it dry for 5 minutes, then apply a second coat. This double-egg-wash technique is what gives bakery brioche that lacquered, almost metallic sheen.
Bake the brioche for 30-40 minutes for a loaf, or 20-25 minutes for individual brioches. The internal temperature should reach 190-200°F (88-93°C) when fully baked. If the top is browning too quickly — which can happen due to the high sugar and egg content — tent loosely with aluminum foil after the first 15-20 minutes. The brioche is done when it's deeply golden brown, sounds hollow when tapped on the bottom, and has an internal temperature in that target range.
Cooling and Storing
Cooling is part of the baking process, not an afterthought. Remove the brioche from its pan immediately after taking it out of the oven — if you leave it in the pan, steam will condense and make the crust soggy. Transfer to a wire rack and let cool for at least 45 minutes before slicing. Brioche fresh from the oven has a texture that's still setting; if you cut into it while hot, the crumb will be gummy and compressed.
Brioche is best eaten the day it's baked, but it keeps reasonably well for 2-3 days at room temperature in an airtight container. For longer storage, slice and freeze it — frozen brioche toasts beautifully directly from frozen. Stale brioche is, of course, the foundation of French toast and bread pudding, so nothing goes to waste.
Troubleshooting Common Problems
Even with careful technique, brioche can misbehave. Here are the most common issues and their causes:
If your dough seems to fall apart during mixing after adding butter, it's likely that the butter was too warm or added too quickly. Unfortunately, once this happens, it's difficult to recover. Better to start over with colder butter and more patience. This is why temperature control at every stage is so critical — it's the difference between a dough that cooperates and one that fights you.
Variations and Applications
Once you've mastered basic brioche, a world of variations opens up. Chocolate brioche is made by adding chopped high-quality chocolate (or pearl sugar for a more subtle effect) during the final shaping. Savory brioche can be made by reducing sugar to 5% and incorporating herbs, cheese, or even caramelized onions into the dough. Brioche feuilletée is a hybrid of brioche and laminated dough, creating layers reminiscent of croissant but with the richness of brioche.
Brioche also serves as the foundation for many classic preparations. Brioche perdue (French toast) is sublime when made with day-old brioche — the egg-rich bread absorbs custard beautifully without falling apart. Brioche burger buns have become a restaurant standard for good reason: their richness and tender crumb elevate even an ordinary patty. For something more dramatic, try brioche tresses (braided brioche) — a three-strand braid is simple and striking, while more ambitious bakers can attempt six or eight strands.
The versatility of this dough is genuinely remarkable, and once you're comfortable with the base technique, you'll find yourself reaching for it constantly. A batch of brioche dough in the refrigerator is the beginning of a dozen different meals and treats, from breakfast to dessert.
Final Thoughts
Making great brioche at home is not a quick project, but it's one of the most rewarding baking skills you can develop. The process teaches you about gluten development, temperature control, fermentation, and the delicate balance of enriched dough — lessons that transfer to every other bread and pastry you'll ever make. More importantly, it gives you a loaf of bread that feels like a luxury, something to be sliced carefully and savored, perhaps with good butter and a little jam, perhaps on its own, still slightly warm.
I won't pretend brioche is easy on your first attempt. It takes practice to recognize when the gluten is properly developed, when the butter is at the right consistency, when the dough is proofed just enough. But each attempt teaches you something, and the trajectory of improvement is steep. By your third or fourth batch, you'll start to develop an intuition for the dough — a feel for when it needs more time, when it's ready to shape, when it's ready to bake. That intuition is the real goal, because it's what allows you to bake not just brioche, but anything, with confidence.
So blame the chef all you want when your first brioche isn't perfect. But blame yourself, gently, if you don't try again. The secret to bakery-style brioche isn't a secret at all — it's patience, attention, and the willingness to learn from each loaf. The butter, the eggs, the flour, the time — they're all there waiting for you. The only thing left to add is your own hands and your own willingness to keep baking until you get it right. And you will.



Get the Next Recipe
Weekly recipes, techniques, and gear picks — straight to your inbox.
