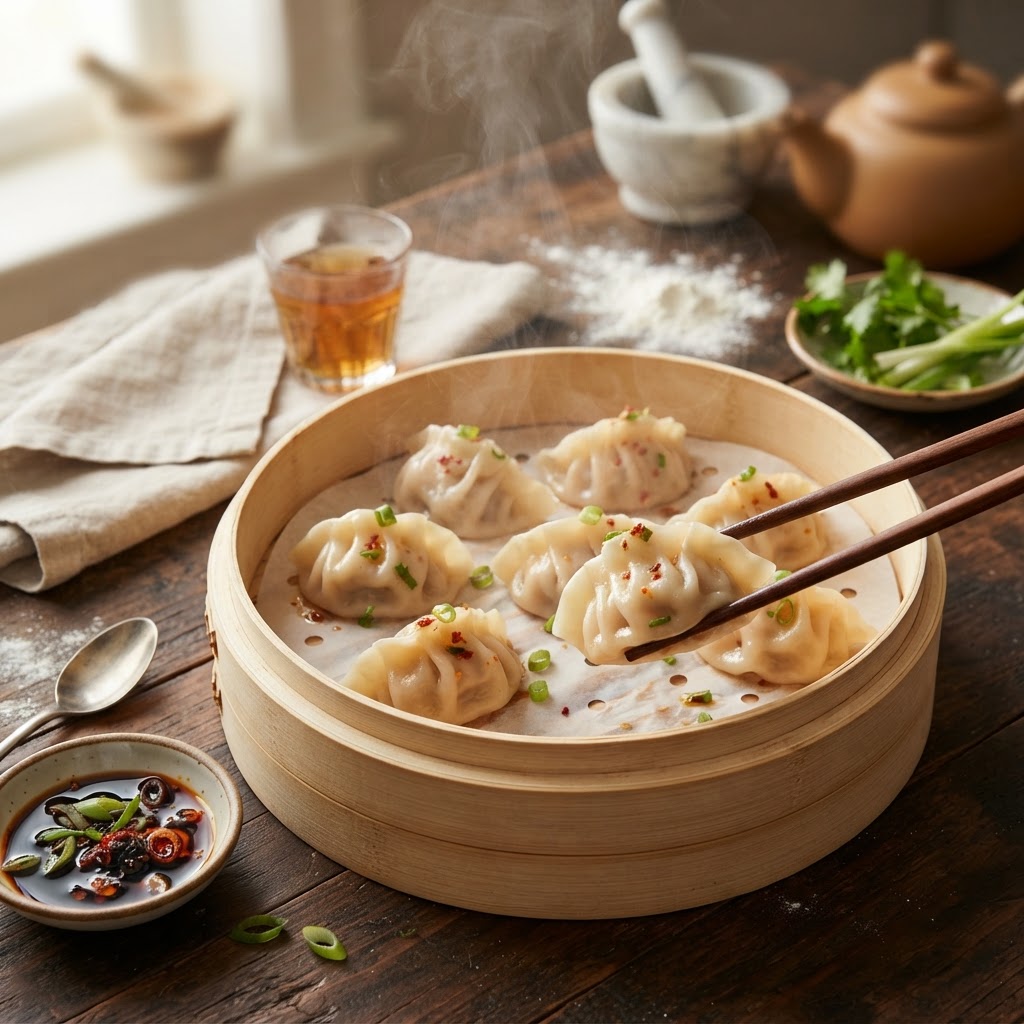
The Secret to Perfectly Steamed Dumplings: Mastering Dough Texture and Pleating Techniques
There is something profoundly meditative about the craft of handmade dumplings. It begins with the simple chemistry of flour and water, evolving into a vessel that holds history, culture, and flavor. For many, the prospect of making dumplings from scratch feels like a daunting culinary mountain, reserved only for those with years of apprenticeship in a professional kitchen. However, I am here to tell you that the secret to the perfect dumpling—the one with a supple, translucent skin and a succulent, flavorful filling—is far more accessible than you think. It is not about divine intervention or a secret family heirloom, but rather a mastery of hydration ratios, gluten management, and the geometry of the fold.
When we discuss the "perfect" steamed dumpling, we are talking about a specific textural profile. You want a wrapper that offers a slight, satisfying resistance to the teeth, known in the culinary world as al dente, yet remains tender enough to dissolve with the filling. Many home cooks struggle with wrappers that are either too thick, turning gummy and doughy in the steamer, or too thin, resulting in structural failure. The goal is to achieve a balance where the dough acts as a supportive envelope rather than an overbearing starch. By understanding how the protein content in your flour interacts with the temperature of your water, you take control of the foundation of your entire dish.
In this guide, we will peel back the layers of tradition to reveal the technical precision required for professional-level results. We will explore why the temperature of your water matters, how the pleating technique dictates the cooking time, and why the "rest" period of your dough is the single most critical step in the process. Whether you are aiming for a classic crystal dumpling or a hearty, rustic steamed pocket, the principles remain identical. Pull up a stool, grab your rolling pin, and let us demystify the art of the dumpling, one fold at a time.
The Chemistry of the Perfect Wrapper
The journey to the perfect dumpling begins with the science of your dough. Unlike bread, which relies on a massive gluten network to trap gasses and rise, dumpling dough is designed to be extensible and firm. This is achieved by manipulating the temperature of the water used during the mixing stage. For steamed dumplings, we generally utilize a "hot water dough" method. By using boiling or near-boiling water, we partially denature the proteins in the flour, which inhibits the formation of long, elastic gluten strands. This results in a wrapper that is pliable and easy to work with, rather than one that constantly snaps back when you try to roll it out.
The Role of Flour Protein
Not all flour is created equal. For a standard steamed dumpling, an all-purpose flour with a protein content between 10% and 11% is the gold standard. If your flour is too high in protein, such as a strong bread flour, your dough will become excessively chewy and tough, requiring far too much effort to roll into thin, delicate circles. Conversely, cake flour is too weak and will lack the structural integrity required to hold a generous amount of filling without breaking. Always look for an unbleached all-purpose variety for the best balance of starch and protein.
The Hydration Ratio
Mastering the hydration ratio is the hallmark of a professional chef. For a versatile steamed dumpling dough, a ratio of 50% to 55% water to flour by weight is ideal. For example, if you are using 300 grams of flour, you should aim for approximately 150 to 165 grams of water. This creates a dough that feels slightly stiff initially but softens considerably after a proper resting phase. Precision is key here; using a digital scale instead of volume measurements ensures that your dough consistency remains uniform regardless of the humidity in your kitchen or the brand of flour you choose.
"A dumpling is only as good as its wrapper; if the dough is neglected, the entire flavor profile of the filling is fundamentally compromised. Treat your dough with the same respect you would a high-quality pastry."
Mixing and Kneading Techniques
Once you have measured your dry and wet ingredients, the mixing process begins. Start by placing your flour in a large, wide mixing bowl. Slowly pour in your hot water—ideally around 180°F (82°C)—while stirring continuously with a pair of chopsticks or a sturdy wooden spatula. This helps distribute the heat evenly throughout the flour, preventing dry pockets. Once the mixture is cool enough to handle, it is time to move to the counter to begin the kneading process, which is where the real texture is developed.
The Knead for Consistency
Kneading should be vigorous but intentional. You aren't looking to develop a windowpane-thin gluten network like you would with sourdough; you are looking for uniformity and smoothness. Knead the dough for approximately 8 to 10 minutes until the surface is completely smooth and feels like a baby’s cheek. If you press your thumb into the dough, it should slowly bounce back. If it feels too tacky, a light dusting of flour is acceptable, but be careful not to incorporate too much, as this will lead to a dry, brittle wrapper that tears during the pleating process.
The Crucial Resting Phase
This is the step most amateur cooks skip, and it is the primary reason for failure. After kneading, your dough is under significant internal stress. You must wrap it tightly in plastic wrap and let it rest at room temperature for at least 30 to 60 minutes. During this time, the moisture migrates evenly throughout the flour particles, and the gluten relaxes completely. Without this rest, the dough will be impossible to roll out to the desired thinness because it will fight against your rolling pin, retracting immediately. Patience here is quite literally the secret ingredient.
Rolling and Preparation
Once your dough has rested, it should feel remarkably soft and supple. Divide the dough into four equal parts and keep three covered while you work with the first. Roll the dough into a long log, about one inch in diameter, and cut it into equal-sized pieces—usually weighing around 12 to 15 grams each for a standard dumpling. The key to consistency is to use a scale for these individual pieces. By keeping each piece identical, you ensure that every dumpling cooks at the same rate, preventing the disaster of having some overcooked and soggy while others remain undercooked.
Achieving the Perfect Shape
To form your wrappers, flatten each piece into a small disc using the palm of your hand. Using a small, rounded rolling pin, begin rolling from the outer edge of the disc toward the center, rotating the dough as you go. You want the edges of the wrapper to be significantly thinner than the center. The center needs to be strong enough to support the moisture of the filling, while the edges need to be thin enough to be pleated without creating a dense, doughy knot at the top. This "thick-center, thin-edge" technique is essential for professional results.
Mise en Place for Success
Before you begin rolling, ensure your filling is cold. A chilled filling is much easier to manage than a warm or room-temperature one. If you are using a meat-based filling, adding a bit of gelatin or chilled chicken stock can create that elusive, soupy, "soup dumpling" effect. Keep a small bowl of water near your workspace to lightly dampen the edges of the wrapper if they begin to dry out during the pleating process. Always keep your unrolled portions of dough covered with a damp cloth or plastic wrap to prevent them from drying out in the ambient air.
The Art of the Pleat
The pleat is the signature of the chef, serving both a functional and aesthetic purpose. A well-executed pleat isn't just for show; it creates a structured seal that holds the filling securely during the intense heat of the steamer. The most common technique is the crescent pleat, where you make a series of small, overlapping folds along one side of the wrapper while holding the other side steady. This creates a beautiful, rippled edge that looks professional and feels elegant in the mouth.
Mastering the Crescent Pleat
Start by holding the wrapper in your non-dominant hand. Place a small spoonful of filling in the center—don't overfill, or you will regret it when it bursts during steaming. Fold the wrapper in half, bringing the edges together. With your thumb and index finger, begin making small, tight folds along the front edge of the wrapper, pressing each fold firmly against the back edge to seal. Work from one end of the dumpling to the other. If you find the dough isn't sticking, use a tiny dab of water on your finger, but go easy—too much water will make the dough slippery and difficult to handle.
Troubleshooting Your Folds
If your pleats are coming apart, your filling is likely too loose or you are using too much moisture inside the dumpling. If the dough is tearing, your wrappers are either too thin or have dried out. Remember that pleating is a skill that develops with muscle memory. Your first twenty dumplings might look like unrecognizable blobs, but by your fiftieth, you will find your rhythm. The key is consistent tension. If the pleats are too loose, the dumpling will lose its shape in the steamer and the juices will leak out, leaving you with an empty shell of dough.
"A beautiful fold is a testament to the chef's dedication, but the true mark of mastery is a seal so tight that not a single drop of precious broth escapes into the steamer."
Steaming for Perfection
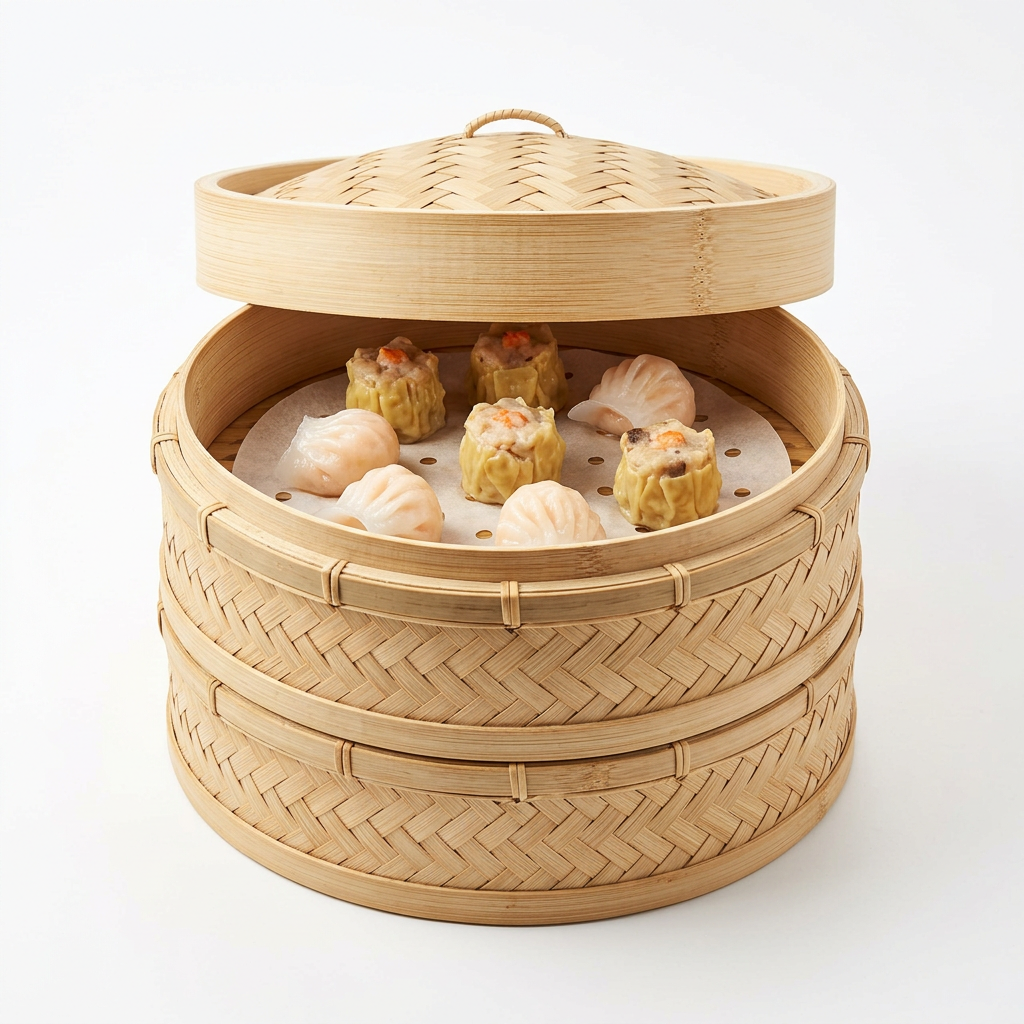
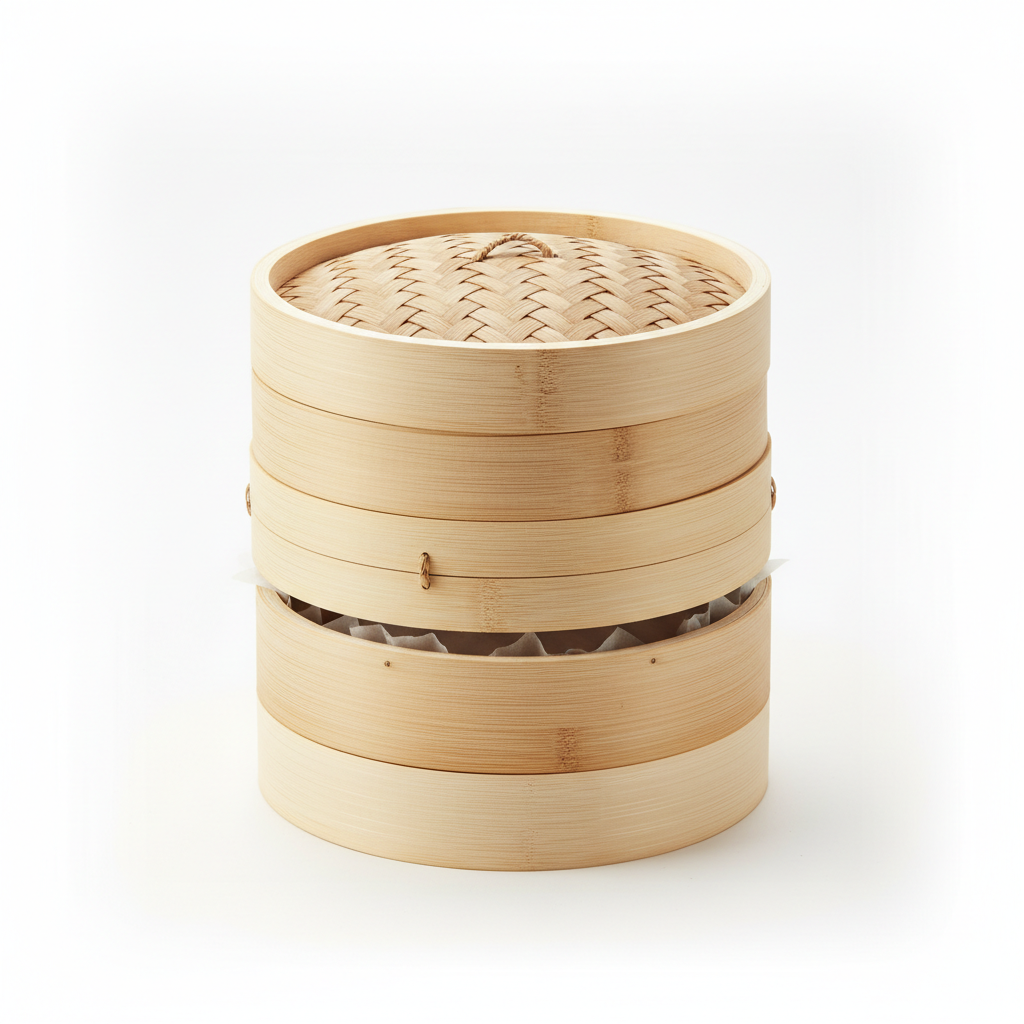
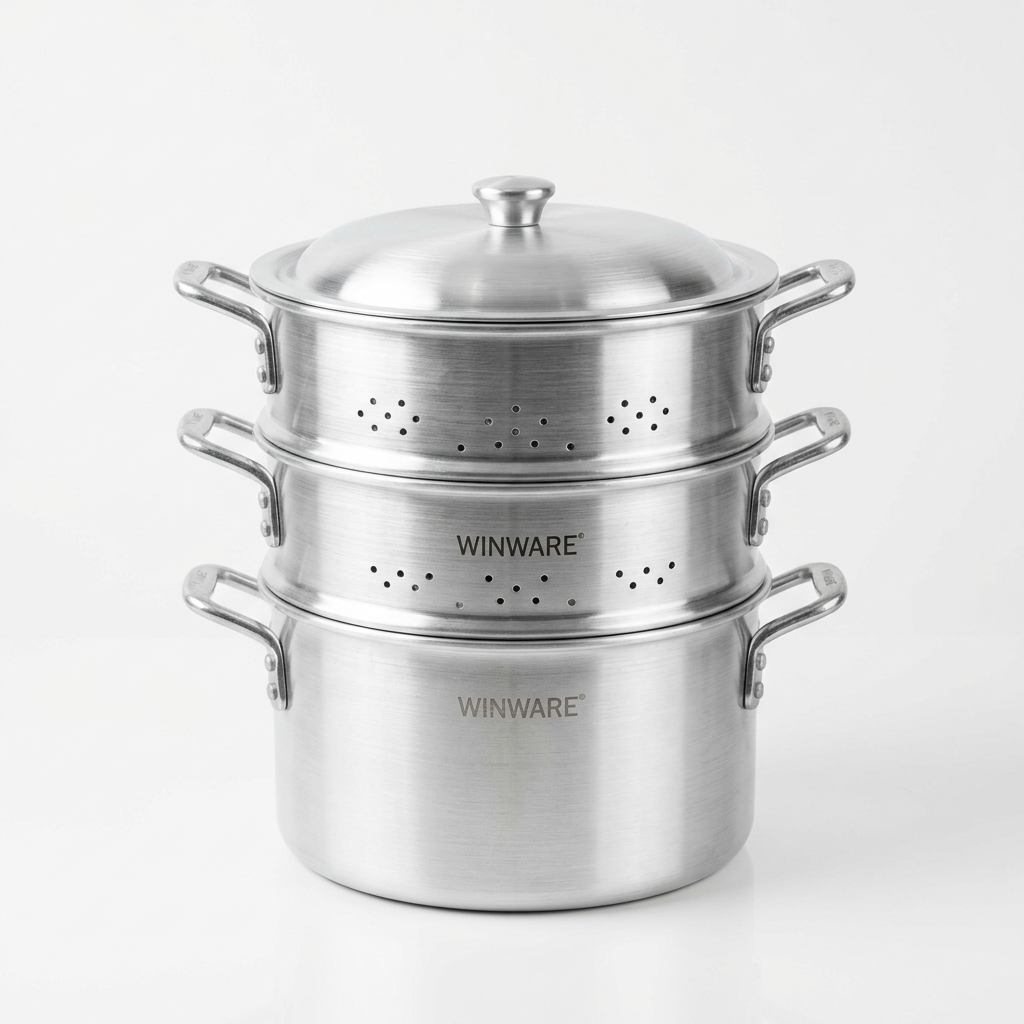
Steaming is a gentle cooking method, but it requires precision to ensure the dumpling skin retains its integrity. Using a bamboo steamer is ideal, as it absorbs excess condensation, preventing the dumplings from becoming waterlogged. If you are using a metal steamer, be sure to line it with parchment paper that has been poked with holes, or use napa cabbage leaves or carrots as a natural, non-stick barrier. This prevents the delicate dough from bonding to the steamer surface, which is the most common cause of "skin tearing" when serving.
Timing and Temperature
For a standard pork or vegetable dumpling, steaming for 8 to 10 minutes at a steady, high heat is perfect. You want the steam to be rolling and constant. If the heat is too low, the dough will not "set" quickly enough, leading to a soggy, over-hydrated texture. If the heat is too high and fluctuates, you risk overcooking the exterior before the interior has reached a safe temperature. Use a steamer that fits your pot perfectly to prevent steam from escaping; if necessary, use a damp kitchen towel to seal the gap between the steamer and the pot lid.
Resting After the Steam
Do not immediately rip the lid off the steamer the moment the timer goes off. Let the dumplings rest in the steamer, lid on, for about 60 seconds. This allows the internal pressure to stabilize and prevents the wrappers from collapsing or wrinkling due to the sudden temperature change. When you finally remove them, they should look plump, glossy, and slightly translucent, with the outline of your pleats still sharply defined. This is the hallmark of a perfectly steamed dumpling.
Filling Variations and Flavor Profiles
While the dough is the canvas, the filling is the masterpiece. The secret to a professional filling is the texture of the meat and the balance of aromatics. Whether you are working with pork, shrimp, or finely chopped seasonal vegetables, you must incorporate a binder. A mixture of soy sauce, toasted sesame oil, finely minced ginger, and scallions is the standard, but feel free to experiment. For meat-based fillings, stir the meat in one direction for several minutes until it becomes sticky and paste-like; this process, known as "emulsification," creates a juicy, unified filling rather than a crumbly, dry one.
The Importance of Aromatics
Do not underestimate the power of high-quality aromatics. Freshly grated ginger is non-negotiable—avoid the powdered version at all costs. Similarly, using the white parts of scallions inside the filling and the green parts as a garnish provides a layered flavor profile. If you are using mushrooms, sauté them beforehand to remove their excess water content. If you introduce watery ingredients directly into the filling, you will end up with a soup inside your dumpling, which, while delicious, makes the structural integrity of the wrapper much harder to maintain.
Balancing Ratios
A good rule of thumb is a 2:1 ratio of meat to vegetables. This ensures that you have enough fat and protein to create a rich mouthfeel, while the vegetables provide texture and brightness. If you are making a purely vegetarian dumpling, make sure to add a source of healthy fat, such as finely chopped shiitake mushrooms or a small amount of sesame oil, to ensure the filling doesn't feel one-dimensional. Remember: seasoning is intensified by the steaming process, so taste a small, pan-fried portion of your filling before you commit to stuffing all your wrappers.
Final Thoughts
Mastering the art of the steamed dumpling is a journey that rewards the patient and the curious. You have now learned that the secret lies not in a mysterious ingredient, but in the deliberate application of culinary physics: the hot water dough for pliability, the precise resting period for gluten relaxation, and the meticulous attention to pleating for structural integrity. Each step, while seemingly small, contributes to the final result of a bite-sized piece of perfection.
As you step into your kitchen to attempt your own batch, remember that "Blame The Chef" is about encouraging the growth of the home cook. If your first few attempts aren't Instagram-perfect, do not be discouraged. Even the most seasoned dumpling masters started with uneven folds and accidental tears. The beauty of this craft is that the practice is just as delicious as the final product. Embrace the process, listen to the texture of your dough, and keep refining your technique until the pleats become second nature.
Once you have mastered the foundational technique, the possibilities are endless. You can experiment with different flours, such as incorporating a portion of tapioca starch for a more translucent "crystal" skin, or play with seasonal fillings that reflect your own culinary inspirations. A handmade dumpling is more than just a meal; it is an act of care. So, take your time, keep your steamer at a consistent boil, and enjoy the profound satisfaction of serving something you have crafted entirely from scratch. Happy pleating, and may every dumpling you serve be as beautiful as it is delicious.

Get the Next Recipe
Weekly recipes, techniques, and gear picks — straight to your inbox.
