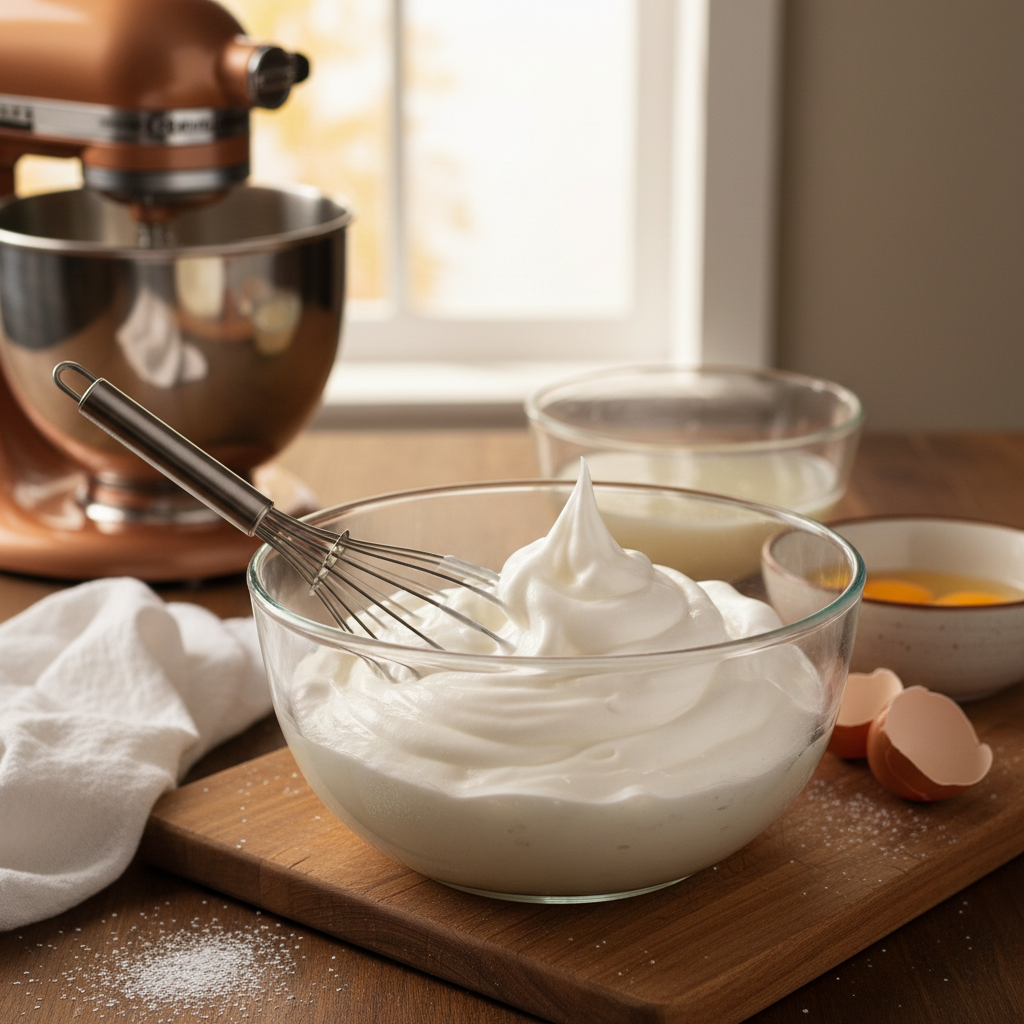
The Ultimate Guide to Whipping Egg Whites: Techniques for Perfect Peaks Every Time
Whipping egg whites is a foundational skill that every home cook should master to unlock a world of culinary possibilities. Whether you’re aspiring to bake airy soufflés, create fluffy meringues, or prepare a light and airy angel food cake, the ability to whip egg whites to perfection can elevate your dishes from ordinary to extraordinary. Achieving those perfect peaks is not just about muscle; it is a combination of technique, understanding the science behind egg whites, and employing a few simple tips and tricks that can make the difference between a flat disappointment and a lofty success.
In this guide, we will delve into the essential techniques for whipping egg whites effectively, ensuring that you can replicate those soft, medium, and stiff peaks that are so vital to various recipes. Egg whites are comprised mostly of water and proteins, and through the process of whipping, the whisking incorporates air, leading to a stable foam. Understanding this process will not only give you the desired texture for your recipes but will also enhance your confidence in the kitchen as you become familiar with the nuances of egg white preparation.
Moreover, we’ll touch upon the various stages of whipping, the best tools to use, and common pitfalls to avoid. From temperature control to choosing the right mixing bowl, every detail matters when it comes to achieving the fluffiest outcomes. So whether you're preparing for a big dinner party or just want to wow your guests with a stunning dessert, let’s get started on your journey to mastering egg whites!
Understanding Egg Whites
Before diving into the techniques of whipping, it is crucial to understand what egg whites are and how they behave when whipped. Egg whites, or albumen, are the clear, viscous liquid part of the egg that surrounds the yolk. Comprising approximately 90% water and 10% protein, egg whites contain two primary proteins, ovalbumin and ovotransferrin, which play significant roles in the whipping process.
The Role of Proteins in Egg Whites
When you begin to whip egg whites, the mechanical action incorporates air into the liquid, which causes the proteins to denature, meaning they unfold and reform around the air bubbles. This process creates a network of proteins that stabilizes the foam. The chemistry behind this transformation is fascinating—during whipping, the air bubbles are encased in a thin film of protein and water which, when heated, solidifies, giving structure to baked goods.
“Mastering the art of whipping egg whites can transform your baking from simple to sublime.”
Benefits of Whipping Egg Whites
Whipped egg whites add volume, texture, and lightness to a wide variety of recipes. Here are a few benefits to consider:
Choosing the Right Tools
The right equipment is essential for achieving successful peaks. While it may seem as simple as whisking, the tools you choose can affect the outcome significantly.
Essential Equipment
Temperature Matters
The temperature of your egg whites also significantly affects the whipping process. Ideally, you should use egg whites that are at room temperature. Here’s why:
The Stages of Whipping Egg Whites
Understanding the various stages of whipped egg whites is crucial for the desired outcome in your recipes. Recognizing when to stop whipping is just as important as the actual whipping.
Soft Peaks
At this stage, the egg whites have increased in volume and have turned frothy. When you lift the whisk, the peaks will bend over slightly and will not hold their shape.
Medium Peaks
Medium peaks occur when the egg whites continue to be whipped. At this stage, the peaks stand straight up but still have a slight bend at the tip.
Stiff Peaks
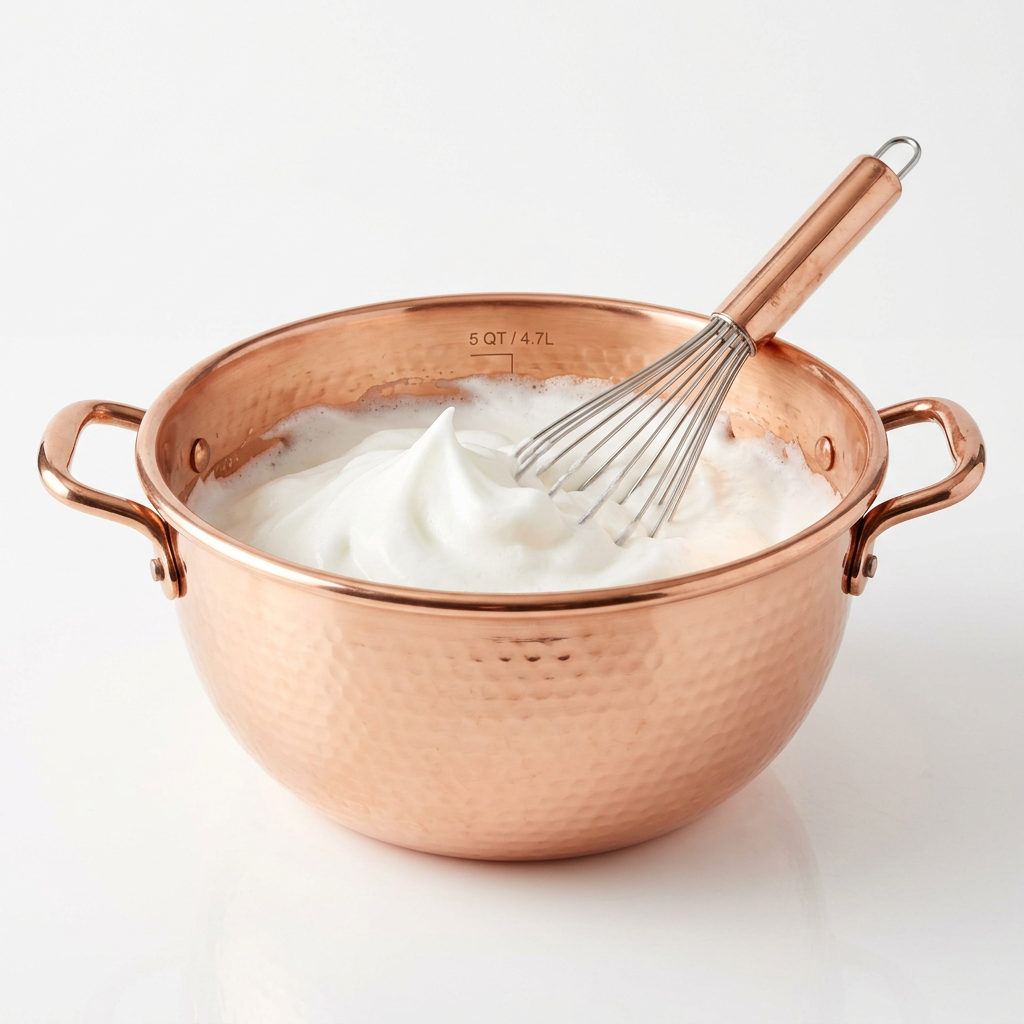
Stiff peaks indicate that the egg whites have been whipped to their maximum volume, creating a firm and stable foam. When you lift the whisk, the peaks stand tall and do not bend.
“Whipping egg whites is both art and science; respect the science to achieve the art.”
The Process of Whipping Egg Whites
Now that you understand the theory behind whipping egg whites, let’s break down the process step by step. This will ensure you consistently achieve optimal results every time.
Step By Step Instructions
- Carefully crack eggs and separate the whites from the yolks. Use clean, dry hands or utensils to avoid contamination.
- Ensure that not a speck of yolk enters the whites, as fat can prevent the whites from whipping properly.
- Choose a clean bowl, preferably metal or glass. Make sure it is completely dry and free of any oil or residue.
- For added stability, consider adding a small amount of acid. Cream of tartar (about 1/8 teaspoon per egg white) or lemon juice can help create a more stable foam.
- Begin at low speed to incorporate air gently, then increase to medium-high speed as the whites begin to froth.
- Pay close attention to the stages of peaks, ensuring you stop once you reach the desired peak stiffness.
- Be cautious of over-whipping, which can lead to a grainy texture and eventually collapse the foam. Stop just before you hit stiff peaks if you’re uncertain, as you can always whip a little longer.
Common Mistakes to Avoid
Every cook makes mistakes, but being aware of common pitfalls can save you time and frustration:
Incorporating Whipped Egg Whites Into Recipes
Once you've mastered the art of whipping egg whites, the next challenge is effectively integrating them into your recipes without deflating the foam. This process requires finesse and an understanding of how to fold.
The Art of Folding
Folding is the method used to combine whipped egg whites with other, heavier ingredients without losing the air you’ve just incorporated. This technique is crucial for maintaining the lightness of your dish.
Popular Recipes Featuring Whipped Egg Whites
Below are a few classic recipes that highlight the versatility of whipped egg whites:
Advanced Techniques and Tips
If you're ready to step up your game, let's explore some advanced techniques that professional chefs use to master whipped egg whites.
Swiss Meringue Method
The Swiss meringue method involves heating the egg whites and sugar over a double boiler before whipping, which stabilizes the proteins.
1. Combine egg whites and sugar in a heatproof bowl.
2. Place the bowl over a simmering pot of water, whisking constantly until the sugar dissolves and the mixture reaches 160°F (71°C).
3. Remove from heat and whip until glossy and achieves stiff peaks.
French Meringue vs. Italian Meringue
Understanding the differences between these two popular meringue techniques can help you choose the right method for your dish.
Dos and Don'ts
Conclusion
Whipping egg whites is an essential skill that can refine your culinary prowess and enhance your recipes. From understanding the science behind egg whites to mastering the various stages of whipping, every detail contributes to achieving perfect peaks each time. Remember, the tools you use, the temperature of your ingredients, and the meticulous process of folding can elevate your dishes, making them as light and airy as a cloud.
As you embark on your egg white whipping journey, keep this guide handy. Experiment with different recipes, and don’t hesitate to try out various techniques to discover what works best for you. Your cooking will become not just a task but an art form, and with every successful meringue or soufflé, you’ll find joy and satisfaction that will likely have your friends and family singing your praises.
“In the kitchen, just like in life, the best results come from embracing the process and learning along the way."
Elevate your culinary journey with whipped egg whites as your secret weapon, and soon, you won't just blame the chef; you’ll proudly be the chef, confident in your abilities to create stunning culinary masterpieces. Happy whipping!
Get the Next Recipe
Weekly recipes, techniques, and gear picks — straight to your inbox.
