
The Versatile Egg: Ten Techniques Every Cook Should Master
The humble egg is, without a doubt, the most transformative ingredient in any kitchen repertoire, acting as the fundamental building block for everything from a rustic breakfast to the most intricate French pastry. It is a marvel of culinary chemistry, possessing the unique ability to emulsify sauces, leaven cakes, bind meatloaf, and provide a protein-packed centerpiece all on its own. For the home cook, mastering the egg is not merely about learning a few recipes; it is about understanding the fundamental properties of protein coagulation and fat emulsion. When you truly grasp how heat interacts with the delicate structure of an egg, you transition from someone who simply follows instructions to a creator who understands the "why" behind the process. This shift in perspective is the hallmark of a confident chef, and it is precisely the kind of culinary empowerment I aim to instill here at Blame The Chef.
We often take for granted how frequently we rely on eggs in our daily cooking, yet few people take the time to refine their technique beyond the basic scramble or fry. There is a profound difference between a rubbery, overcooked egg and one that exhibits a silky, custard-like texture, and that difference is entirely rooted in your mastery of heat control. Professional kitchens treat eggs with a level of reverence that borders on the ritualistic, recognizing that they are often the first test of a line cook’s patience and technical precision. By dedicating yourself to mastering these ten foundational techniques, you are essentially setting a solid bedrock for your entire culinary journey. Whether you are aiming to impress your family on a lazy Sunday morning or refining your skills for a dinner party, the egg is your most reliable and versatile partner.
As you navigate the techniques detailed in this guide, I encourage you to set aside any preconceived notions you may have about what you "already know" about eggs. Forget the high-heat, fast-cook mentality that often leads to burnt edges and sulfurous aromas, and instead embrace the beauty of low and slow heat management. We will explore everything from the science of the perfect soft boil to the delicate art of the classic French omelet, providing you with the exact temperatures and timing required for consistent success. The journey of becoming a great cook is a long one, but it is paved with small, deliberate victories. Let this be the start of your journey toward mastering the most versatile ingredient in your pantry, one perfectly executed egg at a time.
The Art of the Perfect Soft-Boiled Egg
Achieving the perfect soft-boiled egg is a rite of passage for every aspiring cook, yet it is arguably one of the most frequently bungled techniques in the home kitchen. The goal is a set, opaque white that is tender rather than rubbery, and a yolk that remains warm, viscous, and liquid gold. The secret lies not in the age of your eggs, but in the precision of your timing and the immediate deployment of an ice bath to arrest the cooking process. Without the thermal shock provided by cold water, the residual heat will continue to coagulate the yolk, turning your perfect soft-boiled egg into a standard hard-boiled one in a matter of minutes.
The Science of Timing
To achieve the "jammy" consistency that is currently the gold standard in fine dining, start with room-temperature eggs. Lower them gently into a pot of boiling water, ensuring the water covers the eggs by at least an inch. For a large egg, exactly six minutes and thirty seconds is the magic window. It is vital to use a kitchen timer rather than relying on your intuition, as even thirty seconds can be the difference between a liquid yolk and a semi-firm one. Once the timer dings, remove the eggs immediately with a slotted spoon and plunge them into a bowl filled with cold water and ice.
"Precision is the difference between a meal that satisfies and a dish that sings. When it comes to eggs, timing isn't just a suggestion; it is the core of the technique."
After the eggs have cooled for about five minutes, carefully crack the shells by tapping them against the counter, starting at the wider end where the air pocket is located. Peel them under a gentle stream of cool running water, which helps to separate the membrane from the white. This method ensures that your eggs are pristine, smooth, and ready to be halved for salads, noodle bowls, or simply enjoyed with a sprinkle of sea salt and freshly cracked black pepper. Mastering this technique will change the way you think about breakfast service and elevate your salads to professional status.
Mastering the French Omelet
If the soft-boiled egg is a test of patience, the French Omelet is a test of finesse and heat management. Unlike the American-style omelet, which is often browned, folded, and stuffed with heavy fillings, the classic French version is pale, smooth, and cooked to a delicate, custard-like texture. It should have no color on the exterior, possessing a creamy interior—the baveuse texture—that reflects the chef's ability to maintain gentle heat control throughout the cooking process. This is the dish that culinary schools use to evaluate the technical proficiency of their students, and for good reason.
Technique and Execution
Start by whisking three eggs thoroughly with a fork, but do not over-aerate them; you want a uniform mixture without too many bubbles. Heat a non-stick pan over medium-low heat and add a knob of high-quality unsalted butter. As soon as the butter foams—but before it takes on any color—pour in your eggs. Using a rubber spatula, stir the eggs constantly and rapidly, similar to how you would cook scrambled eggs, while simultaneously shaking the pan back and forth. This constant movement prevents large curds from forming, ensuring that the omelet remains silky and smooth throughout.
When the eggs reach a state of thickened, wet curds, stop stirring and spread them evenly across the bottom of the pan. Let them sit for just a few seconds to set the bottom layer. At this point, you can add a tiny sprinkle of fresh herbs like chives or a small amount of Gruyère cheese if desired. Using your spatula, tilt the pan and begin rolling the omelet onto itself, starting from the handle side. Once it is rolled into a tight, cigar-like shape, gently tip it onto a plate with the seam side down. A perfect French omelet should look like a pale, yellow silk pillow, soft to the touch and trembling slightly when moved.
The Secret to Silky Scrambled Eggs
Most people grew up eating scrambled eggs that were dry, pebbly, and somewhat reminiscent of kitchen sponges. Real silky scrambled eggs are a revelation, offering a luxurious, velvet mouthfeel that feels almost like a sauce. The secret is the "low and slow" approach combined with the frequent introduction and removal of the pan from the heat source. This method allows the proteins to coagulate gently, preventing the tight, rubbery structure that results from high-heat exposure.
Managing Heat for Texture
For this technique, use a heavy-bottomed saucepan rather than a skillet. Whisk your eggs in a bowl with a tablespoon of heavy cream or butter. Place the pan over low heat, add the egg mixture, and begin to stir with a silicone spatula, moving constantly in a circular motion. Every thirty seconds, lift the pan off the burner for a few seconds to regulate the temperature, then return it to the heat. You are looking for very small, soft curds. If the eggs begin to cook too quickly, take them off the heat entirely and keep stirring; the residual heat will finish the job.
"Texture is a flavor unto itself. When you strip away the harshness of high heat, you allow the natural richness of the egg to shine through with unparalleled elegance."
When the eggs look like thick, creamy pudding, take them off the heat while they are still slightly underdone. They will continue to set on the plate as you serve them. Season them with salt at the very end of the process, as adding salt too early can sometimes lead to a watery, grayish consistency. Serve these with a side of toasted brioche to soak up the luxurious, creamy goodness. Once you have tasted eggs prepared this way, you will never be able to go back to the dry, overcooked versions of your past.
Poaching Eggs with Precision
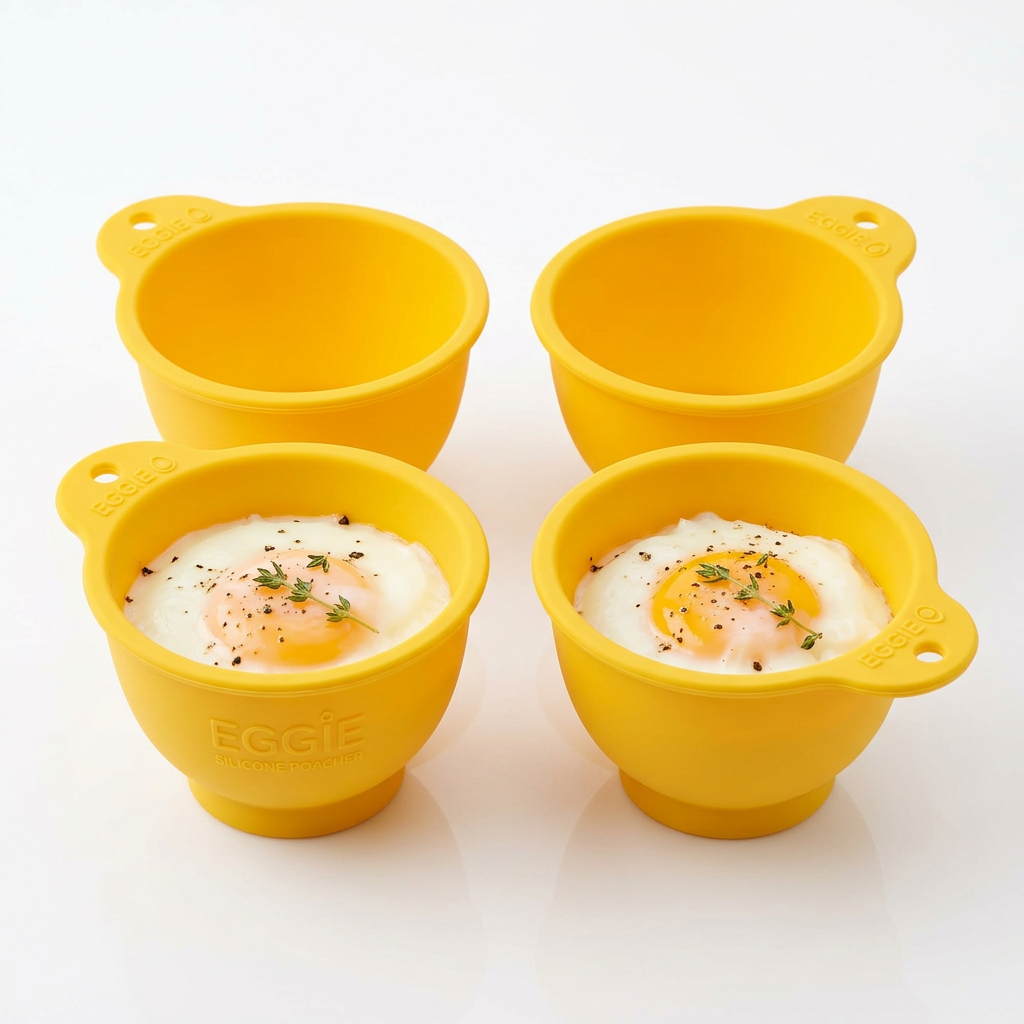
The poached egg is a cornerstone of fine dining, essential for dishes like Eggs Benedict or a classic Frisée aux Lardons. The challenge is keeping the white from feathering out into a stringy mess in the water. The most effective way to manage this is through the use of a fine-mesh strainer and a gentle acid in the water. By straining the thin, watery part of the white before the egg hits the poaching liquid, you ensure that only the firm, gelatinous white remains, resulting in a clean, professional-looking poached egg.
The Acidulated Water Method
Fill a deep pot with water and bring it to a gentle simmer—not a rolling boil. A temperature of approximately 180°F to 190°F is ideal. Add a tablespoon of distilled white vinegar; the acid helps the egg white coagulate faster. Crack your egg into a fine-mesh sieve over a bowl, letting the thin liquid drip away for about thirty seconds. Carefully slide the egg into the water, creating a small whirlpool if you prefer, though if your technique with the strainer is good, this is often unnecessary.
Cook for three to four minutes until the whites are opaque and firm to the touch, but the yolk remains soft. Remove the egg with a slotted spoon and briefly place it on a paper towel to absorb excess water before placing it on your toast or plated dish. Season immediately with sea salt and black pepper. If you are poaching for a crowd, you can poach the eggs ahead of time, place them in an ice bath to stop the cooking, and then reheat them in warm (not boiling) water for thirty seconds before serving. This is a pro-level tip for dinner party success.
Perfecting the Sunny-Side-Up Egg
The sunny-side-up egg seems simple, but getting a perfectly cooked white while keeping the yolk bright and runny requires careful management of the fat and the lid. The issue is usually that the top of the white remains raw while the bottom begins to brown or burn. By using a "basting" technique or a lid, you can ensure that the heat reaches the top of the egg without the need to flip it, maintaining that classic "sunny" appearance.
The Basting Technique
Heat a non-stick pan over medium heat and add a generous tablespoon of butter. When the butter is shimmering, gently crack your egg into the pan. Once the white begins to set, tilt the pan slightly so that the hot butter pools at the edge. Using a spoon, repeatedly scoop that hot butter and drizzle it over the egg whites, being careful not to hit the yolk directly if you want it to remain perfectly vibrant. The hot fat cooks the whites instantly, creating a crispy, lace-like edge while keeping the top portion tender and fully set.
If you prefer a less crispy edge, add a teaspoon of water to the pan and immediately cover it with a tight-fitting lid. The steam will cook the top of the egg white in about thirty to forty-five seconds. Watch it closely; you want the whites to be set but the yolk to remain completely liquid. Season only the whites with salt, as salt can create white spots on the yolk that many chefs find visually unappealing. Serve immediately while the edges are still warm and the yolk is at its peak of creaminess.
Emulsification: The Magic of Hollandaise
Hollandaise sauce is the ultimate test of an egg-based emulsion. It is a temperamental sauce, but once you understand the mechanics of how to whisk egg yolks with warm butter, you gain access to a world of culinary sophistication. The secret is to maintain a steady, moderate temperature; if the eggs get too hot, they scramble, and if they are too cold, the butter will not emulsify properly. Mastering this technique allows you to transform simple vegetables or fish into restaurant-quality entrees.
The Bain-Marie Technique
Start by whisking egg yolks and a splash of lemon juice in a stainless steel bowl placed over a pot of simmering water—a bain-marie. Whisk constantly until the yolks thicken and become pale. Remove the bowl from the heat and begin drizzling in melted, clarified butter, starting with just a few drops and whisking vigorously. As the emulsion begins to form, you can pour the butter in a thin, steady stream. If the sauce becomes too thick, whisk in a teaspoon of warm water to loosen it back up.
"Cooking is as much about chemistry as it is about artistry. Emulsifying a hollandaise is your chance to play the scientist, and the reward is a texture that is nothing short of liquid silk."
Always taste your hollandaise before serving. It should be rich, tangy, and bright. If you find it has broken, don't panic; you can often fix it by whisking a fresh egg yolk in a clean bowl and slowly drizzling the broken sauce into that new yolk, essentially starting the emulsion over again. This is a common professional trick that saves many dishes from being sent back to the kitchen. Keep the finished sauce in a warm spot, but away from direct heat, until you are ready to plate.
The Versatility of the Frittata
The frittata is the ultimate "use it up" meal, perfect for cleaning out the vegetable drawer while still delivering a satisfying and nutritious dinner. Unlike a quiche, which requires a crust, or a traditional omelet, which must be served immediately, a frittata is forgiving, portable, and delicious at any temperature. It bridges the gap between a simple scramble and a more formal baked dish, offering a wonderful texture that is fluffy yet substantial.
The Oven-Finish Technique
Start your frittata on the stovetop in an oven-safe skillet, sautéing your chosen vegetables, meats, or herbs until they are tender and the excess moisture has been released. Pour your beaten, seasoned eggs over the top and let the edges set for a few minutes on the stove. Once the bottom is firm, transfer the entire skillet into a preheated oven at 375°F. The indirect heat of the oven allows the frittata to puff up evenly and cook through without needing to flip it or worry about the bottom scorching.
A frittata is finished when the center is set and no longer jiggles when the pan is moved. You can add a sprinkle of grated Parmesan or cheddar during the last two minutes of baking to create a golden, crusty top. Let it rest for five minutes before slicing it into wedges. It is excellent served hot with a side salad, at room temperature for a picnic, or even cold the next day for lunch. This is truly the home cook's secret weapon for stress-free meal planning.
Essential Tools for the Egg Master
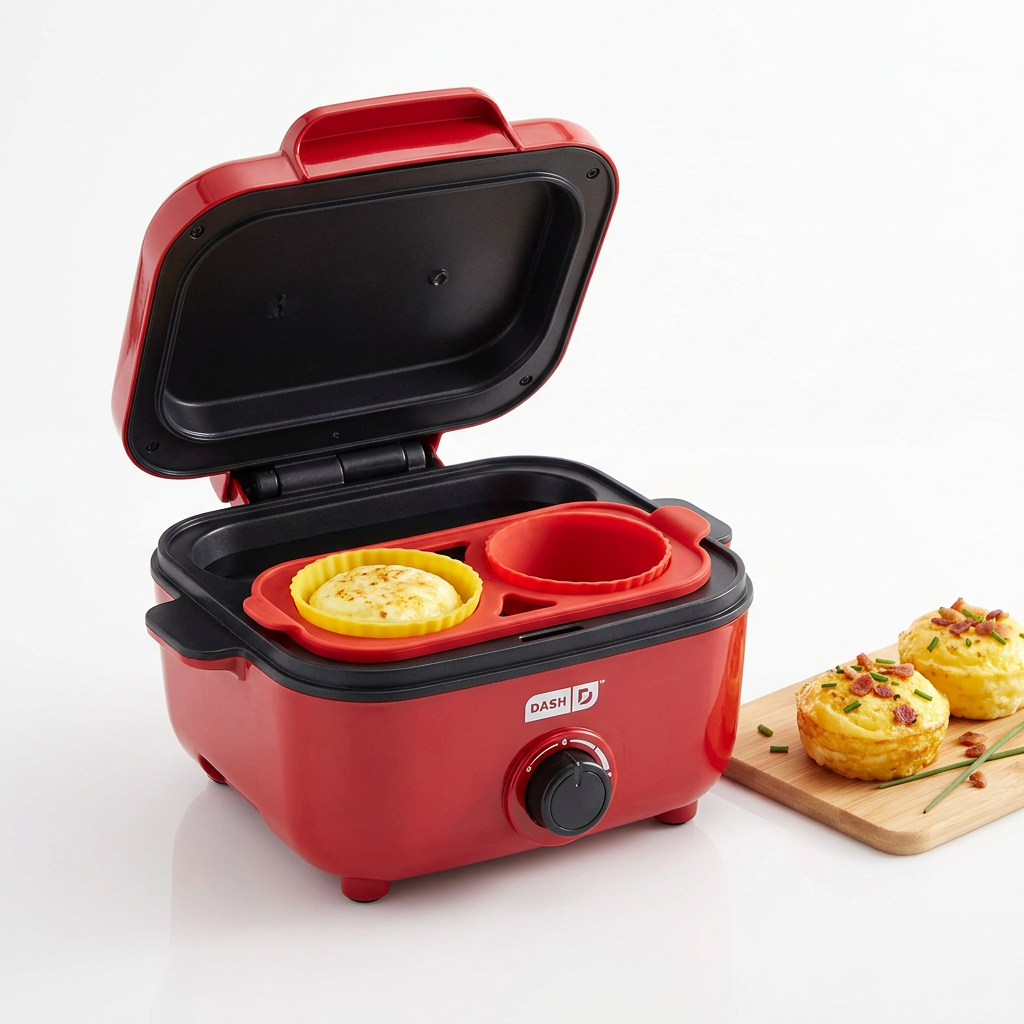
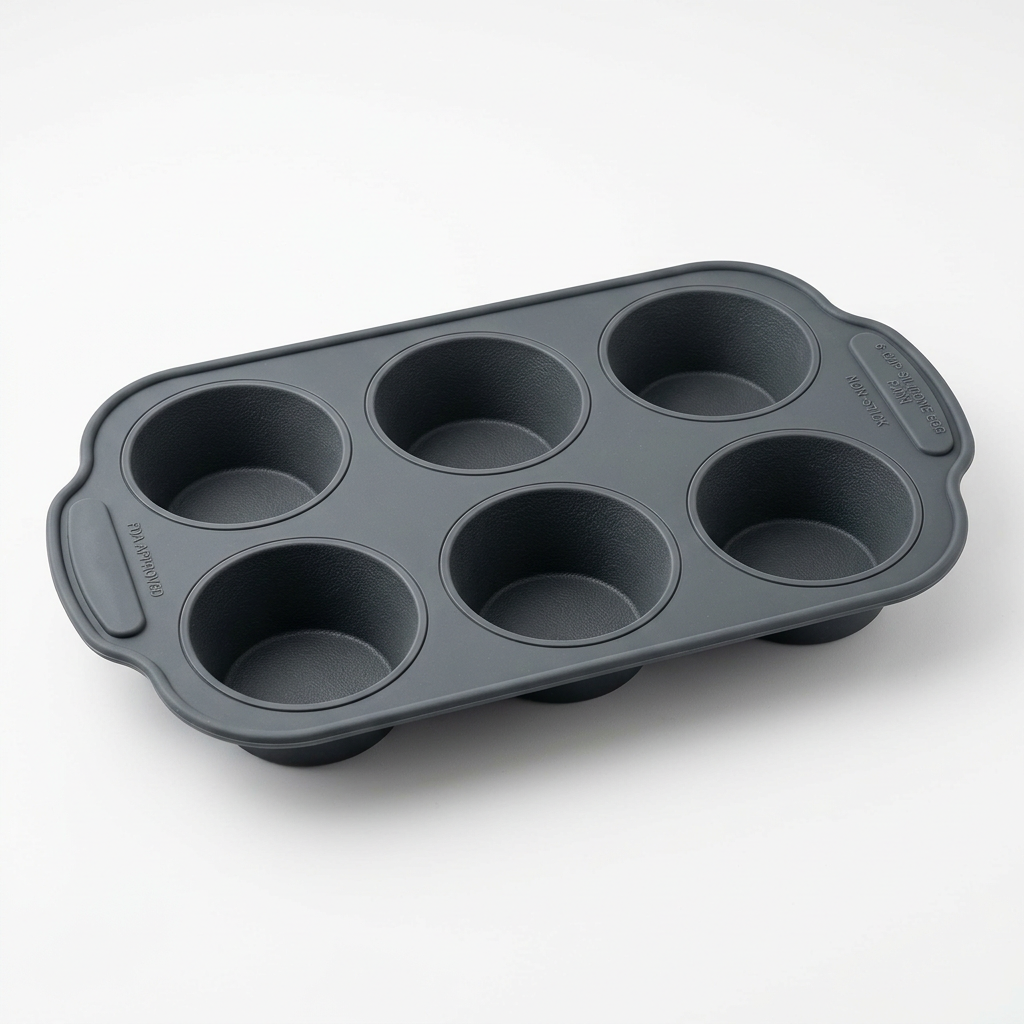
To truly master these techniques, you must have the right tools in your kitchen. You do not need expensive, professional-grade equipment, but you do need items that are designed to handle the specific requirements of egg cookery. A high-quality non-stick pan is non-negotiable; even the best chef in the world will struggle to make a perfect omelet in a scratched or inferior pan. Investing in a pan with a thick, heavy base ensures even heat distribution, which is the most important factor in preventing hot spots.
The Must-Have Inventory
Non-stick skillet:* An 8-inch pan is the perfect size for a single-serving omelet or a two-egg scramble.
Silicone spatula:* This is essential for protecting the surface of your pan and for folding eggs without breaking the delicate curds.
Fine-mesh strainer:* As mentioned earlier, this is the key to perfectly smooth poached eggs.
Kitchen timer:* Never guess. Digital timers are accurate and prevent the distraction of a ticking clock.
Whisk:* A standard balloon whisk is perfect for aerating eggs, but a fork is often better for the specific, non-aerated style of a French omelet.
Maintaining these tools is as important as owning them. Never use metal utensils on your non-stick surfaces, and avoid stacking your non-stick pans directly on top of each other in the cupboard, which can lead to scratching. If you treat your tools with care, they will serve you for years, acting as reliable extensions of your hands as you continue to refine your egg-cooking skills.
Seasoning and Flavor Infusion
Eggs are remarkably neutral, which makes them the perfect canvas for flavor. However, because they are so delicate, it is very easy to overpower them. The key is to introduce flavors that complement the natural richness of the egg rather than masking it. Fresh herbs, high-quality fats, and proper salinity are your best friends. Always aim to season your eggs with intention, tasting as you go to ensure that the flavor profile remains balanced and harmonious.
Beyond Salt and Pepper
When adding herbs to eggs, always use fresh varieties like chives, tarragon, parsley, or dill. Add them at the very end of the cooking process so they retain their bright color and fresh, grassy aroma. For fats, experiment with high-quality unsalted butter, but don't shy away from duck fat or high-quality olive oil when cooking savory scramble or frittatas. A small dash of hot sauce or a sprinkle of smoked paprika can add a subtle depth that takes a dish from "basic" to "inspired" without requiring significant effort.
Another pro tip is to use aromatics in your cooking fat before adding the eggs. A clove of garlic smashed and fried in butter for thirty seconds before you pour in your scrambled eggs infuses the fat with a subtle savory note that elevates the entire dish. Similarly, a little bit of sautéed shallot added to an omelet adds a sweet, oniony depth that pairs perfectly with soft, creamy curds. Always remember that with eggs, less is often more. Let the technique speak for itself, and use your flavor additions to provide the final, elegant touch.
Final Thoughts
The journey to mastering the egg is one that never truly ends, as there is always a new technique to learn or a slight adjustment to be made to one's process. By focusing on heat control, timing, and the fundamental properties of the egg, you have taken the first, most important steps toward culinary excellence. These ten techniques—from the soft boil to the airy frittata—provide a complete toolkit for any home cook looking to elevate their daily meals into something truly memorable.
Remember that failure is simply part of the process. Even in the most professional kitchens, eggs are sometimes overcooked, sauces break, and omelets tear. The mark of a true chef is not the absence of mistakes, but the ability to learn from them, understand the cause, and improve the next time. When you find yourself frustrated, remind yourself that you are working with an ingredient that has been the subject of study and adoration for centuries. You are participating in a tradition of skill, patience, and love for the craft.
As you move forward, I encourage you to make eggs a more frequent part of your kitchen experiments. Use them as a way to practice your heat management, your timing, and your attention to detail. Share your successes with your friends and family, and don't be afraid to blame the chef—yourself—when things don't go perfectly, because each "failure" is just a step closer to the mastery you seek. Thank you for joining me here at Blame The Chef; keep cooking, keep learning, and above all, keep cracking those eggs with confidence. The kitchen is yours to conquer, one perfectly cooked meal at a time. Your dedication to the craft is what makes the food on your table so much more than just fuel—it makes it an experience. Now, go forth and master the humble, beautiful, and endlessly versatile egg. You have all the knowledge you need to turn simple pantry staples into a masterpiece of flavor and technique. Stay curious, stay hungry, and I will see you in the next installment of our culinary series. Happy cooking!
Get the Next Recipe
Weekly recipes, techniques, and gear picks — straight to your inbox.
