Understanding Gluten and Bread Baking
Baking is as much an art as it is a science, and at the heart of this culinary craft lies gluten, a protein network responsible for the structure and texture of bread. Understanding gluten and its role in the bread-making process can significantly elevate your baking skills, allowing you to produce loaves with a delightful crumb and a perfect crust. While many home bakers may dread gluten, fearing its complexities, the truth is that with the right knowledge and techniques, anyone can learn to harness its power. This post will demystify gluten and provide thorough guidance on how to bake bread successfully—from the types of flour to use to the precise kneading techniques required.
As you embark on this flavorful journey, it’s essential to recognize that the quest for the perfect loaf hinges not only on the amount of gluten in your flour but also on various factors such as hydration levels, fermentation time, and shaping methods. Throughout this article, we will explore these factors in detail, shedding light on how they interplay to create that irresistible bread. The aim here is to inspire confidence in every baker, from novices to seasoned pros, so you can step into your kitchen ready to experiment and enjoy the process without fear.
Baking bread can be incredibly satisfying, and each step of the process offers valuable lessons. From mixing dough to watching it rise and finally pulling a beautifully baked loaf out of the oven, you have the opportunity to connect with the ingredients and hone your culinary skills. Let’s dive into the wonderful world of gluten and bread baking, where each loaf tells a unique story of flavor, texture, and, most importantly, your baking journey.
What is Gluten?
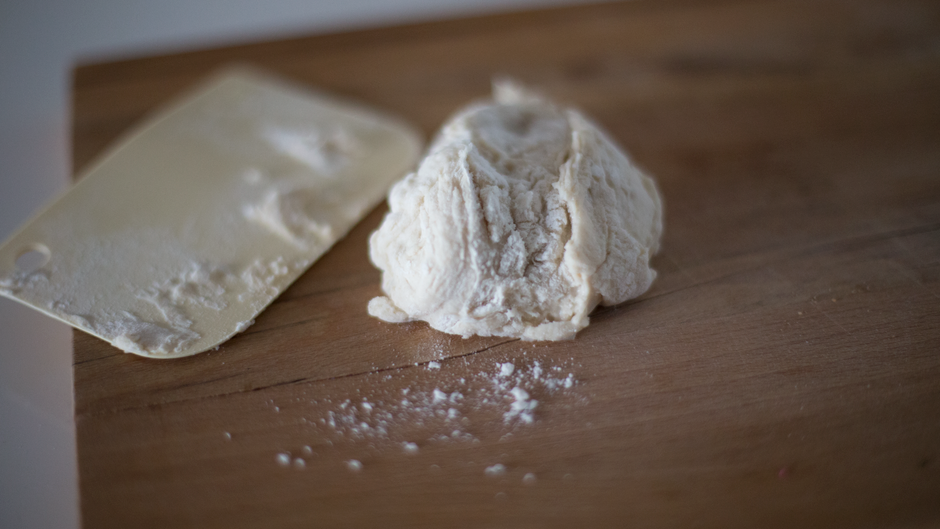
To fully grasp the significance of gluten in bread baking, we first need to define what gluten actually is. Gluten is a composite of proteins, primarily gliadin and glutenin, that is formed when wheat flour is mixed with water. When we knead dough, these proteins become intertwined, creating a stretchy and elastic network that provides the structure necessary for bread to rise. When properly developed, gluten allows bread to hold onto carbon dioxide produced during fermentation, giving it that airy texture we all know and love.
The Science of Gluten Formation
Gluten formation is truly a fascinating process, rooted deeply in chemistry. Here’s how it works:
It’s essential to note that not all flours yield the same amount of gluten. For instance, bread flour, which is high in protein (typically around 12-14%), creates a stronger gluten network compared to all-purpose flour (about 10-12% protein). Similarly, cake flour is lower in protein (around 8-10%), which results in a more delicate crumb—perfect for cakes but not for bread.
"Understanding how gluten works is the first step towards mastering the art of bread baking."
Types of Gluten
Gluten exists primarily in two forms:
The balance of these two types of gluten will dictate the final texture and chewiness of the bread. For example, artisan breads often require a balance favoring a higher gluten content to achieve that renowned crust and open crumb structure.
The Role of Flour in Bread Making
Choosing the right flour is one of the most critical decisions every baker makes. The type of flour you use not only influences the gluten content but also the overall flavor, texture, and performance of your bread. Here’s a closer look at the various types of flour commonly used in bread baking:
Bread Flour
Bread flour is typically made from hard wheat and contains a higher protein content, generally between 12-14%. This makes it ideal for yeast breads that require a strong gluten structure, such as:
When baking with bread flour, expect a firmer dough that can withstand the gas produced during fermentation, resulting in light and airy loaves.
All-Purpose Flour
All-purpose flour is a versatile choice that sits somewhere between bread flour and cake flour in protein content (about 10-12%). It can be used for a variety of baked goods, from muffins to pancakes, and can also work well for bread but with slightly different results. Here are a few tips for using all-purpose flour in bread:
Whole Wheat Flour
Whole wheat flour is made from the entire wheat kernel and contains more nutrients, fiber, and flavor than white flour. However, it typically absorbs more water due to the bran and germ. Here’s how to bake with whole wheat flour:
Specialty Flours
In addition to traditional wheat flours, the world of baking offers a variety of gluten-free options:
By understanding the different types of flour available and their relationship to gluten, you can make informed decisions on which flour best suits your baking goals.
Mastering the Dough Mixing Process
Once you have your flour selected, the next step is mixing the dough. This is where the magic truly begins. The mixing process is crucial in developing gluten, and there are various techniques that can make all the difference in your bread’s final outcome.
Hand Mixing vs. Stand Mixer
While some bakers prefer the tried-and-true method of hand mixing, others opt for a stand mixer with a dough hook. Each method has its pros and cons:
Mixing Techniques
Regardless of the method, here are some essential techniques to ensure excellent gluten development:
The Importance of Kneading
Kneading is a critical step in developing the gluten structure within your dough. This process not only redistributes the ingredients but also aligns the gluten strands, creating that essential elasticity.
How to Knead Properly
Here’s a step-by-step guide to perfect kneading:
Autolyse and its Role in Kneading
Autolyse, mentioned earlier, is also a great way to prepare the dough before kneading. By allowing the flour and water to bond and hydrate, gluten development starts even before the mixing phase. This means that when you begin your kneading, you're not only working with hydrated flour but also with a dough that has already begun to develop flavor and structure.
"A good kneading technique can transform a simple mixture of flour and water into a masterpiece."
Fermentation: The Waiting Game
After mixing and kneading your dough, the next critical stage is fermentation. This is the time when the magic truly happens. The yeast ferments the sugars from the flour, producing carbon dioxide gas that will make your bread rise.
Bulk Fermentation
This refers to the initial rise of the dough in a single mass before shaping. Here’s what to keep in mind about bulk fermentation:
The Importance of Patience
While it’s tempting to rush, understanding fermentation times is key. The longer the fermentation (within reason), the better the development of flavors and texture. You can even opt for a cold fermentation (refrigerating the dough for an extended period) for deep, complex flavors.
Shaping the Dough
After the fermentation process, it’s time to shape your dough. Shaping is an essential step that creates surface tension, allowing the dough to hold its shape during the final proofing and baking.
Techniques for Shaping
Various shaping techniques exist, and the method may vary based on the type of bread you’re making. Here are a few general techniques:
Final Proofing
The final proofing is the last rise of the shaped dough before it heads into the oven. This step can usually last anywhere from 30 minutes to 2 hours, depending on the ambient temperature and the dough's hydration level.
The Bake: Achieving the Perfect Crust and Crumb
Now that your loaf is shaped and proofed, it's time for the main event—the bake. How your bread reacts to heat will significantly impact the final outcome.
Preheating the Oven
Preheating is critical in bread baking. A hot oven (around 450°F to 500°F or 232°C to 260°C) will allow your bread to spring up quickly—a phenomenon known as "oven spring." Here are some tips:
Watching the Bake
Monitor your bread closely during the bake. Many bakers use the following indicators to determine doneness:
Cooling the Bread
After pulling your loaf from the oven, it’s crucial to allow it to cool on a rack. This helps set the crumb and prevents sogginess. Cooling should take at least 30 minutes before slicing—the hardest and yet most rewarding part!
Conclusion
Mastering gluten and the art of bread baking may seem daunting at first, but with the right knowledge and techniques, anyone can create delicious and satisfying loaves at home. From the selection of flour to the kneading, fermentation, shaping, and baking processes, each step is essential in transforming simple ingredients into exquisite bread.
Take time to experiment with different flours and techniques to find what works best for you. Every loaf tells a story of the ingredients, the environment, and the love you put into the process. So embrace the science and artistry of gluten, and let each baking endeavor be a platform for creativity and exploration.
As you embark on your baking journey, remember the fundamental principles of gluten development, fermentation, and proper techniques. Each loaf you create will not only fill your home with delightful aromas but also nourish the heart and soul of those you share it with. Happy baking!




Get the Next Recipe
Weekly recipes, techniques, and gear picks — straight to your inbox.
