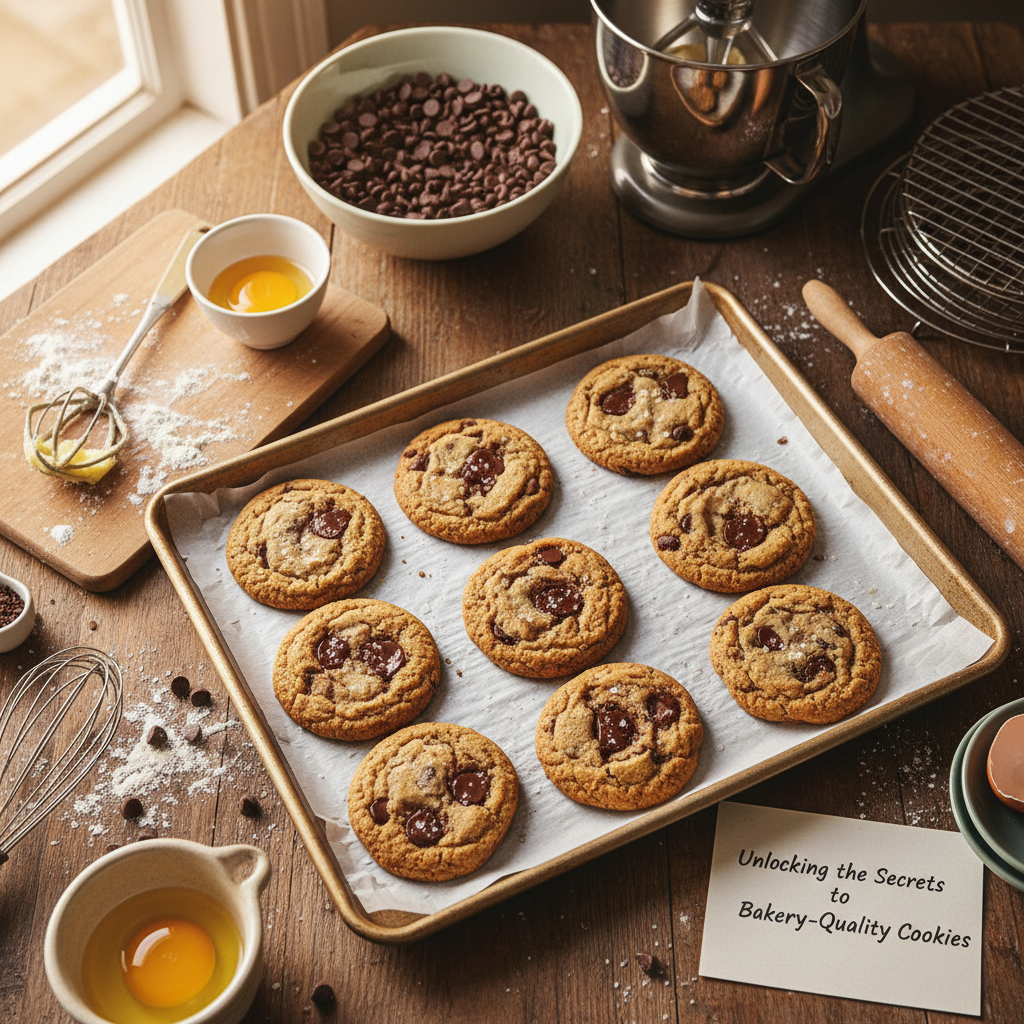
Unlocking the Secrets to Bakery-Quality Cookies: 10 Tips for Home Bakers
Baking cookies at home can be a double-edged sword. On one side, there’s the delightful aroma that fills your kitchen, evoking warm memories of childhood and happy gatherings. On the other side, there’s often the disappointment of a batch gone wrong: cookies that are either too hard, too soft, or even burnt. The balance between these two extremes hinges on a variety of factors, from ingredient choices to baking techniques. Fortunately, with a little bit of knowledge and practice, anyone can elevate their cookie game and produce bakery-quality results right from their home oven.
In this guide, we’ll explore the essential techniques that will turn your cookie-baking endeavors from mediocre to magnificent. Whether you are a novice baker or someone who has struggled in the past, the tips and tricks discussed here will provide you with the foundational knowledge to perfect the art of cookie baking. With a mixture of science, skill, and a pinch of patience, you’ll be able to whip up cookies that not only look impressive but also taste divine.
So, grab your mixing bowls, preheat your oven, and let's dive into the wonderful world of cookies. From understanding your ingredients to mastering the perfect baking time, these ten invaluable tips are sure to unlock the secrets that will make every batch of cookies you produce a potential masterpiece.
1. Understanding Your Ingredients
Baking is a science, and understanding each ingredient's role will enhance your skills significantly. The basic components of almost every cookie recipe include flour, sugar, fat, eggs, leavening agents, and salt. Each of these ingredients plays a specific role in the overall texture and flavor of your cookies.
Flour
The foundation of cookies, the type of flour used greatly affects the final product. Generally, all-purpose flour is the go-to choice for baking cookies due to its balanced protein content. However, specific recipes might call for cake flour, bread flour, or even whole wheat flour.
When measuring your flour, it's vital to do so correctly. Use the spoon-and-level method where you spoon flour into a measuring cup and level it off with a knife. Avoid scooping directly from the bag, which can lead to compacting and result in too much flour in your dough.
Sugar
Sugar does more than sweeten; it plays an essential part in the cookie's structure. Different sugars also yield different textures and flavors.
When adjusting sugar levels, bear in mind that increasing brown sugar will yield softer cookies, while increasing granulated sugar will result in a crisper finish.
Fat
The type of fat you use will also significantly impact your cookie’s texture. Most recipes call for butter, which lends a rich flavor and contributes to a tender crumb. If you prefer a more pronounced buttery taste, consider browning the butter before adding it to the mix.
One crucial tip is to ensure your butter is at the right temperature. Room-temperature butter should be soft enough to hold an imprint from your finger but still maintain its shape.
"The secret to a great cookie begins long before the dough hits the oven — it starts with choosing the right ingredients."
2. Measuring and Mixing Techniques
Proper measurement and mixing techniques can mean the difference between delightful and disastrous cookies. Baking is precise, so using a kitchen scale for ingredients can be particularly beneficial.
Measuring Ingredients
For dry ingredients like flour and sugar, a digital kitchen scale can help ensure accuracy. Some bakers swear by weights over volume measurement, as flour can settle in a cup if it’s scooped. The general conversion for a cup of all-purpose flour is about 120 grams.
Liquid ingredients should be measured in a clear liquid measuring cup to ensure you have an accurate measurement, taking care to check at eye level rather than looking down from above.
Mixing Techniques
The way you mix your ingredients can also influence cookie texture. Overmixing can lead to tough cookies due to gluten development, while undermixing can prevent the ingredients from blending properly.
Consider also the order in which you mix your ingredients. For chewy cookies, try using cold butter, while for softer cookies, room-temperature butter is optimal.
"Invest time in proper mixing, and your cookies will reward you with a tender crumb and beautiful rise."
3. The Art of Chilling
Many bakers overlook an essential step: chilling the dough. This simple yet effective technique can transform your cookies from ordinary to extraordinary.
Why Chill Your Dough?
Chilling your cookie dough solidifies the fat, which significantly reduces the spread of the cookies and contributes to a thicker, more satisfying texture. Moreover, resting the dough allows the flour to fully hydrate and the flavors to deepen.
How Long to Chill
Most recipes recommend chilling the dough for at least 30 minutes. However, some professional bakers prefer to chill overnight for optimal results. The general rule is:
Methods for Chilling
You can also use a quick-chill method by placing your dough in the freezer for 10-15 minutes, but be cautious not to freeze it completely.
4. Choosing the Right Baking Sheet
Your choice of baking sheet significantly impacts the baking process. Dark metal pans, for instance, can cause cookies to brown too quickly, while light-colored aluminum pans tend to reflect heat, leading to even baking.
Types of Baking Sheets
Positioning in the Oven
Positioning is also critical.
Checking for Doneness
A crucial baking skill is knowing when cookies are done. Here are some indicators:
"The right baking sheet can make or break your cookies; invest in quality for the best results."
5. Flavoring and Add-Ins: Getting Creative
While classic chocolate chip cookies are beloved for a reason, don’t hesitate to experiment and personalize your cookies with an assortment of flavors and add-ins.
Extracts and Spices
Adding a splash of vanilla extract or a dash of cinnamon can elevate your cookies to another level. Here are a few ideas:
Nuts and Chocolate
Nuts can bring texture and richness to your cookies. Consider:
Dried Fruits and Zest
Incorporating dried fruits or citrus zest can offer different layers of flavor.
Experimenting with Flour Types
As mentioned earlier, don't just stick to all-purpose flour. Try blending flours or substituting a portion with almond flour or oats to enhance flavors and textures uniquely.
6. Baking Variations: Cookies for Every Occasion
When it comes to cookies, there’s no one-size-fits-all approach. Baking variations exist to suit specific occasions and preferences.
Classic Drop Cookies
These are the easiest to make and require minimal techniques. The goal here is flexibility; drop cookie dough onto the baking sheet using a spoon or cookie scoop.
Rolled and Cut Cookies
Perfect for special occasions like holidays.
Filled Cookies
Consider sandwich cookies, like whoopie pies or chocolate-filled delights.
Gluten-Free Cookies
Don't let dietary restrictions hinder your cookie creations. Blending gluten-free flours like almond, coconut, and rice flour can yield delicious results without sacrificing flavor.
"Variations in the style of cookies can add a dash of creativity and fun to your baking repertoire!"
7. Storage and Freezing: Keep Your Cookies Fresh
Once you’ve baked your delectable cookies, knowing how to store them will ensure they stay fresh as long as possible. Cookie storage techniques are crucial for maintaining texture and flavor.
Cooling Cookies Properly
Before storing, let your cookies cool completely on a wire rack. This prevents them from becoming soggy in a sealed container.
Storage Solutions
Freezing Cookies
Freezing cookies can prolong their shelf life, allowing you to have cookies ready to bake at a moment’s notice.
Conclusion
In this culinary journey into cookie-making, we have uncovered secrets and shared techniques that will elevate your baking skills profoundly. Remember, the key elements to achieving bakery-quality cookies lie in understanding your ingredients, proper mixing and measuring, the importance of chilling, and being creative with flavors and add-ins.
Each step you take towards understanding the science behind baking—whether it’s adjusting your sugar ratios, experimenting with different flours, or mastering the art of when to pull your cookies from the oven—can ultimately transform your homemade cookies into something truly special.
So the next time you step into the kitchen armed with baking sheets and butter, remember these tips. Don’t just blame the chef; become your own baking champion. Create, experiment, and share your delicious results. In the world of baking, the possibilities are endless, and the joy it brings is immeasurable. Happy baking!




Get the Next Recipe
Weekly recipes, techniques, and gear picks — straight to your inbox.
