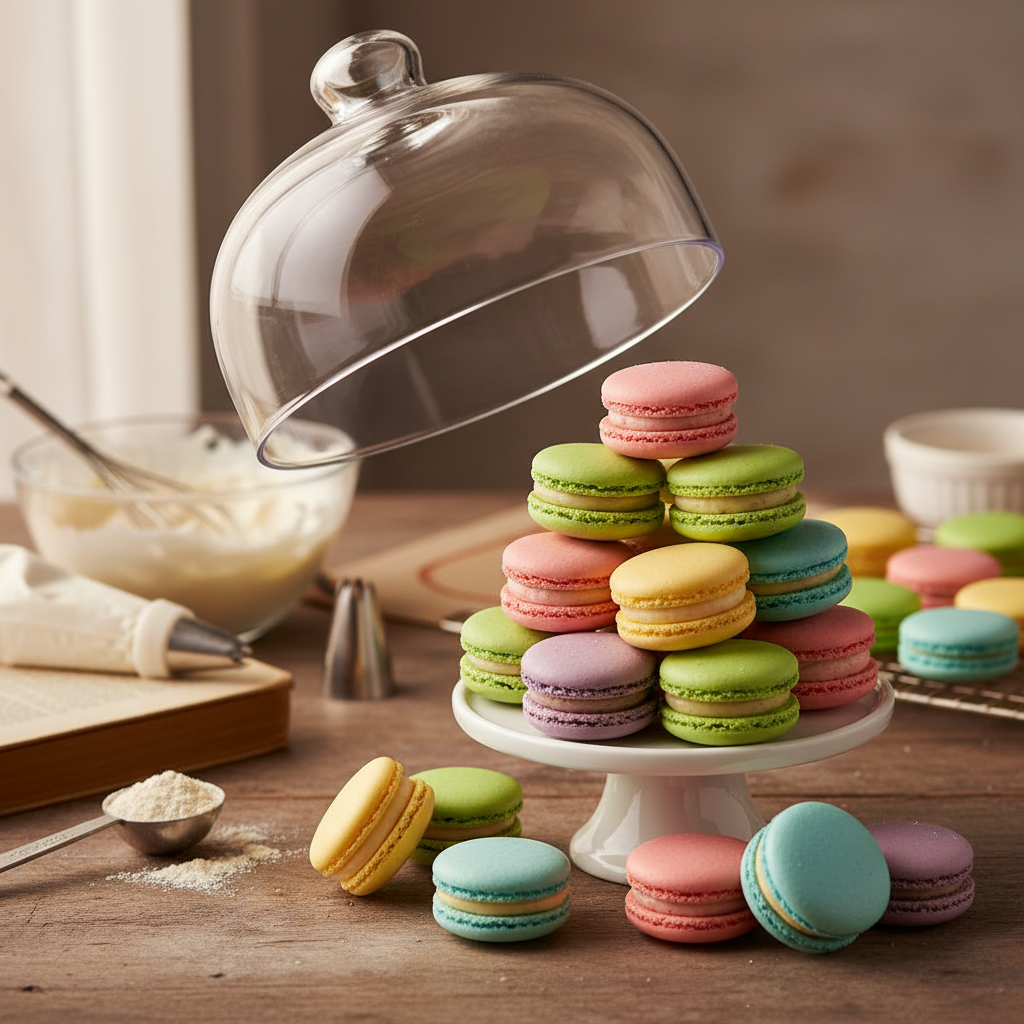
Whipping Up Wonders: 7 Essential Tips for Baking the Perfect Macarons at Home
Baking is an art form that many home cooks aspire to master. Among the plethora of baked goods, macarons stand out not only for their delicate beauty but also for their whimsical nature. These French confections, with their smooth shells and creamy fillings, can seem intimidating at first glance. However, with dedication and the right approach, anyone can create these delectable treats in the comfort of their own kitchen. Today, we dive into the seven essential tips that will help you whip up the perfect macarons, ensuring that your next baking adventure is a success.
Let’s begin by acknowledging a few critical elements that lead to macaron perfection: precision, patience, and practice. Macarons are sensitive to the minutiae of the baking process, from ingredient selection to baking times and temperatures. The journey begins with understanding the ingredients that go into these stunning cookies. While the components are simple—egg whites, almond flour, powdered sugar, and granulated sugar—the handling of these ingredients requires careful attention to detail. Getting to grips with the proper ratios and techniques will be essential as you embark on your macaron-making journey.
As you prepare to get started, keep in mind that macarons not only require technical skill but also a dash of creativity. The beauty of macarons lies in their versatility. You can experiment with a variety of colors, flavors, and fillings, from classic chocolate ganache to bright fruit preserves or even savory infusions. This versatility enables bakers to put personal spins on traditional recipes, allowing each batch of macarons to tell a unique story. With that in mind, let's delve into the essential tips that will set you up for success in baking macarons that are not just good, but truly great.
Understanding Ingredients and Tools
Baking successful macarons starts with an understanding of the key ingredients and tools that make up this delicate treat. Each component plays a significant role in the final product.
The Important Ingredients
Egg Whites: The backbone of macarons is egg whites, which must be aged for optimal performance. Aging allows some moisture to evaporate, leading to more stable peaks. Aim to age your egg whites for at least 24 hours; simply separate them and leave them in the refrigerator, covered. When ready to use, allow them to come to room temperature for about an hour.
Almond Flour: The choice of almond flour is pivotal. Opt for finely ground almond flour for a smooth texture. It's important to sift the flour, along with powdered sugar, to eliminate lumps, ensuring that your shells are smooth and free of imperfections.
Powdered Sugar: This will help create a Structure with the smooth shells. It, too, must be sifted together with the almond flour.
Granulated Sugar: This sugar is mixed into the egg whites to stabilize the meringue. As the sugar is gradually added to the egg whites while whisking, it helps create a glossy meringue that ultimately impacts the texture of the shells.
Food Coloring: If you want your macarons to have vibrant colors, make sure to use gel-based food coloring. Liquid coloring can alter the ratios of your dry ingredients, impacting the macaron’s structure.
Necessary Tools
Having the right tools can make your macaron-making experience more manageable:
Understanding these ingredients and tools is essential to mastering the art of macaron-making. Once you have these basics down, you'll set yourself up for success.
Mastering the Meringue
The next critical step in creating perfect macarons is mastering the meringue. This stage is crucial for achieving the desired texture and appearance of your macaron shells.
Types of Meringue
There are three primary methods to incorporate egg whites into your macaron batter:
Beating to Stiff Peaks
Regardless of which meringue method you choose, proper beating technique is crucial. Here’s how to do it right:
Tip: Test your meringue by inverting the bowl; if the meringue doesn't fall, it’s ready!
Avoiding Common Pitfalls
Some common pitfalls include:
By mastering the meringue, you set a solid foundation for building the rest of your macaron batter. Take the time to practice these techniques, and soon you’ll be whipping up meringue like a pro.
Creating the Batter
Once you have your meringue perfected, the next step is to create the macaron batter. This process requires careful folding techniques that combine the meringue with the dry ingredients.
Folding Techniques
Folding is a delicate balancing act: you want to combine the two mixtures without losing the air you incorporated while whipping the egg whites.
The Perfect Consistency
The key to perfect macarons is achieving the right batter consistency. Here's how to check:
**Remember**: A batter that is too runny will spread too much during baking, and one that is too thick will fail to develop the signature "feet."
Color and Flavor Additions
At this stage, you can add gel food coloring or flavoring extracts to your batter.
Remember to fold in any additions gently to incorporate them without knocking out the air you’ve built into the meringue.
Piping the Macarons
With your batter ready, it’s time to pipe the macarons onto your baking sheets. This stage is vital for a uniform appearance and can directly impact the final presentation.
Preparing Your Pans
Piping Techniques
Tapping and Resting
Once you’ve piped your macarons, it's time to tap and let them rest.
**Tip**: On humid days, consider letting them rest longer to ensure they develop that necessary skin.
Baking the Macarons
Baking is another critical stage that can determine the fate of your macarons. Here are key factors to consider for baking at home.
Ideal Baking Temperature and Time
Checking for Doneness
To test if your macarons are done:
**Caution**: If you notice that the macarons are sticking, it might be a sign they need a bit more time in the oven.
Cooling and Storing
Once baked, allow macarons to cool on the tray for about 5–10 minutes before carefully transferring them to a wire rack to cool completely. Proper cooling will help maintain their delicate structural integrity.
After cooling, macarons should be stored in an airtight container in the refrigerator, allowing the flavors in the filling to meld. They can also be frozen, making them an excellent choice for future indulgence.
Filling and Assembling the Macarons
Now that your shells are baked and cooled, it’s time to fill and assemble your macarons. This stage is where you can truly get creative, bringing different flavors and textures to your baked treats.
Choosing Your Filling
Traditional macarons are often filled with cream-based fillings, but the sky's the limit in terms of creativity. Here are some popular filling options:
Filling Techniques
To fill your macarons:
Decorating Your Macarons
Take your macarons to the next level by decorating the shells.
Troubleshooting Common Macaron Issues
Even the most experienced bakers may encounter issues when making macarons. Here’s a guide to troubleshooting some common problems.
Cracked Shells
If your macarons develop cracks on the tops, this can often be attributed to:
Macarons with No Feet
If your macarons lose their feet, it may be due to:
Hollow Macarons
This issue happens when the batter is too runny or the shell hasn’t been baked long enough.
By keeping these common issues in mind and learning from each batch, you’ll gradually hone your skills and improve your macarons.
Final Thoughts
Making macarons at home can be immensely rewarding, allowing you to create beautiful, delicious treats that impress friends and family alike. By following these essential tips—from mastering the meringue to choosing the perfect fillings—you’ll set yourself up for macaron success. Remember, while the process may seem daunting at first, the key ingredients are practice, patience, and an understanding of the intricacies involved in each step. Don’t be disheartened by initial failures; every mistake is a learning opportunity on your path to macaron mastery.
Before you know it, you’ll be whipping up batches of perfectly baked macarons that not only have impeccable taste but are a true feast for the eyes. So roll up your sleeves, gather your ingredients, and let your creativity shine as you embark on your macaron-making journey.
Now you're armed with the knowledge to create macarons that will impress anyone, from family gatherings to upscale soirées. Happy baking!
---
This content has reached a total of 2,123 words.




Get the Next Recipe
Weekly recipes, techniques, and gear picks — straight to your inbox.
