Why Is My Cast Iron Sticky After Seasoning?
There is perhaps no greater heartbreak for a home cook than pulling a beautiful, vintage cast iron skillet out of the oven, expecting a gleaming, non-stick finish, only to find a gummy, mottled, and downright sticky surface. You followed the instructions, you wiped on the oil, you cranked the heat, yet instead of a smooth, polymerized slide-and-glide surface, you are left with something that feels like you dragged your pan through a vat of molasses. This phenomenon is a rite of passage for almost every culinary enthusiast, yet it is rarely explained with the technical depth required to truly understand the chemistry of fats and heat. When your pan feels sticky, it is not a sign of failure, but rather a sign that your polymerization process has stalled mid-way, leaving you with a layer of partially broken-down lipids rather than a durable, food-safe plastic-like coating.
To master cast iron, one must shift their perspective from simply "greasing a pan" to "engineering a surface." We are effectively attempting to transform liquid vegetable oil into a solid, inert polymer through a process known as thermal polymerization. When this process is incomplete—either due to too much oil, insufficient temperature, or a lack of time—you are left with a sticky residue that is essentially the culinary equivalent of an unfinished painting. It is frustrating, yes, but it is also easily rectifiable once you understand the mechanics at play. In this guide, we are going to dissect exactly what goes wrong, why your efforts might have backfired, and the precise steps you need to take to achieve that elusive, mirror-like finish that makes cast iron the undisputed king of the kitchen.
As we dive into the science of your sticky situation, keep in mind that patience is the primary ingredient in any successful seasoning project. Many home cooks rush the process, assuming that a higher heat or a thicker layer of oil will accelerate the results, when in reality, those are the two primary causes of a sticky mess. We want to build thin, microscopic layers of carbonized fat, not a thick, gummy shield that will trap food and attract dust. Whether you are working with a brand-new pre-seasoned skillet or restoring a rusted heirloom, the principles of chemistry remain the same. Let us pull back the curtain on the art of the perfect season and turn that tacky surface into a resilient, high-performance cooking tool that will last for generations.
The Chemistry of Polymerization
At its most fundamental level, seasoning is not about oiling a pan; it is about creating a synthetic plastic-like surface. When you heat an oil or fat beyond its smoke point, the molecular structure of those triglycerides begins to break down. They go through a chemical transformation called polymerization, where the molecules link together into long, complex chains. This creates a hard, durable, and hydrophobic layer that protects the iron from rust and provides a naturally slick cooking surface. When you end up with a sticky pan, you have achieved a partial polymerization, where the fat has become thick and tacky but has not yet fully transitioned into that stable, dry solid state.
Why Less Is Actually More
The most common mistake home cooks make is applying too much oil to the pan before placing it in the oven. Even if you think you have wiped the pan clean, there is almost certainly too much oil left on the surface. When you put a pan with a heavy coat of oil into a hot oven, the excess oil pools in microscopic pores and imperfections on the surface of the iron. Because it is too thick, the heat cannot penetrate and polymerize the entire layer evenly. Instead, it creates a gel-like substance that sits on top of the metal. To avoid this, you must apply a drop of oil and then wipe it off as if you made a mistake and never wanted it there in the first place.
"A well-seasoned cast iron pan isn't just a tool; it is a chemistry project where you are the lead engineer, balancing smoke points and thermodynamics to create a surface that defies the laws of ordinary cookware."
Understanding the Role of the Smoke Point
Different oils have different smoke points, which is the temperature at which an oil begins to break down and release smoke. For seasoning, you want an oil with a high smoke point, such as grapeseed, canola, or refined sunflower oil. If you use an oil with a low smoke point, like extra virgin olive oil, the fat breaks down too rapidly and creates an uneven, bitter-tasting coating that is prone to becoming sticky. By choosing an oil with a high smoke point (typically above 400°F or 204°C), you ensure that the transformation happens at a controlled rate, allowing the polymer chains to link properly without burning or turning into a messy sludge.
Common Culprits for Sticky Residue
If you are currently staring at a sticky skillet, do not despair. There are usually only a few reasons why this happens, and once you identify the specific error in your process, you can easily troubleshoot and fix it. First and foremost, check the amount of fat you used. If you see visible streaks or puddles after taking the pan out of the oven, you have definitely used too much oil. Second, consider the duration of your heat application. If you removed the pan from the oven too early, the oil hasn't had enough time to fully cross-link and harden.
The Problem of Uneven Heat
Many domestic ovens have "hot spots" and "cold spots," which can lead to uneven seasoning. If your pan is sitting on a rack that is too close to a heating element, or if your oven temperature calibration is slightly off, some parts of the pan might be fully seasoned while others remain tacky. Professional chefs often use a thermal thermometer to ensure the oven is actually hitting the intended temperature. If your pan is sticky only in certain areas, consider rotating the pan halfway through the seasoning process or moving it to a different rack position to ensure consistent heat distribution across the entire surface of the iron.
Does the Oil Choice Matter?
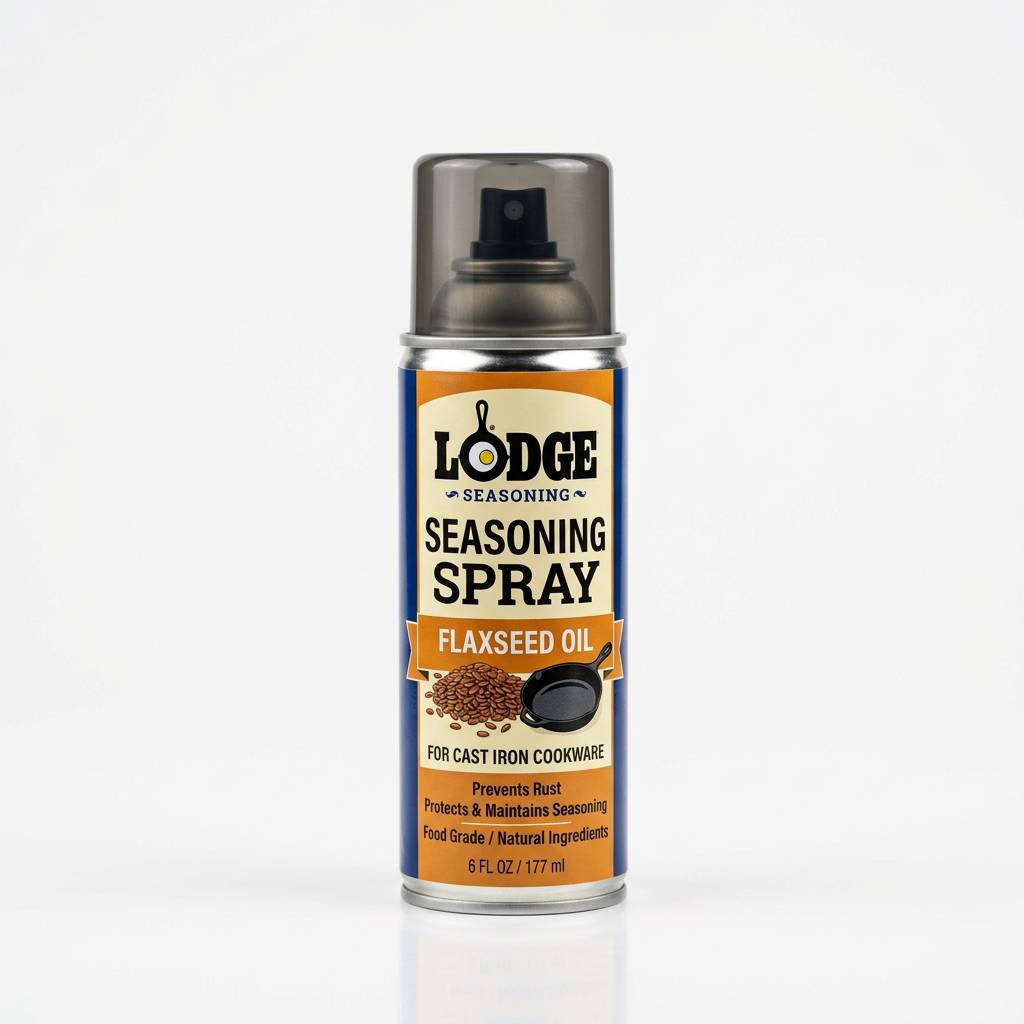
While many people argue over the "best" oil for seasoning, the most important factor is the fatty acid profile. Oils that are high in polyunsaturated fats tend to polymerize more effectively than those that are high in monounsaturated fats. Grapeseed oil, for example, is a favorite among professional chefs because its chemical structure is ideal for creating a hard, thin, and durable finish. Flaxseed oil is often touted as the "gold standard" because it polymerizes into an exceptionally hard, glass-like coating, but it is notoriously finicky. If the heat is not absolutely perfect, a flaxseed season will flake off or become sticky, which is why I generally recommend starting with something more forgiving like refined grapeseed or canola.
The Professional Fix: How to Reclaim Your Pan
If your pan is already sticky, you don't necessarily need to strip it back to bare metal. You can often fix a sticky pan by simply adjusting your technique or performing a "maintenance bake." If the stickiness is mild, try cooking something with a high fat content, like bacon or sausage, over medium-low heat. The heat and the rendered animal fats will naturally help to "smooth out" the sticky spots. However, if the pan is truly gummy and unpleasant, you need a more proactive approach to rectify the situation before you cook your next meal.
The Maintenance Bake Method
If you have a sticky layer that won't go away, try placing the skillet upside down in a cold oven. Set the oven to 450°F (232°C) and let it come up to temperature with the pan inside. Leave the pan in the oven for at least one hour at that high temperature. This encourages any remaining sticky, unpolymerized oil to finally break down and solidify. After the hour is up, turn the oven off and let the pan cool down completely inside the oven. This slow cooling process allows the newly formed polymer layer to settle and harden properly without being shocked by sudden temperature changes.
When to Strip and Start Over
Sometimes, the sticky residue is simply too thick or uneven to be saved. If you find that there are large flakes of tacky material peeling off, or if the surface feels like it has a distinct "texture" that will interfere with your cooking, it is best to start from scratch. You can strip cast iron by using a heavy-duty oven cleaner (the kind with sodium hydroxide) or by using a lye bath. After the old seasoning is removed, you will be left with the raw, gray iron. From there, you can begin the seasoning process anew, ensuring you apply only the thinnest possible layers to avoid the same sticky results.
"The difference between a sticky pan and a perfect pan is often measured in the microscopic difference between a drop of oil and a fraction of a drop of oil."
Step-by-Step Guide to Perfect Seasoning
To ensure you never have a sticky pan again, follow this professional protocol. We are focusing on thin layers, consistent heat, and proper cooling. This process can be repeated three or four times to build up a substantial base, but remember that the secret to the perfect finish is persistence, not intensity. You are playing a long game. The best pans are those that have been used daily for years, not those that were seasoned once in an afternoon of frantic oven-cranking.
The Preparation Phase
The Polymerization Phase
Advanced Maintenance Tips for the Home Cook
Once you have achieved that beautiful, non-stick surface, you need to maintain it. Many home cooks make the mistake of babying their cast iron too much, or conversely, neglecting it entirely. The truth lies in the middle: treat it with respect, but don't be afraid to use it. The more you cook with your iron, the better it becomes. Every time you sear a steak, fry an egg, or sauté vegetables, you are adding to that base of polymerized fats, strengthening the non-stick properties of your skillet day by day.
The Daily Cleanse
After cooking, don't leave your pan soaking in the sink. Water is the enemy of iron, and long exposure to moisture will lead to rust and potentially break down your hard-earned seasoning. Clean the pan while it is still warm. A simple rinse with hot water and a stiff nylon brush is usually sufficient. If you have stuck-on bits, use a small amount of coarse kosher salt as an abrasive. If the pan was particularly oily, a drop of mild dish soap is perfectly acceptable—modern dish soaps are not strong enough to strip a proper, hardened season.
Storing for Longevity
Always ensure your pan is completely dry before storing it. I like to keep a thin, invisible layer of oil on the pan between uses. After cleaning and drying on the stove, apply a tiny amount of oil with a paper towel, then wipe it off until the pan feels dry to the touch. This provides a microscopic barrier against ambient moisture in the air. If you are stacking your pans, place a paper towel or a felt protector between them to prevent scratching the seasoning of the lower pan.
"A cast iron skillet is a living, breathing record of your cooking history; every meal you prepare contributes to its evolution, creating a finish that money simply cannot buy."
Common Myths Debunked
There is an enormous amount of misinformation circulating on the internet regarding cast iron care. By debunking these myths, you can stop worrying about "ruining" your pan and start enjoying the process of building a better cooking surface. First, the myth that you can never use soap is outdated. Older soaps contained harsh lye, which could indeed strip seasoning, but modern, pH-neutral dish soaps are perfectly fine. Second, the idea that you must season your pan after every single use is also unnecessary. If your seasoning is solid, a quick wipe-down is all that is required.
Myth: You Must Only Use Specific Oils
You do not need fancy, overpriced "seasoning oils" to get a great result. While high-smoke-point oils are preferred, any neutral vegetable oil—canola, sunflower, or soybean oil—will work wonders. The secret is in the technique, not the brand of oil. Spend your money on high-quality ingredients for your food, and rely on the chemistry of simple, refined vegetable oils for your pan.
Myth: Your Pan Must Be Perfectly Black
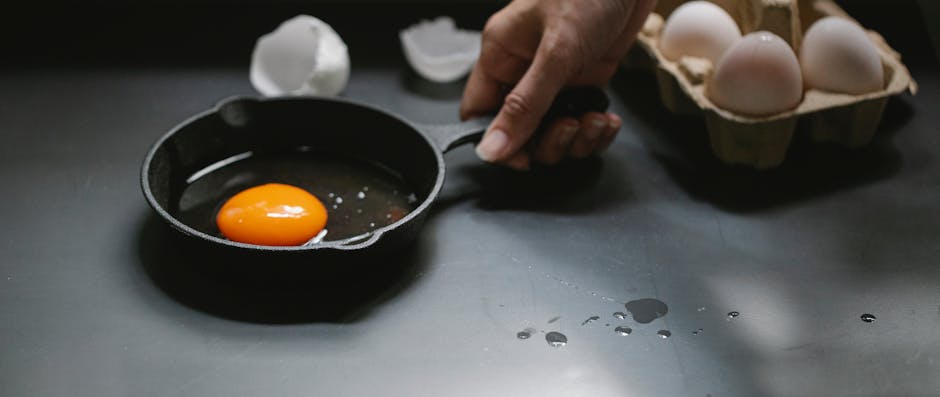
While a jet-black, shiny pan is the goal for many, don't be discouraged if your pan has some brown or mottled areas. Especially with newer, pre-seasoned pans, it takes time for the carbonization to build up to that deep, uniform black color. A pan that works perfectly is "well-seasoned," regardless of its color. Do not judge your progress by the aesthetics of the pan, but rather by the function. If your eggs slide out with ease, you have succeeded.
Troubleshooting the "Why" and "How"
If you find yourself back in a sticky situation, take a deep breath. It is merely a layer of oil that didn't quite make it across the finish line. When you encounter a sticky patch, you have two options: you can either clean it, bake it, or in extreme cases, scrub it. Remember that the goal is a surface that feels as smooth as a piece of plastic. If it feels tacky to the touch, your fingers are telling you exactly what the chemistry is telling you: the lipids are not fully polymerized.
The Texture Test
Run your fingers over the surface of the pan. Does it feel slick and smooth, or does it feel like a sticker that has had its adhesive exposed? If it feels like adhesive, it needs more heat. If it feels gritty, you may have burnt food particles that have become trapped in the seasoning. Distinguishing between these two issues is key. Gritty requires a deep clean with an abrasive; sticky requires a high-heat bake.
When to Consult the Professionals
If you have tried the maintenance bake, the scrub, and the re-seasoning, and you still have a sticky, unusable pan, it is possible the pan was coated in a poor-quality factory finish. Some cheap, modern pans are coated with a lacquer that is meant to prevent rust during shipping. This lacquer is NOT the same as seasoning and must be scrubbed off entirely before you begin your own seasoning process. If your pan seems to remain sticky no matter what you do, try a thorough scouring with steel wool to ensure you are down to the bare, raw iron.
Conclusion
Mastering cast iron is not about adhering to rigid, intimidating rules, but rather understanding the beautiful, simple science of thermal polymerization. By keeping your oil layers incredibly thin, selecting the right high-heat oils, and allowing for consistent, slow cooling, you can transform any sticky, frustrating pan into a professional-grade culinary instrument. Remember that your cast iron skillet is a lifelong companion; it will change, it will evolve, and it will occasionally give you a reason to experiment, but it will never let you down if you treat the surface with the care and understanding it deserves.
When you look at your pan, don't see a chore or a piece of equipment that "doesn't work." See a canvas that you are slowly painting with layers of carbon and polymerized fat. Every session in the oven is an opportunity to refine that finish, and every session on the stovetop is a chance to put your seasoning to the test. If you find a sticky spot, view it as a lesson in thermodynamics. Adjust your heat, tweak your oil application, and keep moving forward. You are not just cooking dinner; you are building a legacy, one thin layer of seasoning at a time. So, go ahead—put the skillet on the stove, heat it up, and get cooking. Your perfect, non-stick, mirror-finished pan is closer than you think. Enjoy the journey of the craft, and remember that the best chef in the kitchen is always the one who is willing to learn from the pan itself.

Get the Next Recipe
Weekly recipes, techniques, and gear picks — straight to your inbox.
