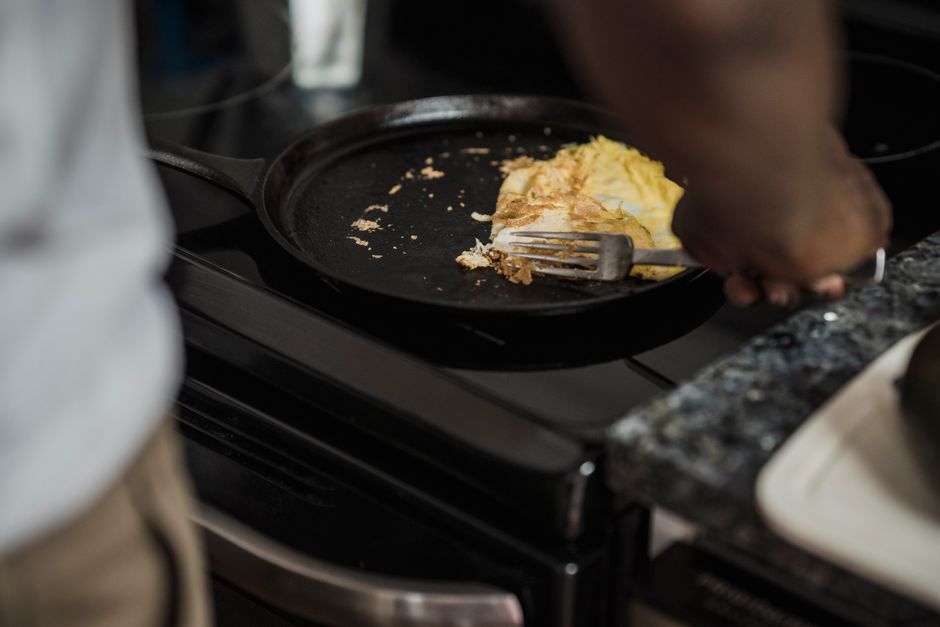
Why Is My Cast Iron Skillet Smoking? 6 Fixes
There is a specific, heart-sinking moment that every home cook knows all too well: you are perfectly searing a dry-aged ribeye, the kitchen is filled with the anticipation of a restaurant-quality meal, and suddenly, a thick, acrid cloud of grey smoke billows from your cast iron skillet. You scramble to turn on the exhaust fan, crack a window, and potentially wave a kitchen towel at the fire alarm, wondering what went wrong with your technique. While cast iron is essentially the gold standard for heat retention and durability, it is also a temperamental companion that requires a precise understanding of thermodynamics and fat science. When your pan starts smoking, it is not necessarily a sign of a broken piece of equipment, but rather a loud, smoky signal that your cooking environment has drifted out of balance. Understanding the "why" behind the haze is the first step toward mastering the art of high-heat cooking.
To properly troubleshoot a smoking skillet, we must first address the relationship between your cooking fat and the pan’s surface temperature. Every oil has a distinct smoke point, which is the precise temperature at which it begins to break down, release free radicals, and produce that signature blue-tinted smoke that permeates your curtains. If your pan is hot enough to achieve the elusive Maillard reaction—that beautiful, crusty browning on meat—you are operating in the danger zone for many lower-smoke-point fats. Beginners often make the mistake of using extra virgin olive oil or butter for high-heat searing, which is almost guaranteed to result in a smoky kitchen. By shifting your perspective from "just cooking" to "managing chemical reactions," you gain the authority to control the smoke rather than being controlled by it.
In this guide, we are going to deep-dive into the mechanics of your cast iron skillet, dissecting why it smokes and providing actionable, professional-grade fixes. Whether you are a weekend warrior looking to perfect your steak crust or a home cook who just wants to sear a scallop without an emergency evacuation, this post is your roadmap to success. We will cover everything from fat selection and surface maintenance to the nuances of heat management and cleaning protocols. Cast iron is a lifetime investment, and once you master these six critical fixes, you will be able to wield that heavy skillet with the confidence of a line cook in a busy bistro. Let’s stop the smoke and start the sear.
1. Choosing the Correct Cooking Fat
The most frequent culprit for a smoking skillet is the choice of fat. If you are reaching for butter, margarine, or unrefined olive oil to sear a protein at high heat, you are setting yourself up for failure. These fats contain high levels of milk solids or impurities that burn rapidly when exposed to temperatures exceeding 350°F (177°C). To achieve a perfect sear, you need to be working in the 400°F to 450°F (204°C to 232°C) range, which requires a high-smoke-point oil.
Understanding Smoke Points
Oils are essentially hydrocarbons, and as they heat up, they begin to decompose. Refined oils, such as avocado oil, grapeseed oil, or refined peanut oil, are processed to remove the compounds that burn quickly. Avocado oil, for instance, has a smoke point of approximately 520°F (271°C), making it the undisputed champion for high-heat searing in a cast iron skillet. Grapeseed oil follows closely at 420°F (216°C), which is more than sufficient for most stovetop applications.
The Problem with Butter
Many home cooks mistakenly believe that butter is the ideal fat because of its flavor profile. While butter is undeniably delicious, it is a combination of fat, water, and milk proteins. Those milk proteins will turn black and bitter almost immediately at high temperatures. If you absolutely must have the flavor of butter, add it only in the final 60 seconds of cooking, often referred to as basting (or arrosé), when the heat can be lowered to prevent the solids from scorching.
"The difference between a charred, bitter meal and a perfectly caramelized crust often comes down to the simple physics of your oil's smoke point. Choose the right fat, and you win half the battle before the meat even hits the pan."
2. Managing Preheating Temperatures
A common misconception among home cooks is that "hotter is always better" when using cast iron. While cast iron is famous for its heat retention, it is also slow to distribute heat evenly across its entire surface. If you turn your burner to the maximum setting and walk away, the center of the pan will eventually reach temperatures far beyond the smoke point of even the most robust oils, while the edges remain significantly cooler. This results in uneven cooking and excessive smoke.
The Infrared Thermometer Advantage
If you want to achieve professional consistency, stop guessing. A simple infrared laser thermometer is one of the most useful tools a home cook can own. Instead of waiting for a plume of smoke to tell you the pan is hot, point the laser at the surface of the pan. For a hard sear on steak, aim for a surface temperature of 400°F to 425°F. Anything above 500°F is overkill and will likely lead to carbonization of your seasoning.
The Hand-Test Method
If you do not have a thermometer, use the water drop test. Once the pan has been on the stove for 5-7 minutes over medium-high heat, flick a tiny droplet of water into the skillet. If it evaporates instantly, the pan is too cold. If it dances and skitters across the surface like a marble (the Leidenfrost effect), the pan is perfectly preheated. If it disappears in a hiss of steam immediately, you are ready to sear.
3. Removing Excess Residue and Carbon Buildup
Sometimes, the smoke isn't coming from your oil, but from the pan itself. If your skillet has a thick, uneven layer of polymerized oil or stuck-on food bits from a previous dinner, that debris will burn the moment it hits high heat. This creates that persistent, acrid smoke that seems to linger no matter how much you turn down the flame. Regular maintenance is the only way to avoid this phenomenon.
The Salt Scrub Technique
If you notice small, blackened crusty bits stuck to the surface of your skillet, do not resort to steel wool immediately. Instead, use a coarse kosher salt scrub. Pour a half-cup of coarse salt into the pan while it is still slightly warm, and use a folded paper towel to scrub the surface vigorously. The abrasive nature of the salt will dislodge stuck-on food and carbonized grease without stripping away your precious seasoning.
Deep Cleaning vs. Seasoning
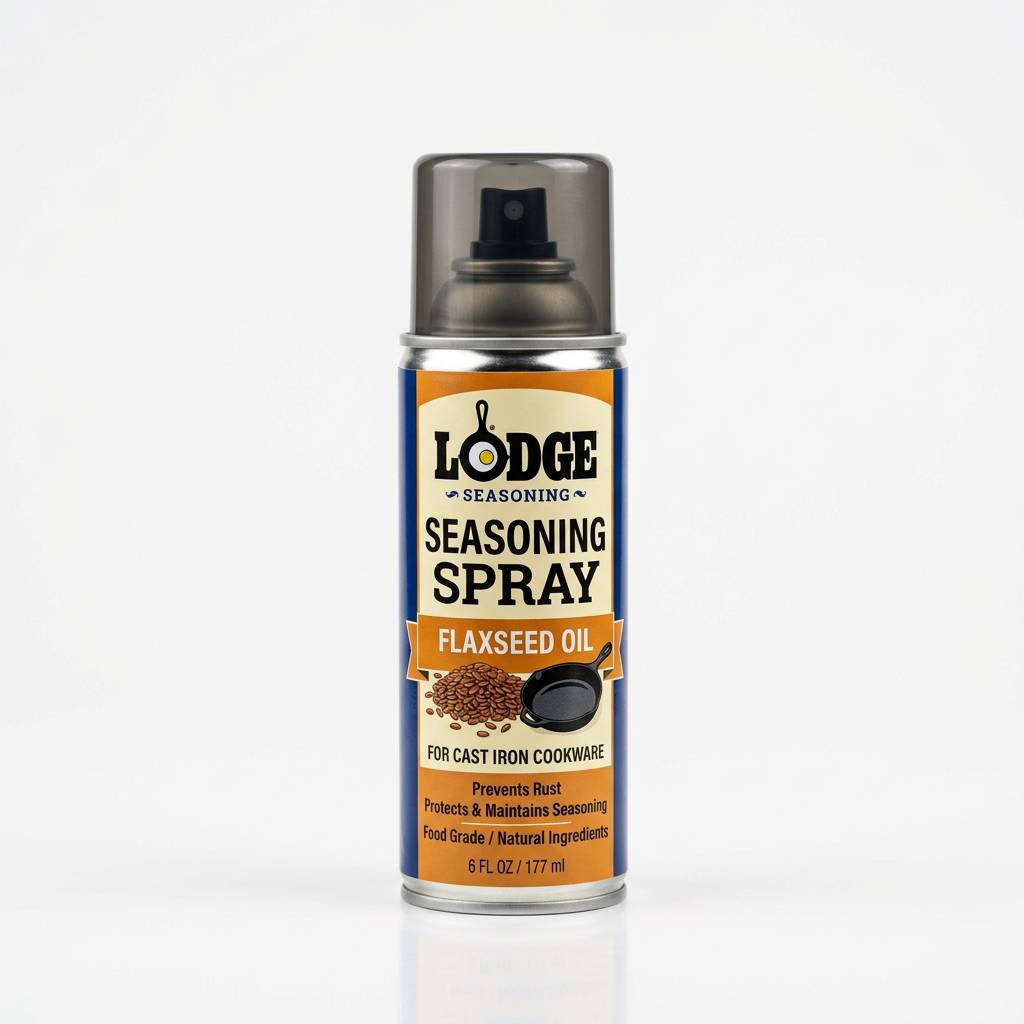
If the buildup is severe, you may need a deep clean. Boil a small amount of water in the skillet for a few minutes to loosen the debris, scrape it with a wooden spatula, rinse it, and then immediately dry it on the burner. Once the pan is bone-dry, wipe it with a microscopic layer of oil and heat it until it just begins to smoke—this is called re-seasoning. Keeping the surface smooth and clean is vital for smoke-free cooking.
"A well-maintained cast iron skillet should feel as slick as glass. If your surface is bumpy or tacky, you are cooking on top of yesterday’s mistakes, which will inevitably translate into tomorrow’s smoke."
4. Understanding the Role of Moisture
Moisture is the enemy of the sear and a primary driver of excessive smoke. When you drop a wet piece of protein into a hot, oiled skillet, the water immediately boils off, creating a massive amount of steam. This steam can carry tiny, atomized droplets of oil into the air—a phenomenon known as oil aerosolization. These droplets hit your burner and vaporize into thick, oily smoke that clings to everything in your kitchen.
The Pat-Dry Protocol
Before cooking, take the time to pat your meat or vegetables completely dry with paper towels. Even if the ingredient looks dry, moisture often hides in the crevices of the muscle fibers. I recommend salting your meat 30 minutes before cooking and letting it sit on a wire rack in the refrigerator. This process, called dry brining, draws moisture to the surface where it evaporates before the meat hits the pan, ensuring a much cleaner searing process.
Don't Overcrowd the Pan
Another common error is overcrowding the pan. When you place too many items in the skillet at once, the temperature drops rapidly. The ingredients then "sweat" rather than sear, releasing a large volume of liquid that sits in the pan and begins to simmer. If the pan isn't hot enough, this liquid turns into steam and eventually, as the water boils off, the oil begins to smoke violently. Cook in batches to maintain the thermal mass of your skillet.
5. Proper Ventilation and Airflow Management
Even with perfect technique, high-heat cooking naturally produces some level of vaporized fats and aromatic compounds. If your kitchen isn't designed for high-heat extraction, that smoke has nowhere to go but into your living space. Managing your airflow is just as important as managing your fire.
Mastering Your Hood Fan
Most home cooks fail to use their exhaust hood effectively. Turn the fan on at the highest setting five minutes before you start cooking. This creates an updraft that pulls the air toward the vent before the smoke has a chance to spread throughout the kitchen. If your hood is one of those units that just recirculates air through a carbon filter, you are essentially just filtering the smell, not removing the particulate matter.
Cross-Ventilation Strategies
If you have a window nearby, open it to create a cross-breeze. Even a small box fan placed in a window facing outward can create a negative pressure system that pulls smoke out of the kitchen with incredible efficiency. Do not wait until the alarm goes off to start ventilating; treat the ventilation system as a vital component of your cooking process, just like your knife or your thermometer.
6. Seasoning the Pan Correctly
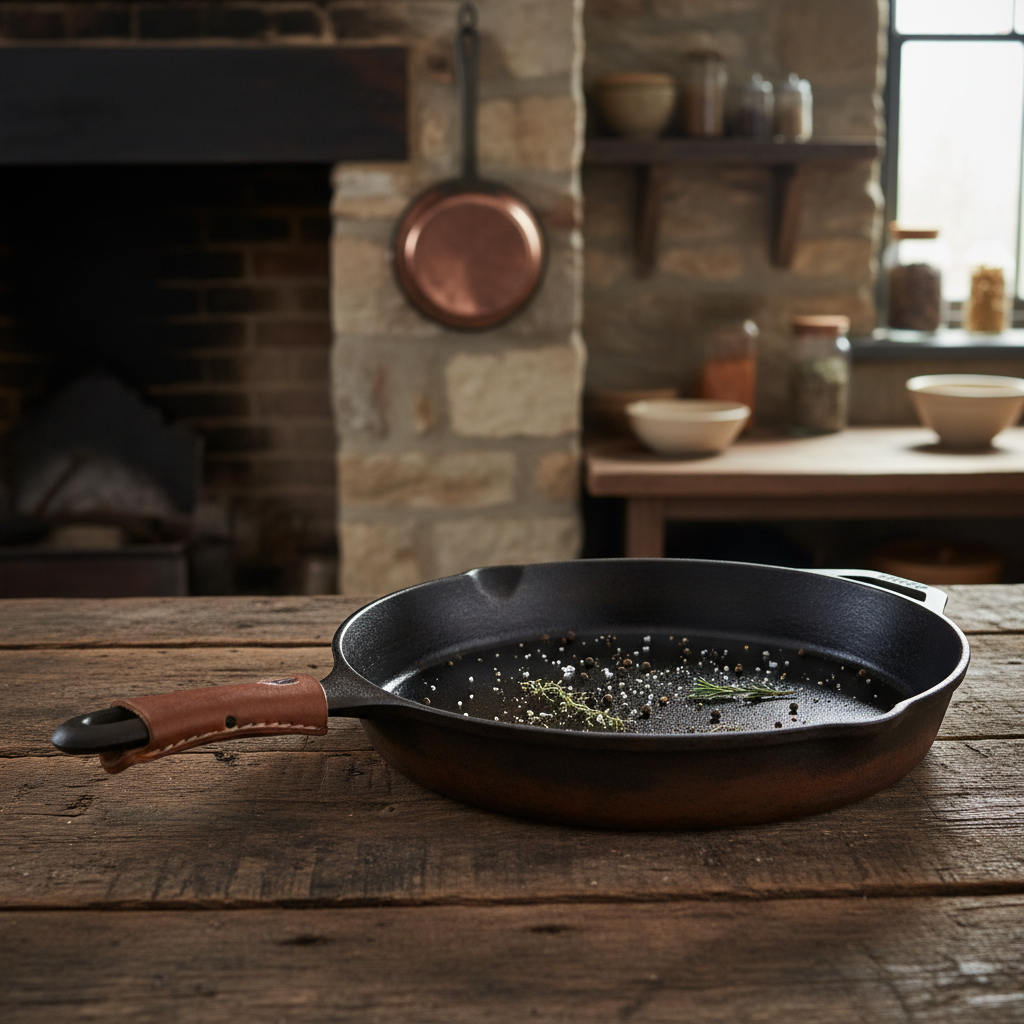
A common reason for "spontaneous smoke" is a pan that was seasoned with too much oil. When seasoning a skillet, you should only use a drop of oil—no more than a half-teaspoon for a 12-inch pan. If you leave a layer that is too thick, that oil will become sticky and eventually break down into a charred, uneven residue. This layer will smoke every time you heat the pan, even if you aren't cooking anything in it.
The "Wipe It Off" Rule
After you apply oil to your pan for seasoning, you should spend at least two minutes wiping it out with a clean paper towel. You want to pretend that you are trying to remove every single trace of oil. If the pan looks shiny, you have too much. It should look dull and matte. That microscopic layer is what protects the iron and provides a non-stick surface, not a thick, gummy coating of polymerized fat.
The Oven Seasoning Process
To build a durable, smoke-resistant surface, place your thin-oiled pan upside down in an oven preheated to 450°F (232°C). Let it bake for one hour, then turn off the oven and let it cool completely inside. This process, known as polymerization, turns the oil into a hard, plastic-like substance that is chemically bonded to the metal. A properly seasoned pan will rarely smoke because the protective layer is stable and won't burn off at normal cooking temperatures.
Troubleshooting Your Technique
If you follow all the steps above and still experience issues, it is time to look at your heat control. Many stoves, especially electric or induction models, have very aggressive high-heat settings. If your burner has a dial from 1 to 10, rarely should you be using 10. Most cast iron cooking is perfectly executed between 6 and 8.
Step-by-Step for a Perfect Sear
Recognizing the Difference
It is important to distinguish between "searing smoke" and "burning smoke." A slight haze is often unavoidable when achieving a deep, mahogany crust on a piece of meat. This is part of the culinary process. However, if the smoke is thick, yellow, or pungent, you have definitely crossed the line into burning your fat or the food. Learn the smell of a good sear versus the smell of a ruined meal.
Conclusion
Mastering the cast iron skillet is a rite of passage for any serious home cook. It requires you to stop viewing your cookware as an inert tool and start seeing it as a partner in the chemical process of transformation. By choosing the right fats, managing your moisture, maintaining your seasoning, and respecting the thermodynamics of high-heat cooking, you can easily avoid the dreaded kitchen smoke cloud. The cast iron skillet is arguably the most versatile piece of equipment in your kitchen, capable of everything from searing a delicate fish fillet to baking a rustic cornbread.
When you take the time to learn these six fixes, you move away from the frustration of smoke alarms and toward the satisfaction of consistent, professional-grade results. Remember that even the most seasoned chefs occasionally deal with smoke; the difference is their ability to identify the cause immediately and adjust their technique on the fly. Keep your pan clean, your fat selection smart, and your ventilation constant. You are now equipped with the knowledge to handle the heat, the smoke, and everything in between.
As you continue your culinary journey, remember that cast iron is a forgiving medium. If you make a mistake, you can always clean it, re-season it, and try again tomorrow. The more you cook with your skillet, the better it will become. Treat it with care, respect the oil's limitations, and you will find that the only thing coming out of your kitchen is the mouth-watering aroma of a perfectly cooked meal. Happy cooking, and may your searing be crusty, your kitchen be clear, and your cast iron be ever-seasoned.

Get the Next Recipe
Weekly recipes, techniques, and gear picks — straight to your inbox.