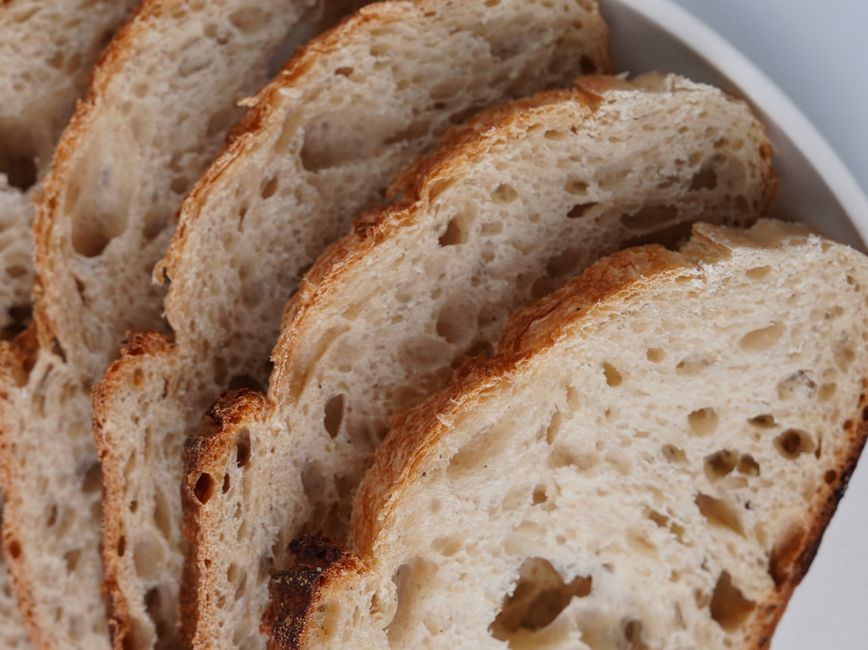
Why Is My Sourdough Gummy Inside? 5 Fixes
There is perhaps no heartbreak in the world of home baking quite like the moment you slice into a loaf of sourdough you have spent twenty-four hours nurturing, only to find the interior is a dense, sticky, and unappealing mess. You have monitored your starter, performed your coil folds with precision, and waited patiently through a long bulk fermentation, yet the crumb remains gummy and claustrophobic. It is a common frustration, and one that often leads home bakers to believe they lack the "knack" or the "magic touch" required for artisanal bread. In reality, baking is not about magic; it is about chemistry, physics, and a deep understanding of the variables that govern gluten structure and starch gelatinization.
When your bread emerges from the oven looking beautiful on the outside but feeling like raw dough on the inside, it is easy to blame the flour, the temperature of your kitchen, or even the phase of the moon. However, a gummy crumb is almost always a result of specific technical errors—usually related to moisture management, fermentation timing, or temperature control. We have all been there, standing in the kitchen with a knife in hand, wondering where the process went off the rails. It is important to remember that every "failed" loaf is actually a masterclass in what not to do next time, providing the data you need to adjust your variables for a superior result.
At Blame The Chef, we believe that understanding the "why" behind your baking failures is the quickest path to professional-level results in your own kitchen. We are going to deconstruct the anatomy of a gummy loaf and identify the specific levers you can pull to ensure your next bake features an airy, gelatinized, and perfectly structured crumb. Whether you are a novice who just received their first jar of starter or a seasoned enthusiast trying to troubleshoot a persistent issue, this guide will provide the technical clarity you need. Grab your apron, sharpen your bread knife, and let’s dive into the science of the perfect sourdough structure.
1. The Under-Fermentation Trap: Why Time Is Your Best Friend
The most common reason for a gummy, dense, and "raw-feeling" interior is a lack of sufficient bulk fermentation. Many home bakers are afraid to let their dough rise long enough, fearing they will over-proof it, but in reality, most sourdough is pulled too early. When the wild yeast and beneficial bacteria in your levain have not had enough time to fully digest the starches in the flour, the structure of the bread remains weak. Without adequate time to develop, the dough cannot trap the carbon dioxide produced during fermentation, leading to a collapsed, gummy interior.
Recognizing the Signs of Under-Proofing
To avoid this, you must look for physical indicators beyond the clock. A well-fermented dough should increase in volume by approximately 30-50% in a home setting, appearing domed, jiggly, and showing visible bubbles on the surface. If you perform a poke test and the dough snaps back immediately, it is still too tight and requires more time. A perfectly fermented dough should leave a small indentation that slowly fills back in, indicating that the gluten network is sufficiently relaxed and the gas production is robust.
The Role of Ambient Temperature
Temperature is the invisible hand guiding your fermentation. If your kitchen is cold, yeast activity slows down, and you cannot rely on a set "four-hour" bulk fermentation rule. You must adapt your schedule to the ambient temperature of your workspace. Investing in a simple digital probe thermometer to check the temperature of your dough (it should ideally be around 78°F to 80°F) will take the guesswork out of your process. If your dough is at 68°F, you need to extend your bulk fermentation significantly to compensate for the sluggish yeast.
"A gummy loaf is rarely a failure of your ability, but rather a miscalculation of time and temperature. Respect the fermentation process, and the bread will reward you with an open, airy crumb."
2. Managing Moisture: The Hydration Balancing Act
Hydration is often romanticized in the sourdough community as a badge of honor, with many bakers chasing 80% to 90% hydration recipes. While high-hydration doughs can produce spectacular, blistered crusts and wild, open crumbs, they are notoriously difficult to handle and prone to gumminess if the baker lacks the technique to manage that much water. If you are struggling with a gummy interior, it is time to scale back your hydration. Drop your recipe by 5% or 10%—moving from 80% down to 70%—to see if the crumb structure improves.
Understanding Starch Gelatinization
Gumminess is essentially a sign that the starches in your flour did not fully set or were not properly managed. When you add too much water, the flour cannot fully absorb it, and the proteins struggle to form the strong gluten network required to support the loaf. During baking, that excess water stays trapped inside, effectively steaming the crumb from the inside out and creating that unappealing, sticky texture. Reducing your water content allows the gluten strands to bond more tightly, creating a robust web that can properly hold the structural integrity of the bread.
Choosing the Right Flour
Not all flours are created equal, and your choice of flour directly impacts your moisture capacity. A high-protein bread flour (12.5% to 14% protein) is essential for sourdough. If you are using a lower-protein "all-purpose" flour, it will not have the structural capacity to hold a high percentage of water, inevitably leading to a dense, gummy loaf. Ensure that you are using a high-quality flour with enough strength to support the hydration level you have chosen for your specific recipe.
3. The Importance of Proper Cooling
One of the most overlooked steps in the sourdough process is the cooling phase. Many bakers are so excited to see their creation that they slice into it while it is still warm. This is a critical mistake. When your sourdough exits the oven, the interior is still technically cooking. The heat trapped inside the loaf continues to evaporate moisture and set the crumb structure. If you slice into a hot loaf, you are effectively "releasing" the steam before the starches have had a chance to finish firming up, which almost guarantees a gummy interior.
The "Slicing Window" Rule
You must allow your bread to cool completely—ideally for at least two to three hours—before slicing. Place your loaf on a wire cooling rack to ensure that air can circulate around the entire bottom of the bread. If the bottom of your loaf sits on a solid surface, it will trap steam, causing the base to become soggy and contributing to a gummy texture near the crust. Patience during this final stage is just as important as the fermentation time itself.
Why Bread Tastes Better the Next Day
Beyond the texture, there is a chemical reason to wait. During the cooling process, a process called retrogradation occurs, where the starch molecules reorganize themselves into a more structured, firm state. This not only makes the bread easier to slice but also enhances the flavor profile of the sourdough. If you find your bread tastes a bit "flat" when fresh but improves after twenty-four hours, you are experiencing the benefits of proper retrogradation.
"Patience is an ingredient in sourdough. If you slice into a hot loaf, you are robbing yourself of the very structure you worked so hard to create. Let it cool, let it set, and let it reach its full potential."
4. Oven Management and Heat Distribution
Your oven is a tool, and like any tool, it must be calibrated correctly. If your oven temperature is too low, the loaf will not experience the oven spring required to set the crust and expand the crumb. Conversely, if your oven is too hot, the exterior will burn before the center has a chance to bake through. A gummy, dense interior is often a symptom of an oven that isn't providing the intense, consistent heat needed for the Maillard reaction to occur properly.
The Power of Dutch Oven Baking
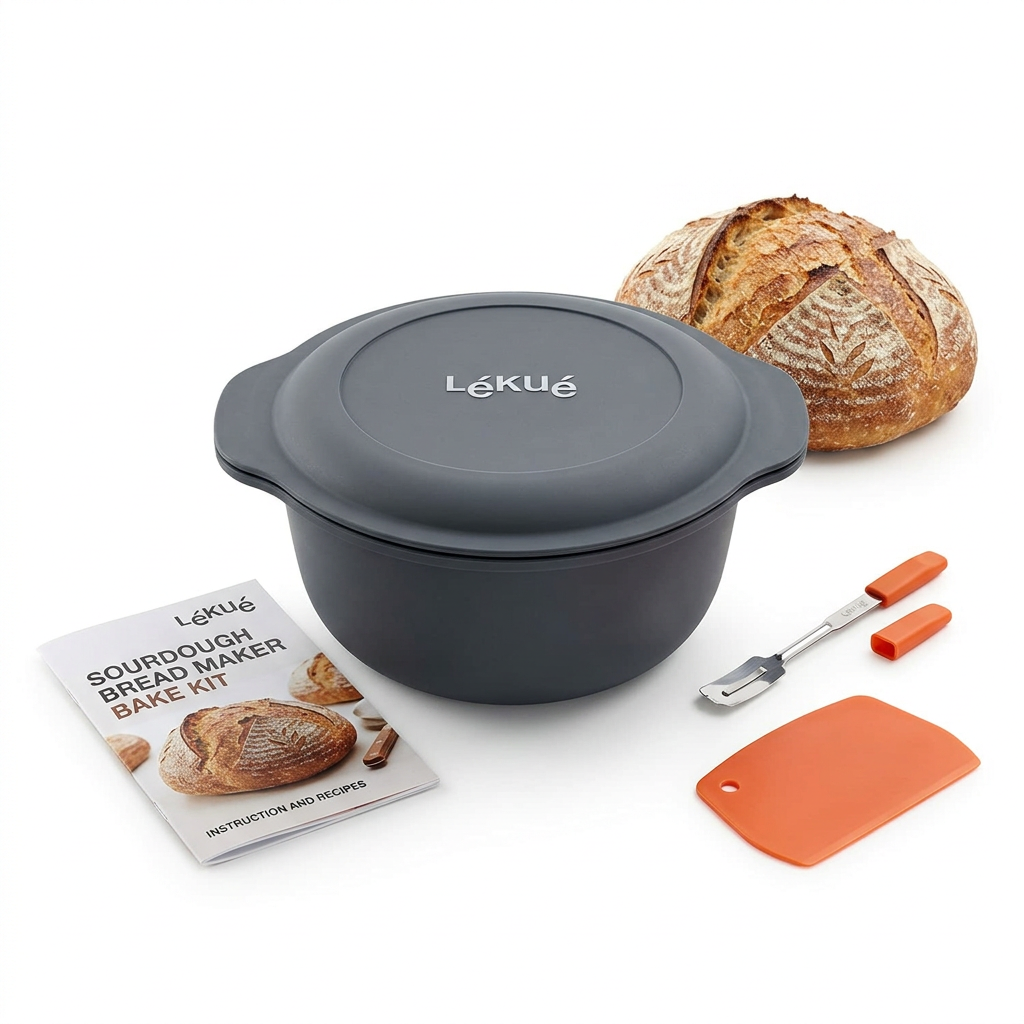
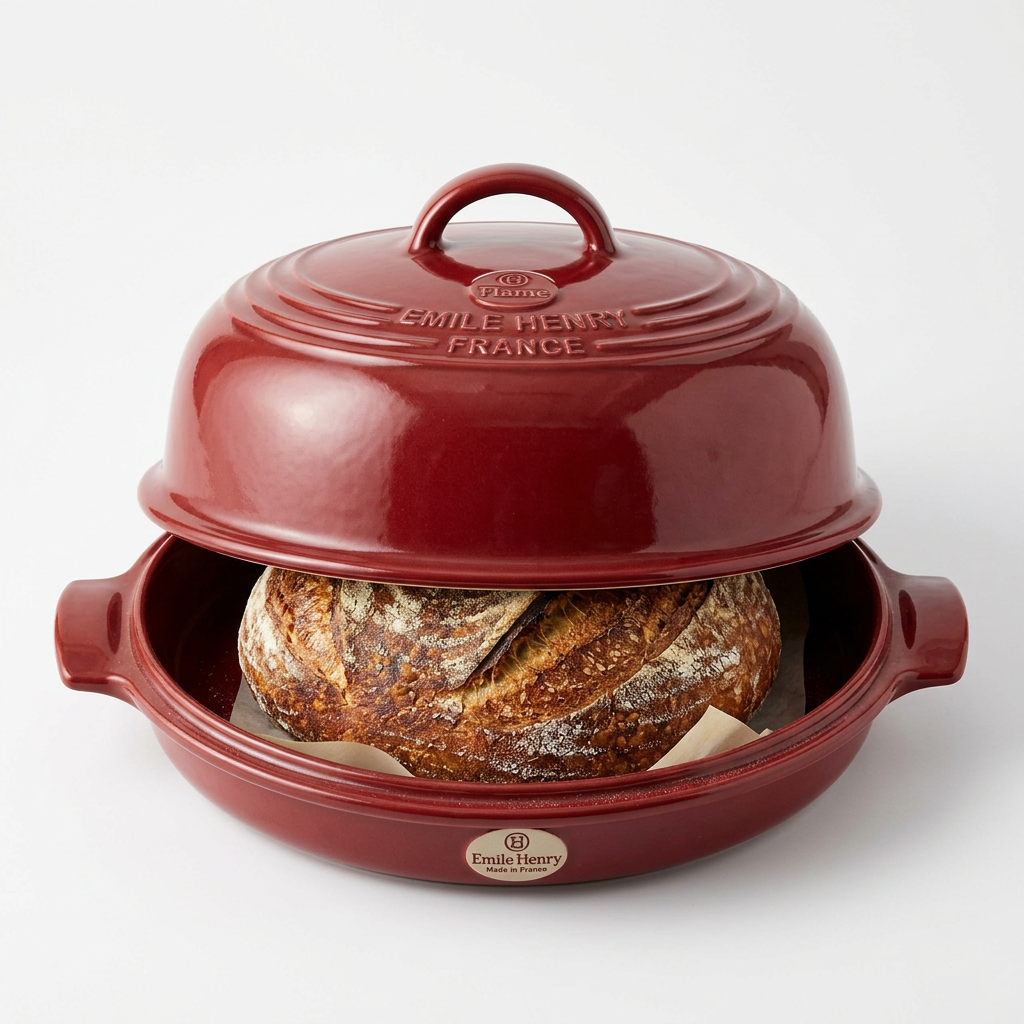
Using a Dutch oven or a cast-iron combo cooker is the gold standard for home sourdough bakers. These vessels act as a miniature professional oven, trapping the steam released by the loaf during the first 20 minutes of baking. Steam is vital because it keeps the exterior of the loaf soft, allowing it to expand fully before the crust hardens. Without enough steam, the crust sets too early, "choking" the loaf and preventing it from developing an airy interior.
Preheating and Stone Placement
If you do not have a Dutch oven, you must ensure your baking stone or steel is fully preheated for at least 45 minutes to an hour at 500°F before you load your dough. A cold surface will lead to a flat loaf with a dense base. Furthermore, ensure that your oven is calibrated correctly using an oven-safe thermometer. Many home ovens display a temperature that is significantly different from the actual heat inside the chamber, and a difference of 25 degrees can be the difference between a masterwork and a gummy disappointment.
5. Strength Building: The Art of Manipulation
If your sourdough is gummy, it may also be because the gluten network is "weak." Sourdough requires physical manipulation during the bulk fermentation stage to organize the gluten into a strong, supportive structure. Stretch and folds or coil folds are the primary techniques for this. If you are skipping these steps or doing them too gently, your dough will lack the "muscle" to hold onto the gas bubbles, causing them to collapse into a dense, gummy paste.
Understanding Gluten Development
The goal of stretching and folding is to align the protein strands into a cohesive web. When you perform these folds every 30 minutes during the first two hours of bulk fermentation, you are manually assisting the development of the gluten. If you feel the dough is getting "tight," it means the structure is developing well. Do not skip these steps, as they are the foundation for the final crumb structure. If you neglect the dough, the yeast will produce gas, but there will be nowhere for it to go, resulting in a disorganized, collapsed crumb.
Shaping for Tension
Finally, the shaping process is where you lock in all the work you have done. Your final shape should be taut and smooth. If your loaf is loosely shaped, it will spread out into a pancake in the oven, leading to a flat, dense texture. Aim for a round, tight boule or a firm batard. By creating a strong "skin" on the dough, you force the gases to expand upward and outward rather than just spreading, which is a key factor in achieving that coveted, airy crumb.
The Science of Flour Choices
When discussing gumminess, we must address the flour itself. Not all flour is created equal, and this is where many home bakers make an error. If you are using a low-protein flour, you will struggle to build the necessary gluten to support a sourdough loaf. Always look for a high-quality, organic bread flour that specifically mentions its protein content.
Protein Content Matters
Protein is the building block of gluten. The higher the protein, the stronger the gluten network. When you are making sourdough, you want a flour that has a protein content of at least 12.5%. If you are adding "inclusions" like seeds, grains, or nuts, you need even more structural integrity, as these ingredients can cut through the gluten strands and weaken the dough. In such cases, a bread flour is mandatory, and sometimes even a small addition of vital wheat gluten can help if you are working with whole grain flours that are naturally lower in elastic protein.
Whole Grain vs. White
Using whole wheat or rye flour adds flavor and complexity, but it also inhibits gluten development. The bran in whole wheat flour is sharp and acts like little knives that cut through your gluten network as it forms. If your sourdough is consistently gummy and you are using 50% or more whole grain flour, try swapping it out for a higher percentage of white bread flour to see if your results improve. You can slowly reintroduce whole grains once you have mastered the technique of handling a high-protein white loaf.
Final Thoughts: The Path to Mastery
Mastering sourdough is a journey, not a destination. There will be loaves that are perfect, and there will be loaves that serve as humble reminders that we are working with live, unpredictable cultures. If you find yourself staring at a gummy loaf, do not be discouraged. Use the knowledge provided here to analyze your process. Check your hydration levels, verify your oven temperature, ensure your fermentation is robust enough, and most importantly, practice the art of patience.
"Bread is the most honest food on the planet. It doesn't lie; it shows you exactly where you were in your process, for better or for worse. Treat every gummy loaf as a teacher, and you will eventually become the master of your own oven."
Consistency is the result of thousands of small, intentional choices. Every time you fold the dough, every time you check the starter, and every time you allow the bread to cool before slicing, you are making a decision that impacts the final product. At Blame The Chef, we know that you have the capability to produce bakery-quality bread in your own home. By taking these five fixes—adjusting fermentation, managing moisture, allowing for proper cooling, calibrating your oven, and strengthening your gluten—you are well on your way to ending the era of gummy sourdough forever. Keep baking, keep experimenting, and most importantly, enjoy the process. The perfect crumb is waiting for you.
Get the Next Recipe
Weekly recipes, techniques, and gear picks — straight to your inbox.