Wood-Fired Pizza Perfection: Building, Heating, and Mastering the Craft
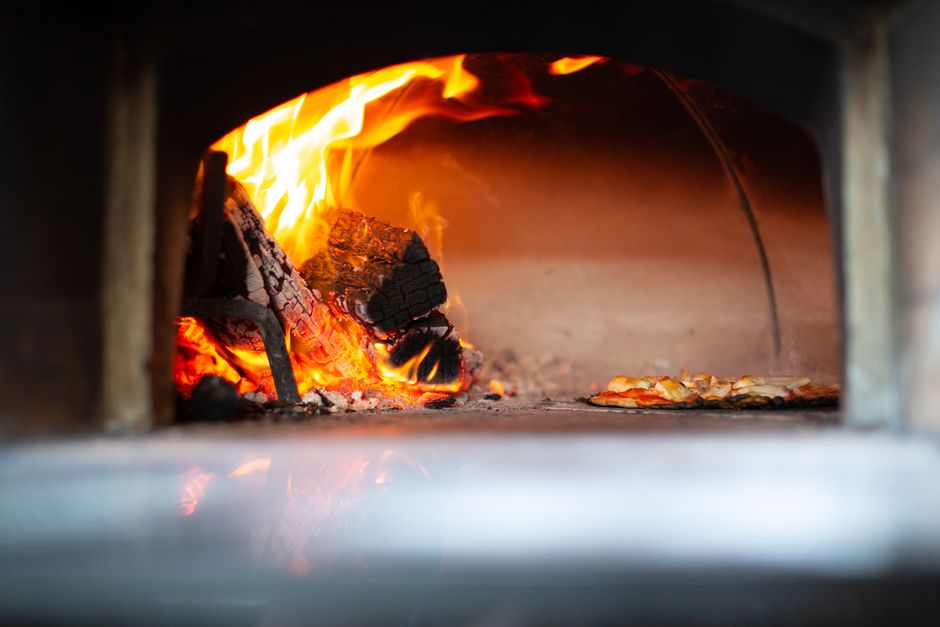
There’s something uniquely magical about the crackling sound of pizza dough as it meets the intense heat of a wood-fired oven. The luscious aromas of wood smoke and baking bread intertwine in the air, promising the promise of a perfect, golden crust. If you've ever indulged in a slice of this culinary delight at a pizzeria, you know there's a difference between your average takeaway and the handcrafted reality of a wood-fired pizza. This artistry combines science, passion, and tradition, turning simple ingredients into vibrant culinary experiences. If you're ready to elevate your home cooking to unparalleled heights, building your own wood-fired pizza oven and mastering the craft of wood-fired pizza is the path ahead.
Creating wood-fired pizza at home isn't merely an endeavor; it’s an experience that delivers joy, flavor, and an unforgettable loss of time spent outdoors with friends and family. Whether you're hosting a casual get-together or a formal gathering, the sight of bubbling cheese and perfectly charred crusts will have everyone gathering around your oven, drawn in by the enticing scents that waft through the air. The simplicity of the method belies the complexity of the flavors achieved, and with each successful attempt, your confidence in the kitchen will grow.
Building your own wood-fired pizza oven may seem daunting at first, but with patience, practice, and a sprinkle of determination, it can become one of your proudest accomplishments. In this blog post, we will explore the entire process, from the fundamentals of selecting materials to the art of crafting the perfect pizza, ensuring that you gain the knowledge and skills necessary to achieve wood-fired pizza perfection at home.
The Foundation: Building Your Wood-Fired Pizza Oven
Creating a wood-fired pizza oven is a rewarding project that requires planning, materials, and craftsmanship. Before diving in, it’s essential to understand the different types of ovens, the layout of your outdoor space, and the necessary tools. A great wood-fired pizza oven not only serves the purpose of cooking but also acts as a gathering spot where memories are made.
Types of Wood-Fired Pizza Ovens
When considering the type of wood-fired pizza oven you want to build, two main categories emerge: brick ovens and portable ovens. Both have their advantages and distinctive qualities.
- Often made from firebrick or clay, brick ovens are static and require more significant installation efforts.
- They can retain heat for long periods, allowing you to bake multiple pizzas without needing to stoke a fire constantly.
- Brick ovens typically reach high temperatures, creating that perfect crispy crust everyone loves.
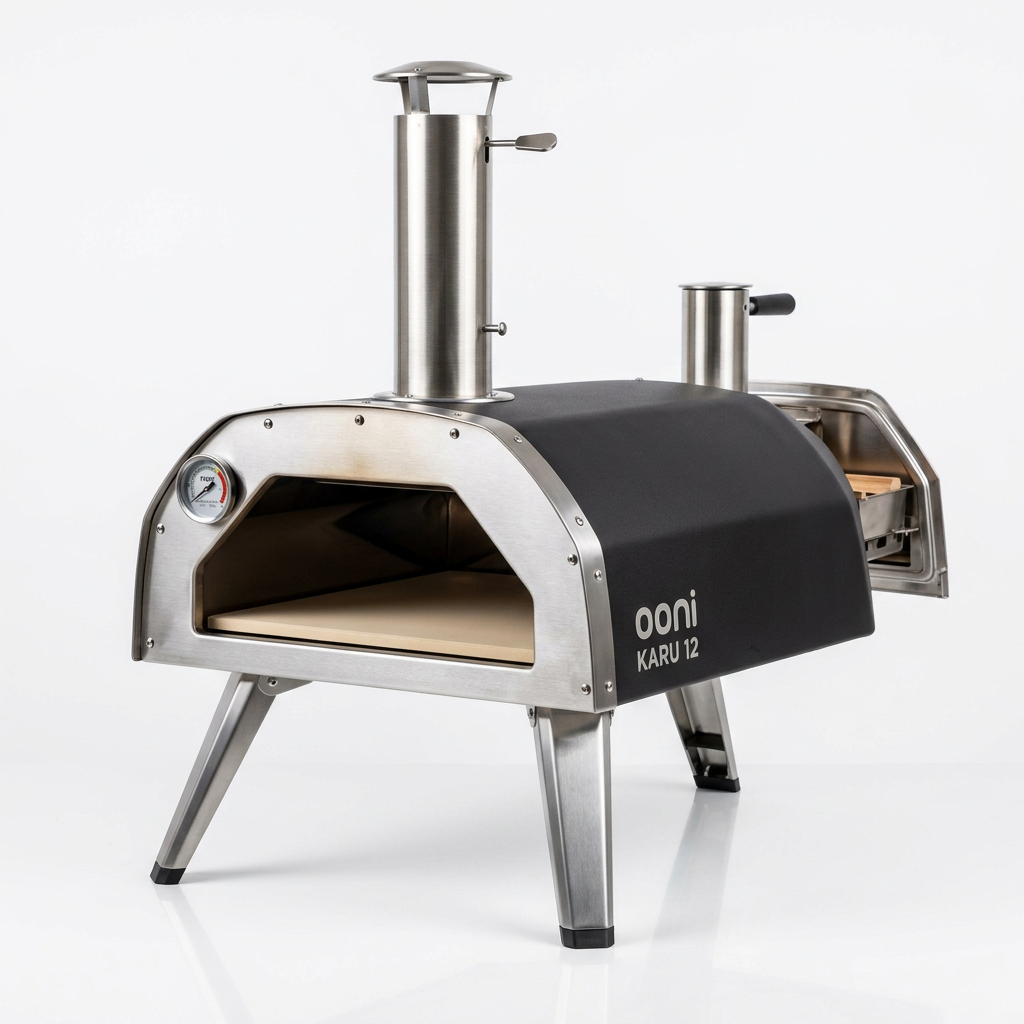
- These ovens are often smaller and may use materials like stainless steel or cast iron.
- They are excellent for flexibility, allowing you to move them for storage or transport.
- Some portable models can still reach impressive temperatures but may have less heat retention than their brick counterparts.
“The true joy of cooking is expressed in the relationships formed over hot pizza and laughter, a testament to the beauty of shared experiences.”
Planning Your Space
Before you start stacking bricks or assembling your portable oven, take time to plan your space. Here are some considerations:
Materials You’ll Need
Once you’ve decided on the type of oven and planned out your space, it's time to gather your materials. A traditional brick oven will require:
For a portable oven, the materials will vary, but generally will include:
The quality of the materials directly impacts your BBQ experience—better materials last longer and keep the oven temperature consistent.
Heating Your Wood-Fired Pizza Oven
Heating your wood-fired pizza oven correctly is vital to ensuring the crust is crispy, the cheese is melted to perfection, and your toppings are cooked evenly. The process of heating your oven is often an art that takes practice to master.
Starting the Fire
Creating the perfect fire for your wood-fired oven is the first step in the cooking process. Here’s how you can effectively start your fire:
- Teepee Style: Start with smaller pieces of kindling stacked in a teepee formation with larger logs around it.
- Log Cabin Style: Build a base with larger logs, laying smaller branches and kindling on top, resembling a log cabin.
“To achieve that perfect crust, heat is your best friend. The confidence of knowing your oven has reached the right temperature is key to pizza success.”
Reaching the Ideal Temperature
Your wood-fired oven should reach an optimal temperature of 700°F to 900°F (370°C to 480°C). This extreme heat is what gives wood-fired pizzas their distinctive characteristics:
To determine if your oven is hot enough, toss a few drops of water inside. If they vaporize almost instantly, you're ready to bake!
Maintaining Heat
Once your oven reaches the desired temperature, it’s crucial to maintain that heat for consistent cooking. Here’s how to ensure your fire burns optimally:
Mastering the Dough: Crafting Your Pizza Base
The heart of any exceptional pizza lies in its crust. Mastering your dough recipe is essential for achieving that beloved chewiness in the crust while maintaining a delicate balance between flavor and texture.
The Perfect Pizza Dough Recipe
For a classic Neapolitan-style pizza, you’ll need just a few simple ingredients:
#### Dough Preparation Steps
#### Shaping and Second Rise
Stretching the Dough
After the second rise, your dough is ready to become its final shape. This step is crucial; too much force can result in a dense crust. Here’s how to stretch your pizza dough like a pro:
Topping Your Wood-Fired Pizza
Toppings are where your creativity can truly shine in the pizza-making process. While traditional Neapolitan pizzas feature simple toppings, feel free to explore and experiment to suit your taste.
Classic Neapolitan Toppings
To create an authentic Neapolitan pizza, the focus is typically on quality rather than quantity. Here are classic toppings to get you started:
Creative Options
While staying traditional is great, don’t hesitate to venture into creative territory. Here are some unique topping combinations:
Presentation and Pre-Bake Tips
Before baking, be mindful of presentation.
Baking Your Pizza to Perfection
Now, the moment of truth has arrived. You’ve built your oven, prepped your dough, and artfully topped your pizza. Let’s discuss the crucial elements of baking to achieve that tantalizing wood-fired finish.
Sliding Into the Oven
Cooking Timing
While cooking times can vary based on your oven’s specific heat and the style of your pizza, a general guideline is:
Monitoring the Bake
Put your pizza on a rotating schedule!
The Aftermath: Enjoying Your Wood-Fired Pizza
Once your pizza is expertly baked, it's time to enjoy the fruits of your labor. However, before diving in, let’s ensure it's presented in a way that enhances your eating experience.
Slicing and Serving
Final Toppings
As the pizza comes out of the oven, consider these final touches:
Experience the Joy of Wood-Fired Pizza
Don’t forget to invite the people you care about to share in this culinary experience. Cooking is about community, and nothing brings people together quite like gathering around a pizza oven, where laughter and stories are exchanged over slices of warm, homemade pizza.
Final Thoughts
Indulging in wood-fired pizza at home is an investment in skill, creativity, and connection. While the journey of constructing your oven and mastering your craft may seem time-consuming, the rewards you reap—aromatic pizzas bubbling with flavor, laughter shared with loved ones, and the satisfaction of creating something completely from scratch—are well worth the effort.
By immersing yourself in the complete experience—learning about the traditions, honing your techniques, and paving your way to culinary mastery—you’ll not only create food but also unforgettable memories. With practice and patience, wood-fired pizza isn’t just a meal; it’s a celebration of the flavors, cultures, and connections in our lives. Embrace the process, and let your pizza journey begin!


Get the Next Recipe
Weekly recipes, techniques, and gear picks — straight to your inbox.
